
How to Draw a Lips

July 15, 2026
6 Steps
AR Drawing Logo

AR Drawing

Drawing Tutorials

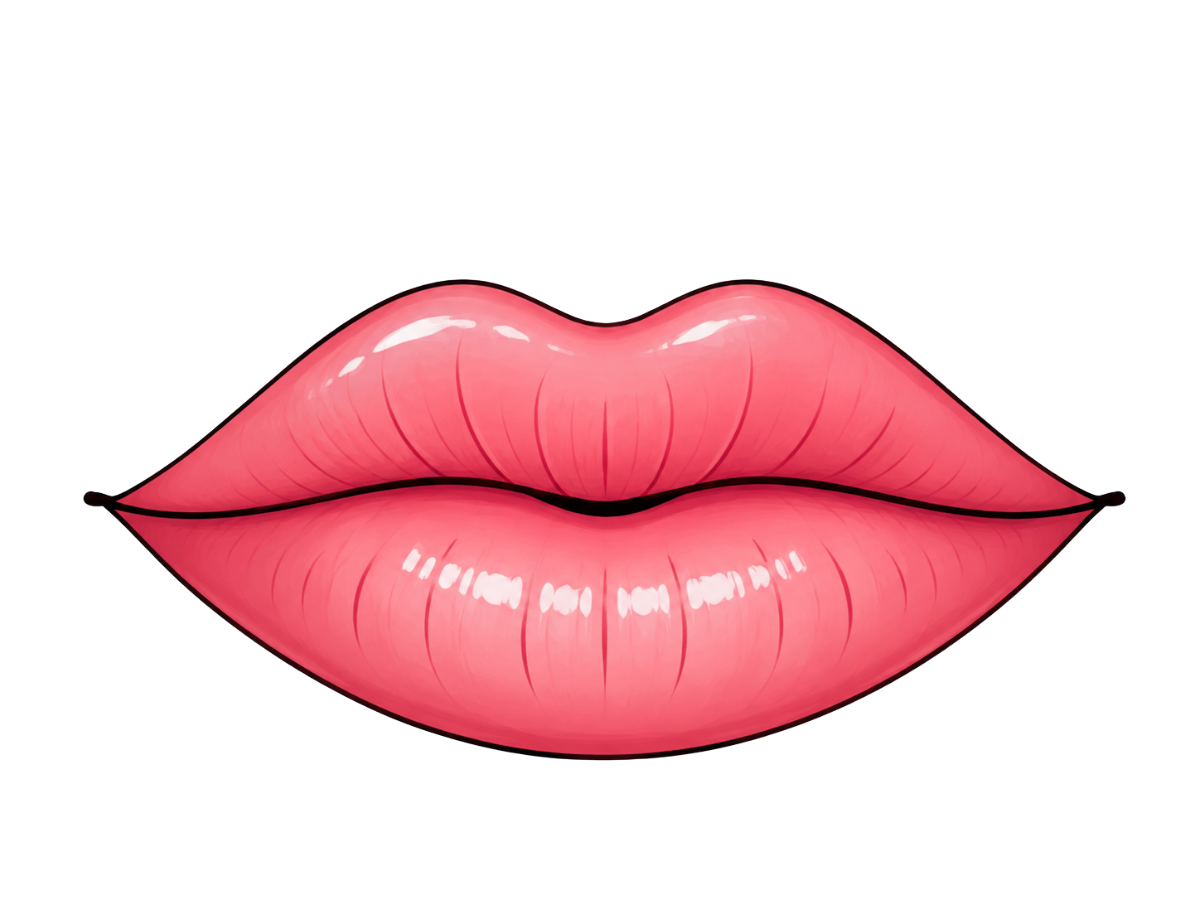
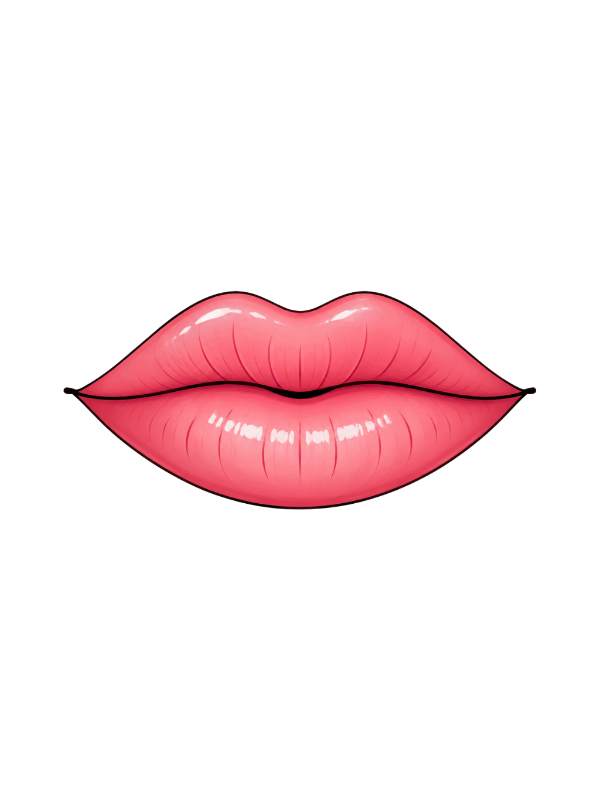
There's a reason lips show up so often in quick sketch tutorials and doodle art — they're a small, simple shape, but they carry a surprising amount of personality and style once the color and shine go in. What starts as a single straight guideline slowly builds into a soft cupid's bow, a full lower curve, and finally that glossy, just-applied-lipstick finish that makes the whole drawing pop off the page. It's a fast, satisfying little project, perfect for practicing curves and shading in one sitting. Let's get drawing!

How to Draw a Lips
What You Will Need
  • Pencil
  • Eraser
  • White paper
  • Black marker or fine-liner (optional)
  • Colored pencils, crayons, or markers
1

Draw a Guideline

Step 1: Draw a Guideline

Start with a single straight horizontal line across the middle of your page. This isn't part of the final drawing at all — it's just a reference to help you keep the upper and lower lip balanced and level as you build the shape around it. Keep it light, since you'll be drawing directly along and around this line in the next couple of steps and it'll eventually be covered up or erased.

2

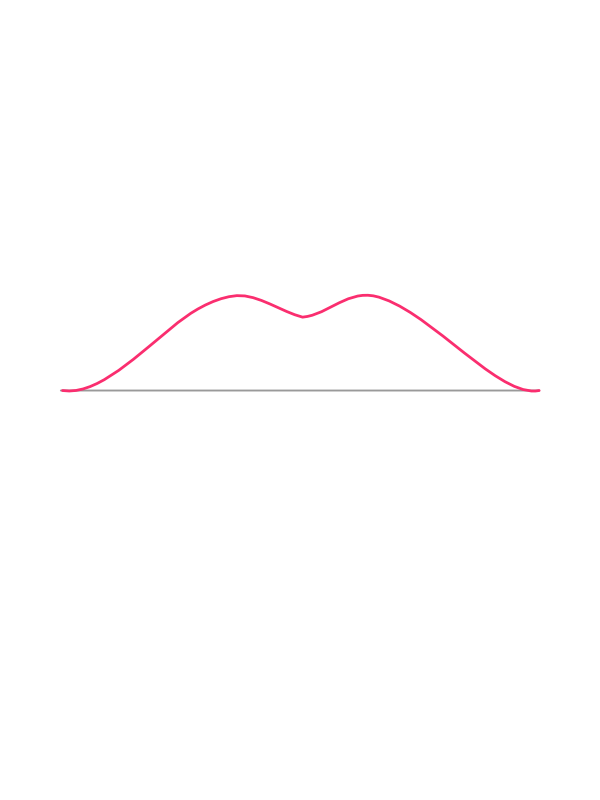
Shape the Upper Lip

Step 2: Shape the Upper Lip

Above the guideline, draw a wide, soft curve that rises up from one end, dips gently in the center to form a small notch, rises again into a second soft peak, and then slopes back down to meet the other end of the line. That little dip in the middle is the cupid's bow, the two soft peaks sitting just above it, and it's the single most recognizable feature of the whole shape — without it, the curve just reads as a plain arch rather than an upper lip. Keep the two peaks close to the same height so the bow looks balanced rather than lopsided.

3

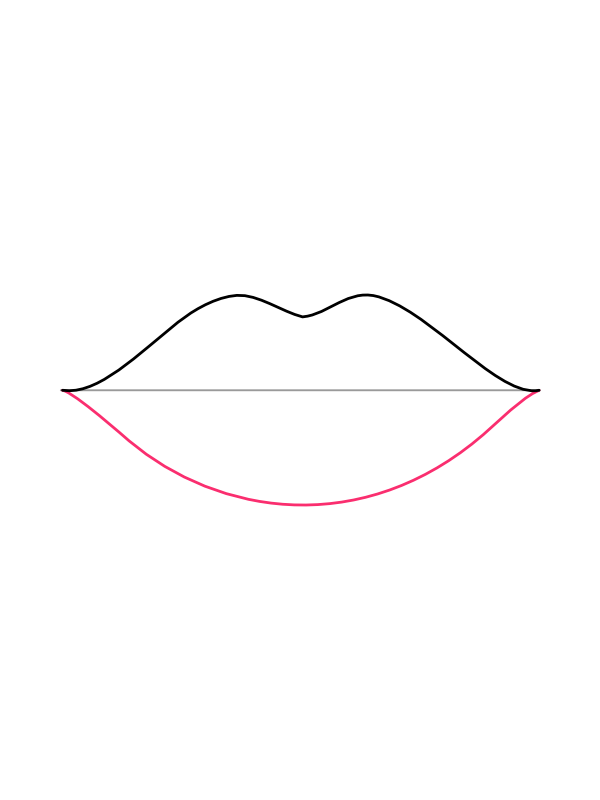
Shape the Lower Lip

Step 3: Shape the Lower Lip

Below the guideline, draw one long, full curve that dips down from each end of the line and rounds out generously through the middle before meeting back at the same two points. The lower lip is typically fuller and rounder than the upper one, so let this curve swell out more than the upper lip's curve did in the previous step. Both lips should meet cleanly at the same two outer corners, closing the whole mouth shape into one connected outline.

4

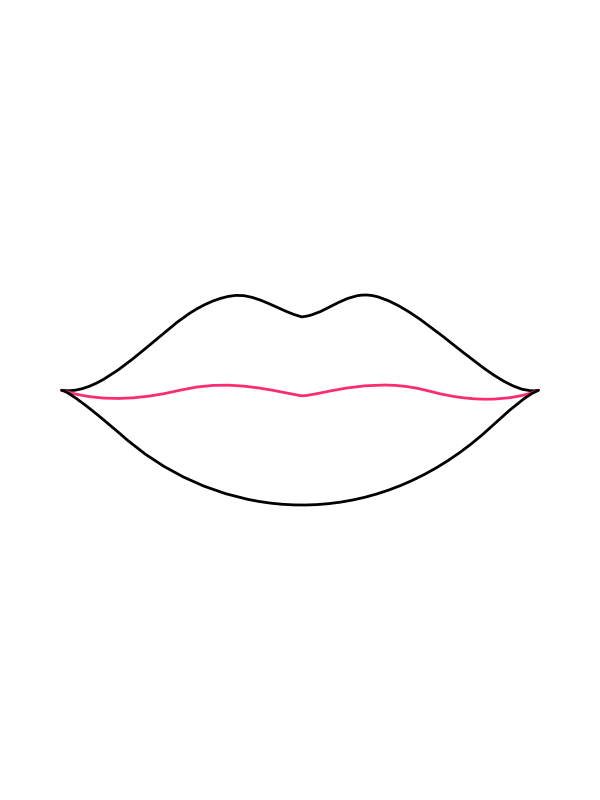
Add the Lip Line

Step 4: Add the Lip Line

Right along the original guideline, where the upper and lower lips meet, draw a slightly wavy horizontal line running the full width of the mouth, dipping down gently in the center to echo the cupid's bow above. This is the seam where the lips part; giving it a soft, natural wave rather than a rigid, flat line is what makes the mouth look relaxed and lifelike instead of stiff. Once this line is in, you can erase the original straight guideline underneath it.

5

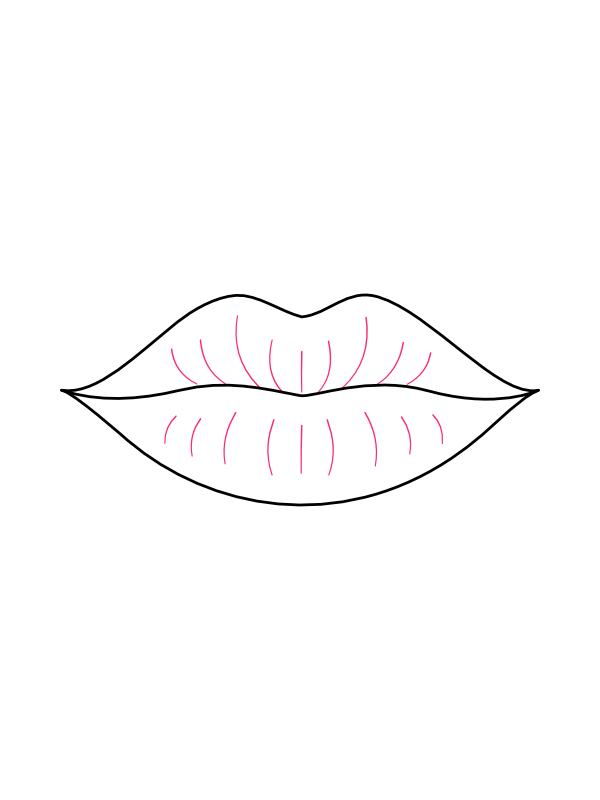
Add Texture Lines

Step 5: Add Texture Lines

Across both the upper and lower lips, add several short, fine lines radiating outward and slightly curving away from the center, following the natural curve of each lip. These represent the fine creases every real lip has, and they're what stop the drawing from looking flat and rubbery. Keep the lines light, a little uneven in length, and mostly concentrated toward the center of each lip, fading out as they get closer to the corners of the mouth.

6

Color Your Lips

Step 6: Color Your Lips

Now for the most satisfying part!

  • Base color: A bold, rosy pink or coral red, filling both the upper and lower lip evenly
  • Shading: A deeper shade of the same color along the outer edges and corners of the mouth, where the lips naturally curve away from the light
  • Highlight: One or two bright, glossy white streaks placed on the fullest part of the lower lip and a smaller one on the upper lip, to give that wet, glossy shine
  • Lip line: A thin, dark line along the seam between the lips, slightly darker than the base color, to keep the two lips visually separated
  • Texture lines: A slightly darker or lighter tone than the base color, just enough to catch the eye without overpowering the smooth, glossy finish

Once the color and highlights go in, that shiny, saturated finish is what takes the lips from a flat outline to something that looks genuinely glossy and three-dimensional — like they were just touched up with lip gloss. 💋

Final Thoughts

The part of this drawing that trips people up most often is keeping the two peaks of the cupid's bow in Step 2 even with each other — it's easy for one side to end up a little taller or sharper than the other, which throws off the whole symmetry of the mouth. A simple fix is to lightly mark the center point of your guideline first, then build each peak outward from that center point rather than drawing straight across from one side to the other. Everything after the two main curves, from the lip line to the texture, is far more forgiving, and small unevenness there barely registers once the color and shine are added.

Once this basic shape feels comfortable, try drawing the lips slightly parted with a hint of teeth showing, or curved into a gentle smile — small changes to the corners and the lip line can shift the entire expression without needing to relearn the whole shape.