
How to Draw a Dolphin
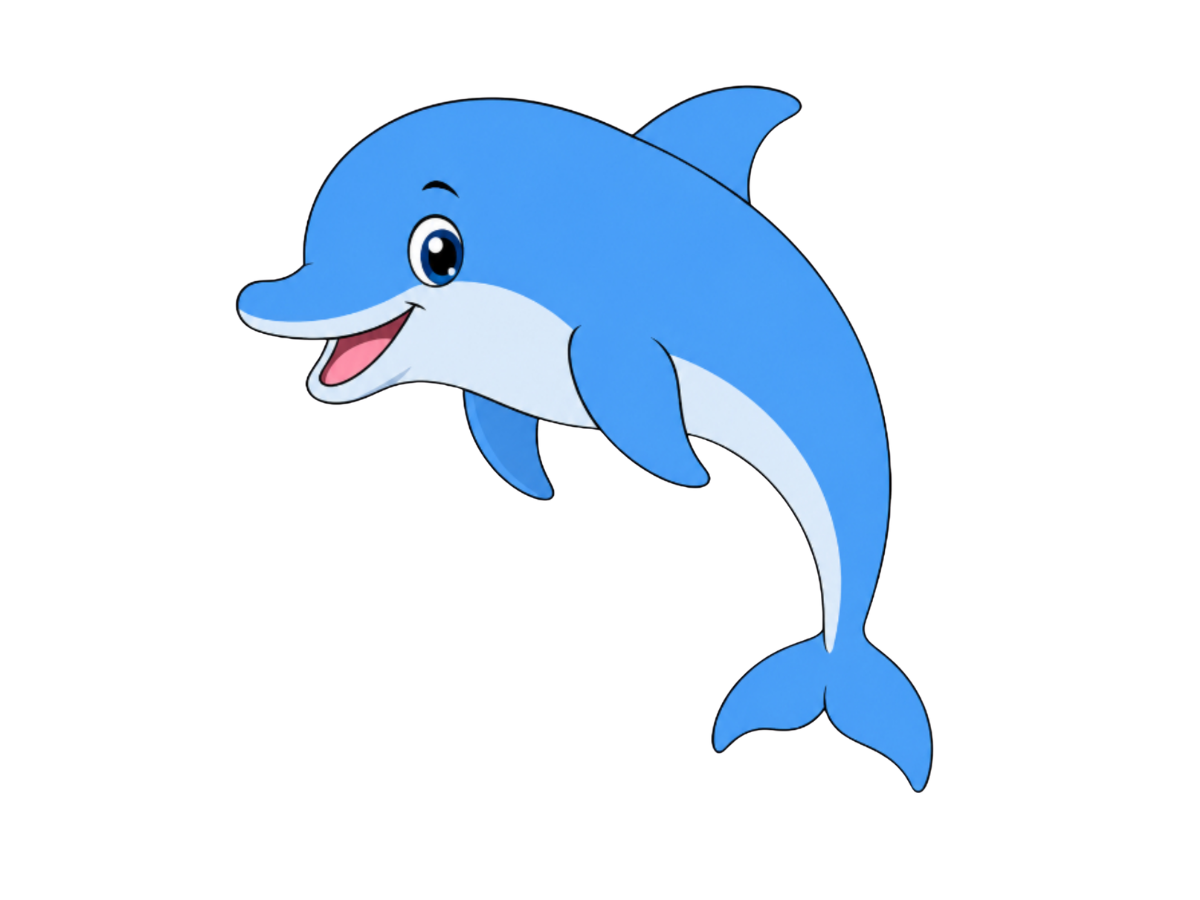
Dolphins are a favorite subject for beach and ocean art. Learn how to draw a playful leaping dolphin step-by-step, starting with one long, sweeping curve and building up the fins, tail, and friendly face.
7 Steps
Read
A parrot is one of those animals that people tend to assume is too complicated to draw — all those overlapping feathers, the hooked beak, the layered wing, the long sweeping tail. But once you break it down, the whole bird is really just a rounded head, a teardrop-shaped body, and a handful of feather layers stacked on top of each other in a very predictable order. The beak is the one part that takes a little practice to get right, but once it clicks, you'll find yourself wanting to draw parrots in every color imaginable. Let's get drawing!

In the upper portion of your paper, draw a smooth, rounded shape for the parrot's head — slightly wider than a circle and a little taller on the right side where the back of the head curves up. At the bottom, instead of a clean edge, add a row of small bumps or scalloped points to suggest the soft feathers of the throat. This feathery bottom edge is what keeps the head from looking like a plain oval, and it also sets up a natural transition into the body you'll add later.
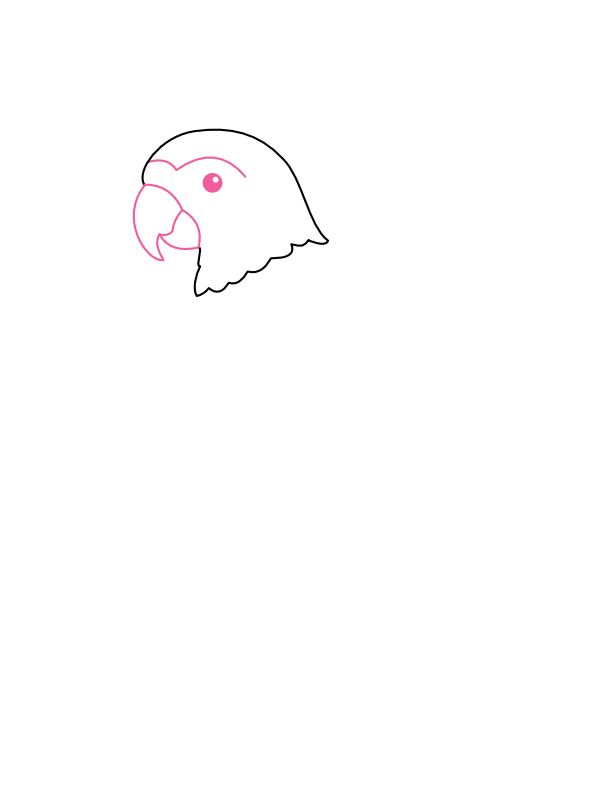
On the front-left side of the head, draw the parrot's distinctive hooked beak — a large, curved upper half that hooks downward at the tip, and a smaller, shorter lower half tucked underneath it. Just above and behind the beak, draw a small circle for the eye, and right beside it sketch in the teardrop-shaped cheek patch that macaws are so famous for. This patch of bare skin is one of the most recognizable features on the face, so place it carefully — it should wrap around the side of the face, curving from just below the eye out toward the cheek.
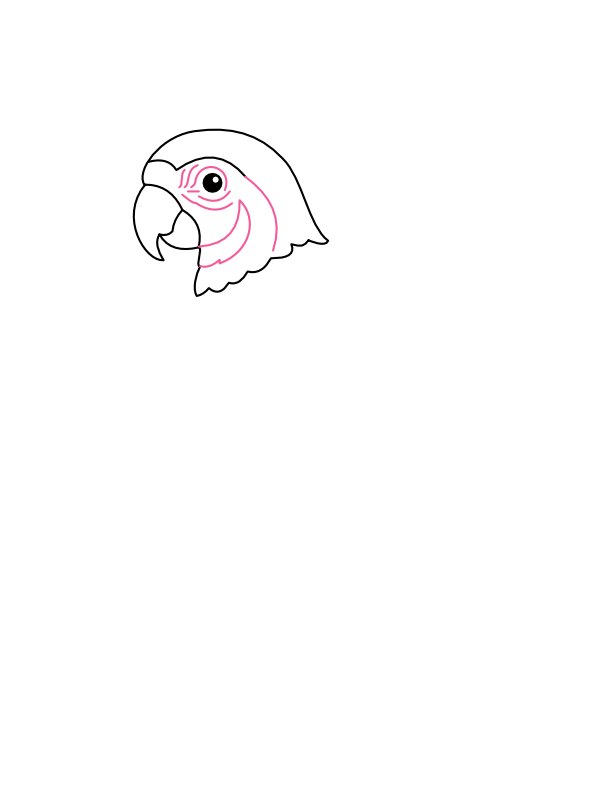
Fill the eye in with a dark circle, leaving a tiny white highlight dot to give it that alert, bright expression that parrots always seem to have. Add a small curved line above the eye for a brow ridge, then draw a few fine horizontal lines across the cheek patch to suggest the delicate texture of bare skin. Finish the beak with a subtle curved line separating the upper and lower halves more clearly. These small face details take just a minute to add, but they're what transforms a generic bird head into something that unmistakably belongs to a parrot.
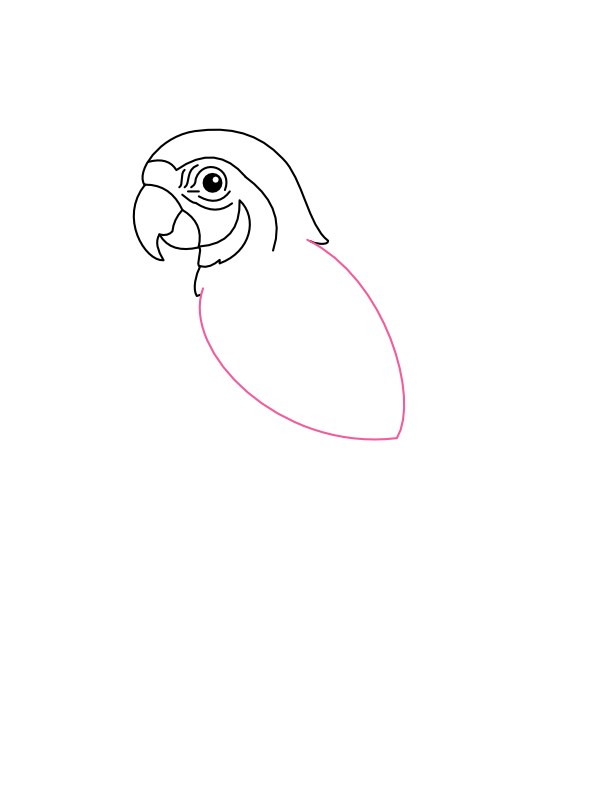
Below the head, draw the body as one large, gently tapered oval — wider at the top where it meets the chest and gradually narrowing toward the bottom where the tail will eventually begin. The body should feel plump and round at the top and then taper off into a soft point at the lower end. Let the left edge of the body blend naturally into the chest area below the beak, so the head and body read as one connected silhouette rather than two shapes placed next to each other.
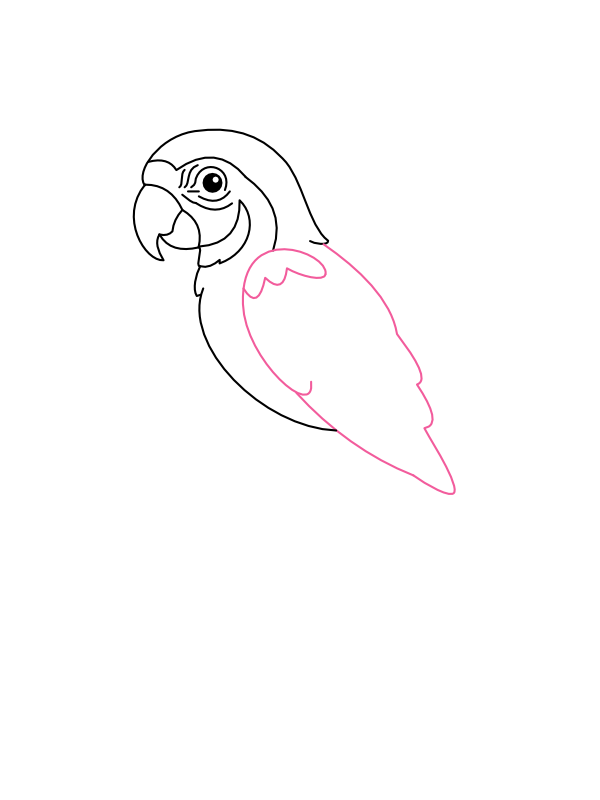
On the right side of the body, draw the wing — a layered, flowing shape that follows the curve of the body. At the top of the wing, add a small folded flap of feathers, like a little shoulder cap sitting just below where the neck meets the body. This folded flap is what gives the wing a sense of depth right from the start, suggesting that there are multiple layers of feathers beneath it rather than just one flat surface.
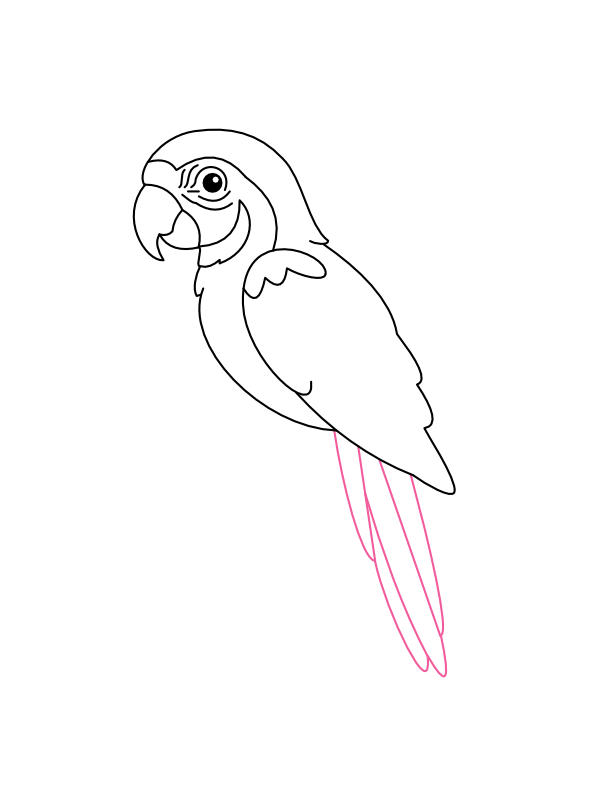
From the narrow base of the body, sweep two or three long, tapered feathers downward and to the right, letting them fan out slightly so the longest one reaches the farthest. A long tail is one of the most visually satisfying parts of drawing any macaw — those trailing feathers are what give the bird its elegant, elongated silhouette. Vary the length slightly between each feather rather than making them all identical, since a small difference in length is what makes the tail look natural rather than printed from a template.
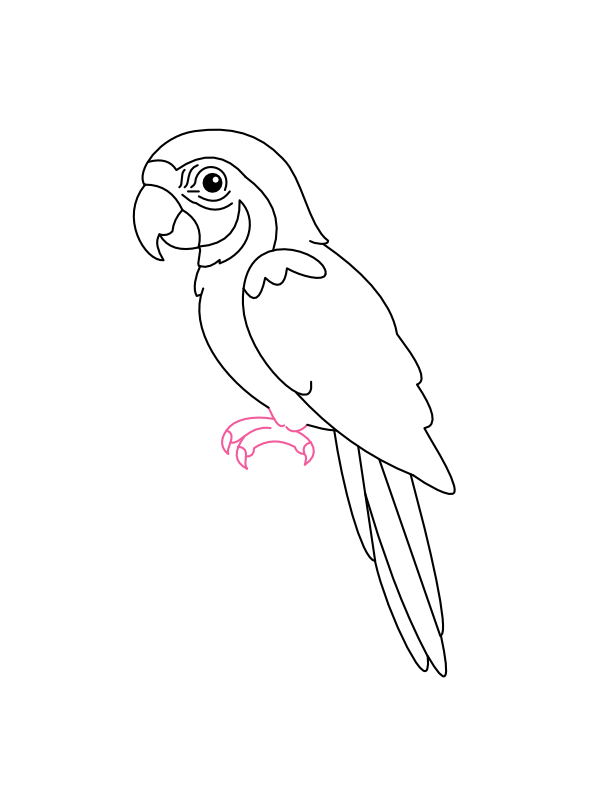
Near the lower-left edge of the body, draw the feet — two short, sturdy legs ending in curved talons that grip an imaginary perch. A parrot's foot has four toes, typically with two pointing forward and two curling back, which is what allows them to grip branches so tightly. Keep the claws short and curved rather than long and sharp; on a cute drawing, overly dramatic talons tend to look a little out of place on such a cheerful bird.
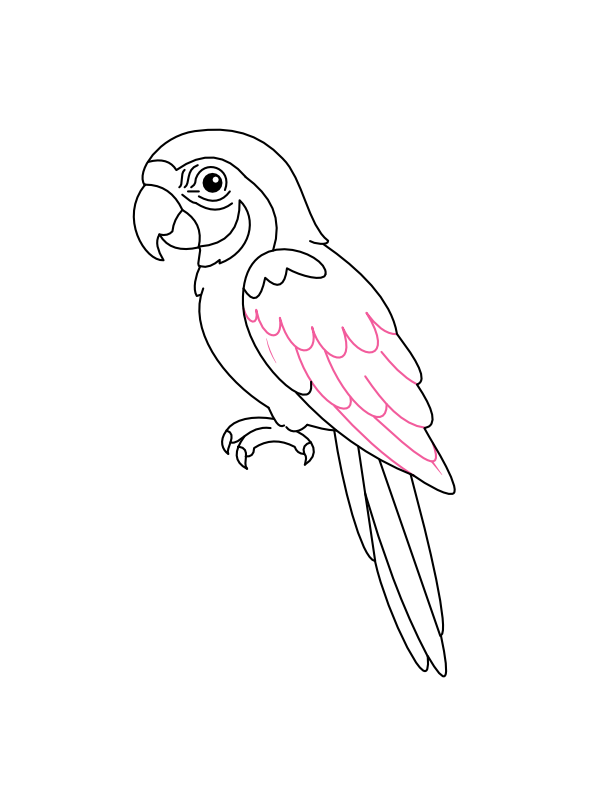
Across the surface of the wing, draw two or three rows of overlapping scalloped lines, each row curving to follow the shape of the wing beneath it. Work from the top of the wing downward, letting each row of feathers slightly overlap the one above it, just like shingles on a roof. This layered effect is the real secret to making the wing look full and textured — one flat surface with a few random lines across it never quite has the same convincing quality as properly overlapping rows.
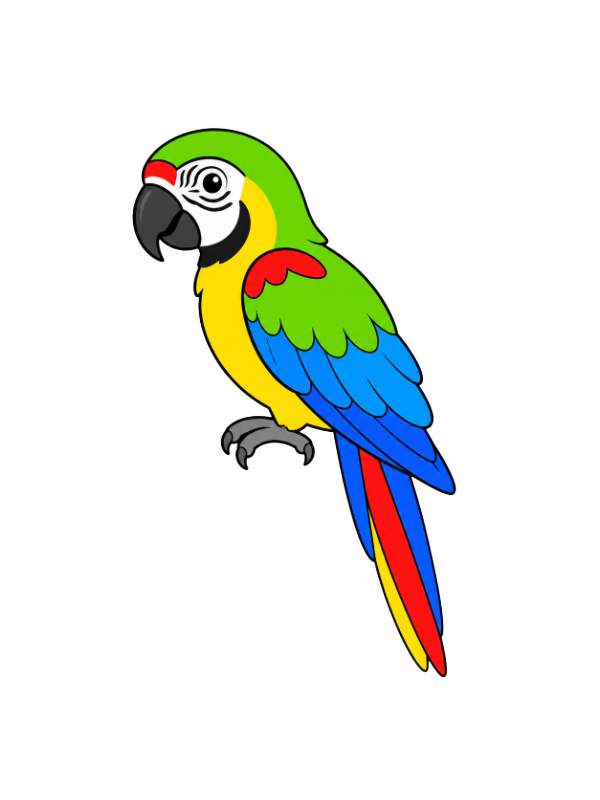
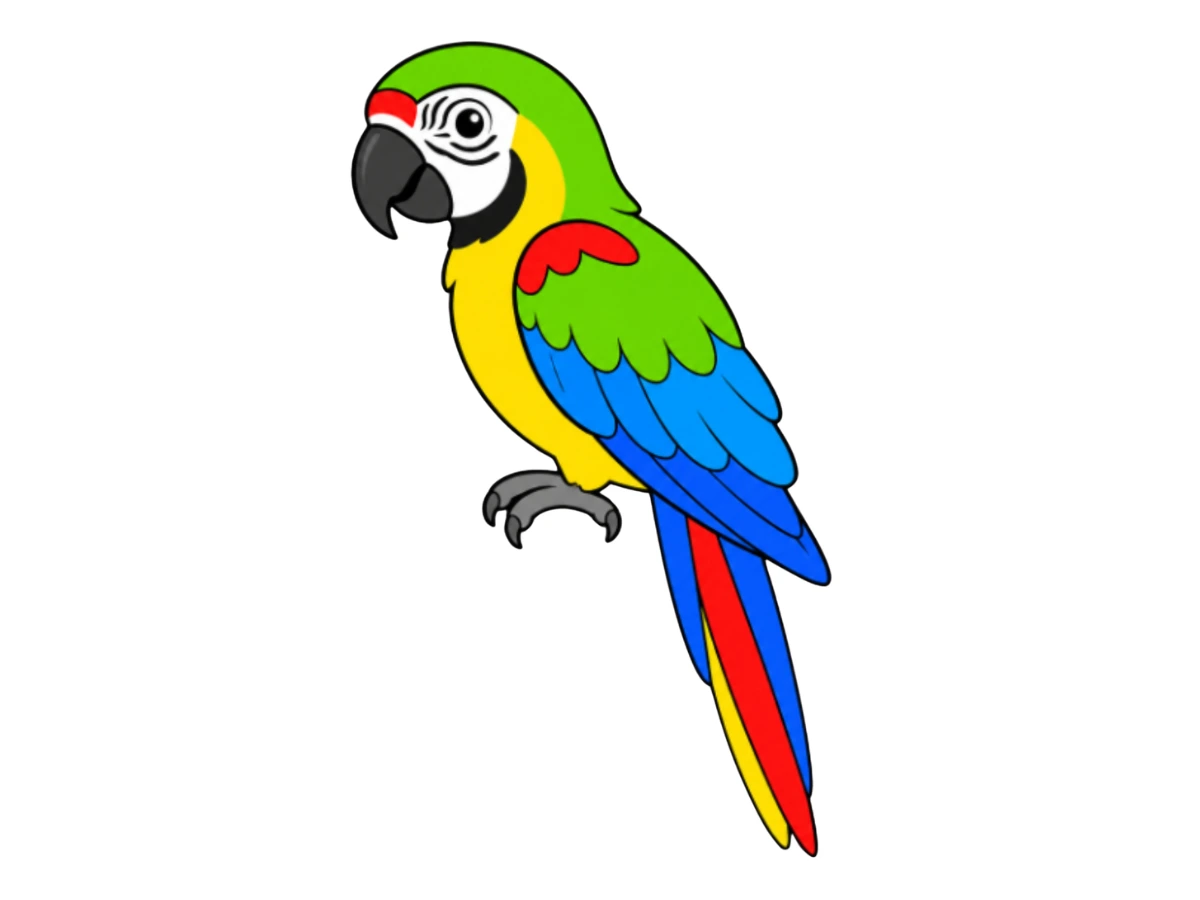
Now for the most satisfying part — a macaw's colors are genuinely one of the most fun things to put on paper!
Once all the color is in, that combination of green, yellow, blue, and red against the white cheek patch is pure tropical magic — your parrot looks ready to perch on someone's shoulder and start chatting. 🦜
The part most beginners find tricky is that hooked beak from Step 2 — it tends to either come out too small and timid-looking, or too enormous and cartoonish. The trick is to draw the upper half first with a confident curve and a strong downward hook at the tip, then fit the smaller lower half underneath it rather than trying to draw both at once. Once the beak feels right, the rest of the face almost places itself around it.
Once you're comfortable with this pose, try drawing the parrot with its wings spread mid-flight, or perched on an outstretched hand. A full tropical scene with a few palm leaves and a bright sky behind it would also be a wonderful way to give this colorful bird the backdrop it deserves.
Dolphins are a favorite subject for beach and ocean art. Learn how to draw a playful leaping dolphin step-by-step, starting with one long, sweeping curve and building up the fins, tail, and friendly face.
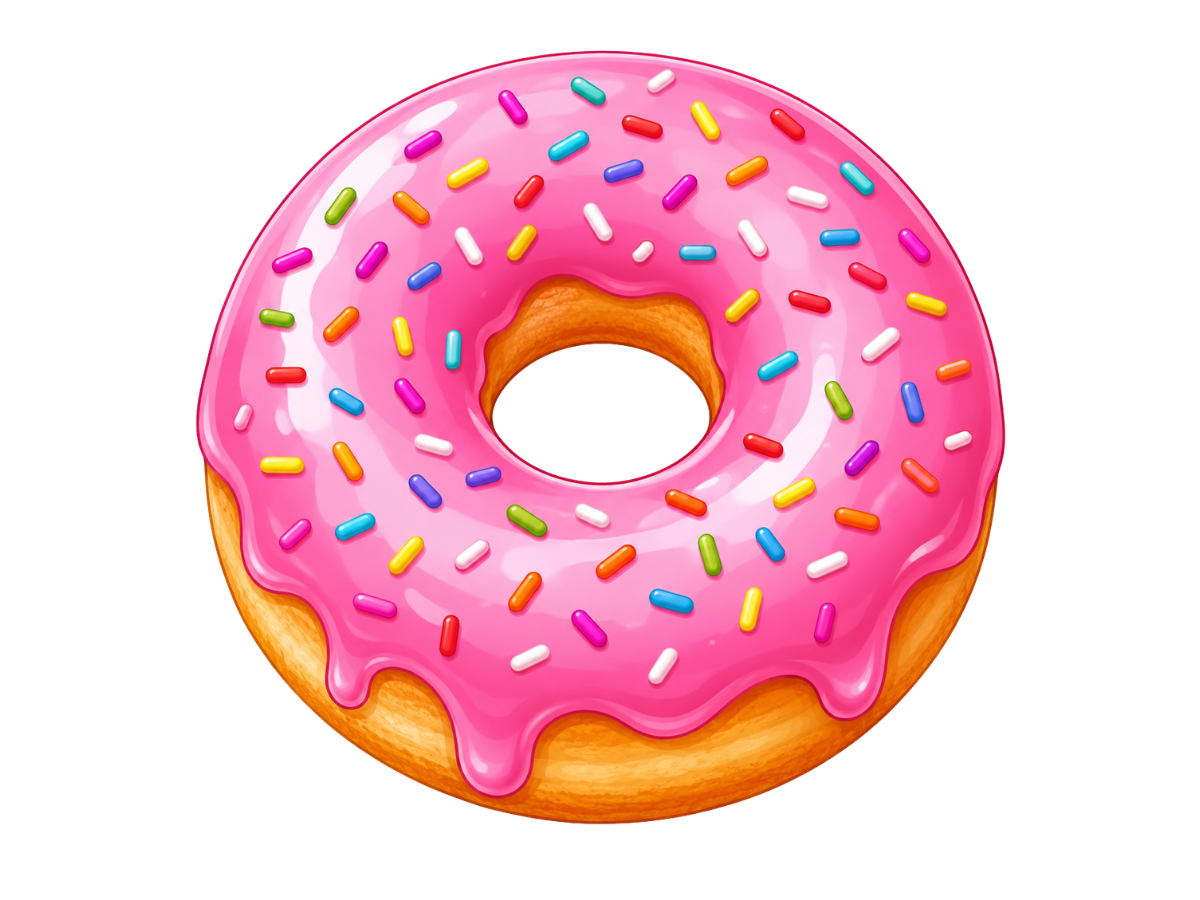
Few things look as instantly cheerful on paper as a donut dripping with icing and scattered with colorful sprinkles. It's one of those drawings that feels like a treat in itself — round, glossy, a little messy in the best way.
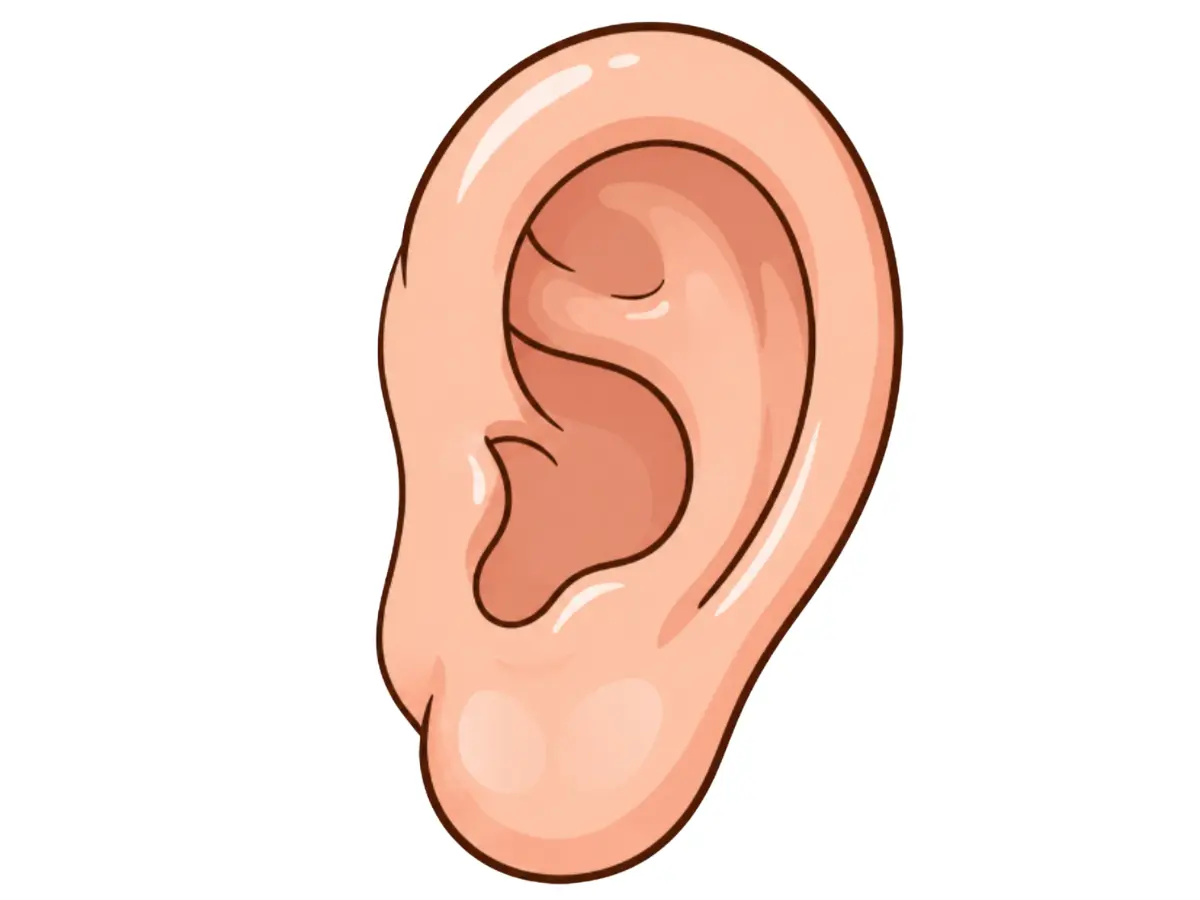
Ears have a bit of a reputation for being one of the trickier facial features to draw. Learn how to draw a realistic ear with this easy, step-by-step tutorial!
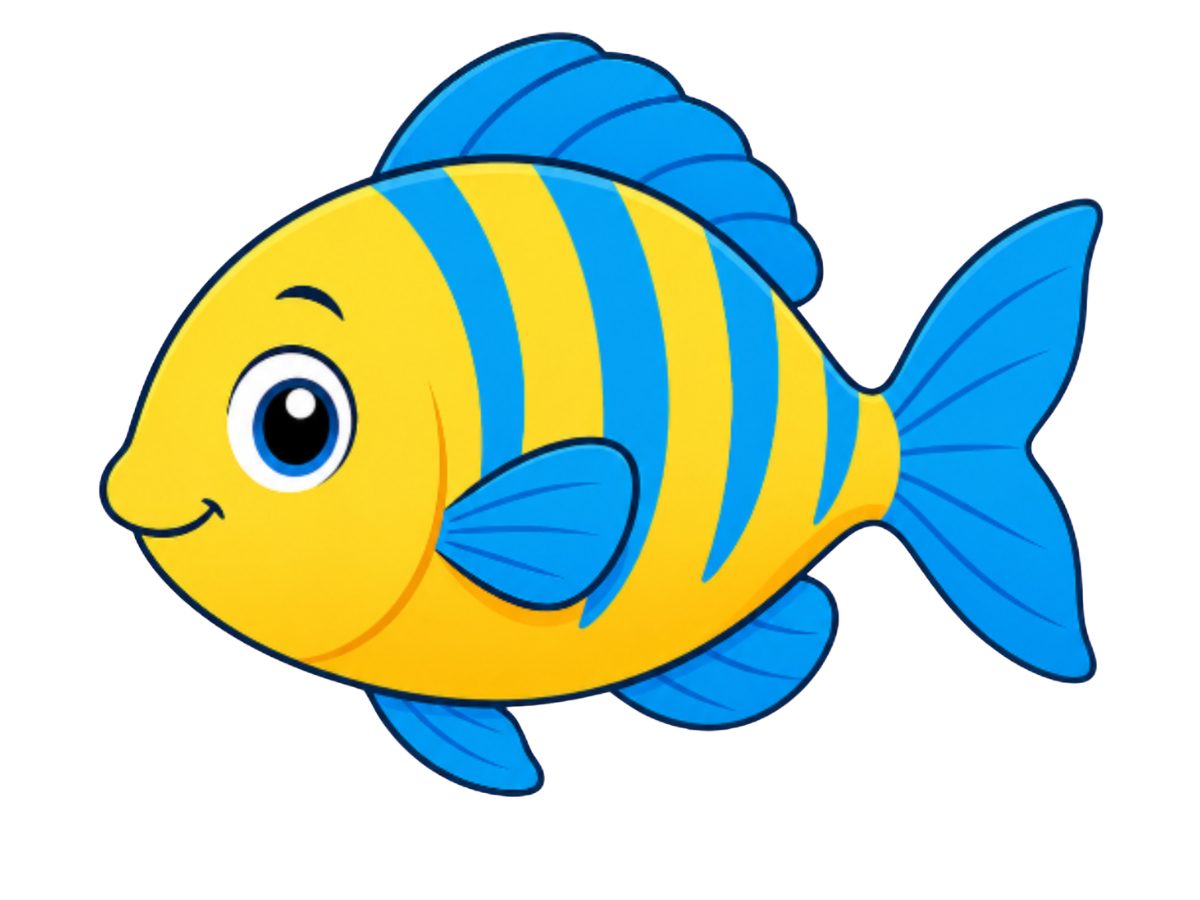
A fish is one of those drawings that feels like it belongs to the ocean the moment you start it. That plump, lemon-shaped body, the big round eye, and the fanned-out fins all come together to make one of the friendliest little sea creatures you can put on paper.