
How to Draw a Ear
Ears have a bit of a reputation for being one of the trickier facial features to draw. Learn how to draw a realistic ear with this easy, step-by-step tutorial!
AR Drawing
Drawing Tutorials
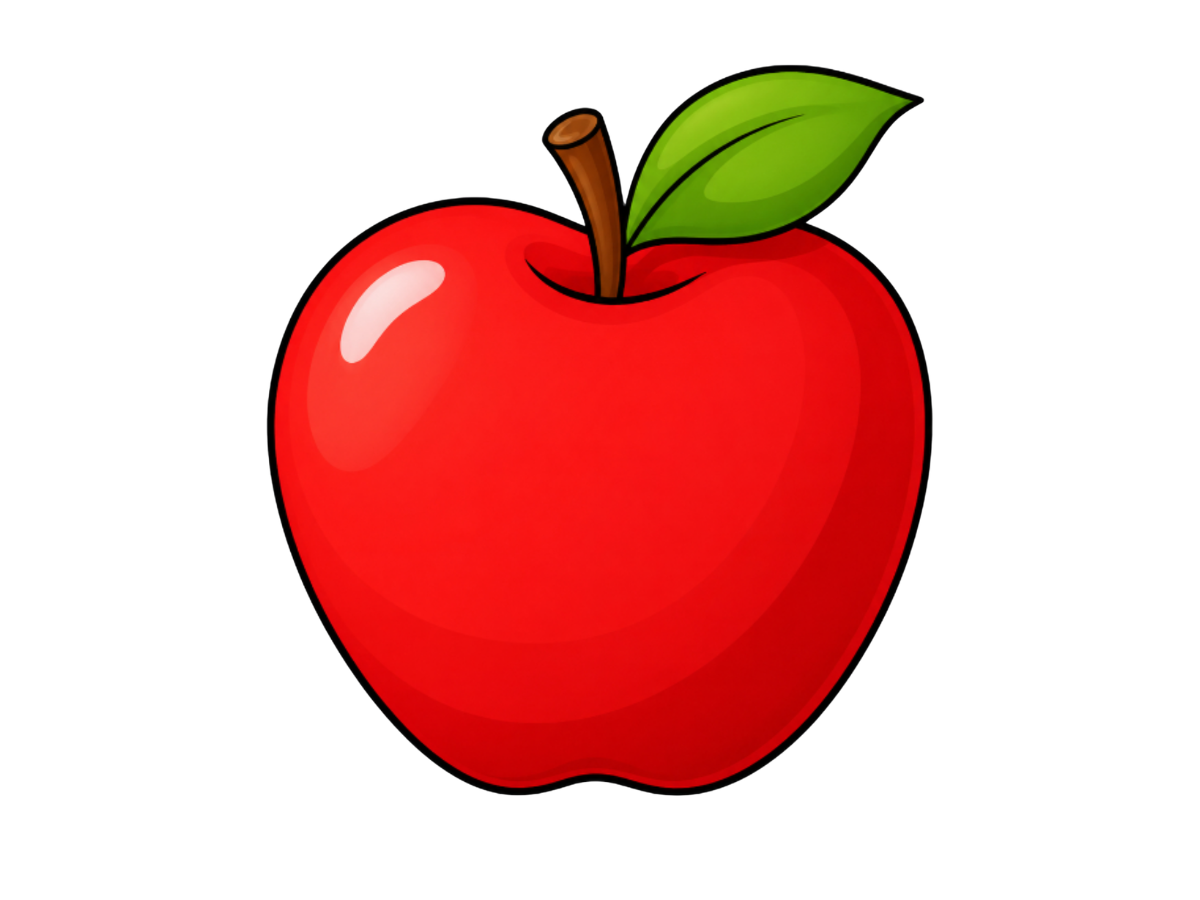
An apple has to be one of the friendliest shapes you can put on paper — round, familiar, a little lopsided in exactly the way a real apple is, with that small stem and leaf poking out the top like it was just picked off a branch. It's often one of the very first things people ever learn to draw, and there's a good reason for that: the whole fruit comes together from two curved lines, a tiny stem, and a single leaf, yet the end result is instantly recognizable. It's proof that you don't need a complicated drawing to get a genuinely satisfying one. Let's get drawing!

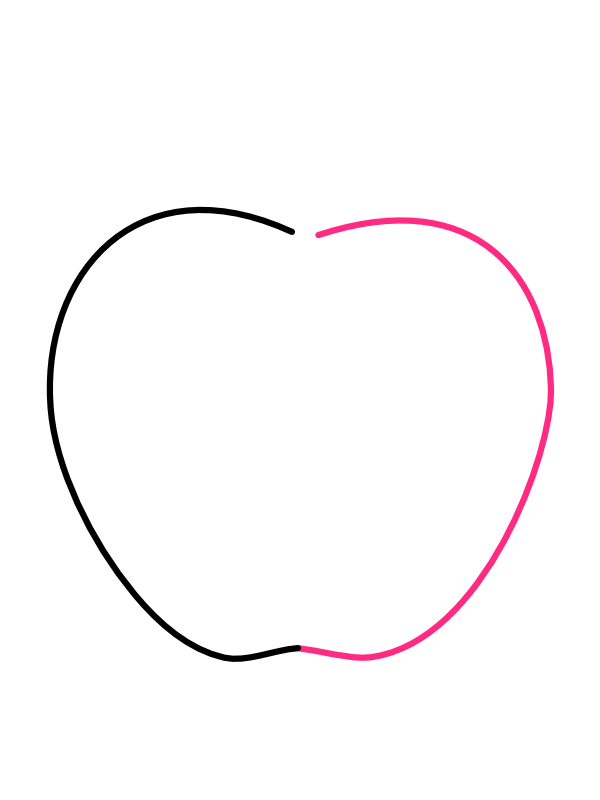
Starting a little below the top-center of your page, draw one long curved line that swings out to the left, dips down, and rounds back in toward the bottom — think of it like drawing a backwards letter C, but softened and rounded rather than sharp. Let the very top of this curve flatten out slightly rather than coming to a point, since that flattened top is where the stem will eventually sit, and let the bottom taper into a gentle curve rather than a straight edge. This one line already has the beginnings of an apple's personality — a little wider through the middle, narrower at both ends, and never perfectly symmetrical.

From the same starting point at the top, draw a matching curve heading the opposite direction — out to the right, down through the widest part of the fruit, and back in toward the bottom to meet the end of the first line. Don't aim for a perfectly mirrored twin of the left side; real apples are almost never symmetrical, and a right side that bulges very slightly more or less than the left actually makes the shape feel more convincing. Where the two curves meet at the bottom, let them dip inward just slightly before joining, creating that small notch you see at the base of almost every apple rather than a smooth, unbroken point.

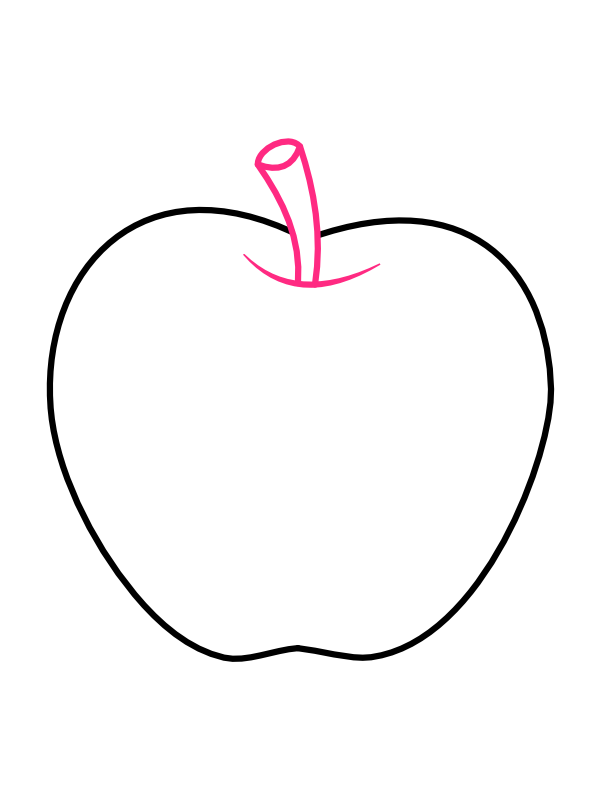
At the flattened gap left at the top of the apple, draw two short curved lines running upward and very slightly to one side to form the stem — one line a touch longer than the other so the stem doesn't look perfectly straight and rigid. Close off the very top of the stem with a small curved cap, and add a short curved line just beneath it, dipping down into the body of the apple, to suggest the little hollow where the stem meets the fruit. This dip is a small detail, but it's the piece that keeps the stem from looking like it's just floating on top of a plain circle.

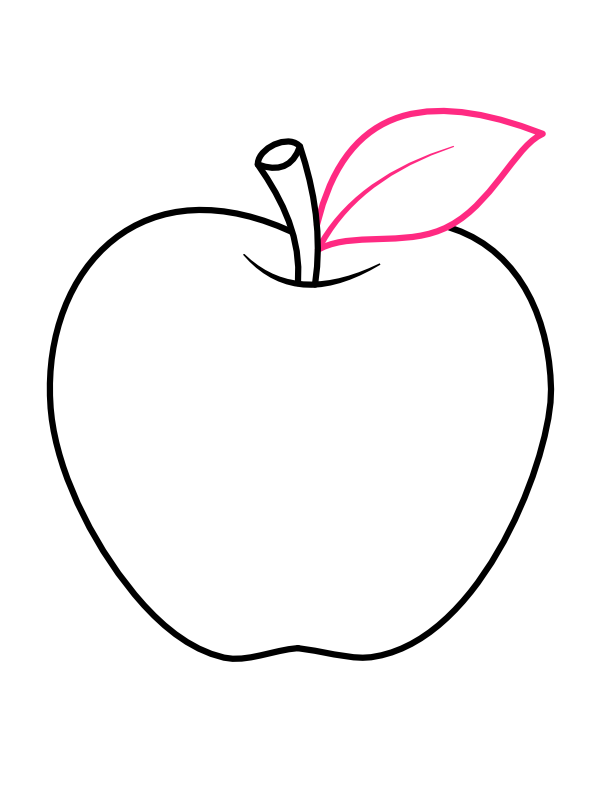
Just beside the stem, draw a leaf shape — a pointed oval that widens through the middle and narrows to a soft point at the tip, angled outward and slightly upward as though it's tilting away from the stem. Add a single curved vein line running from the base of the leaf out toward its tip, roughly following the leaf's own outer curve rather than cutting straight through the center. This one leaf, sitting just off to the side of the stem, is what finally tips the whole drawing from 'a round fruit' into 'unmistakably an apple' — it's a small addition with an outsized effect.

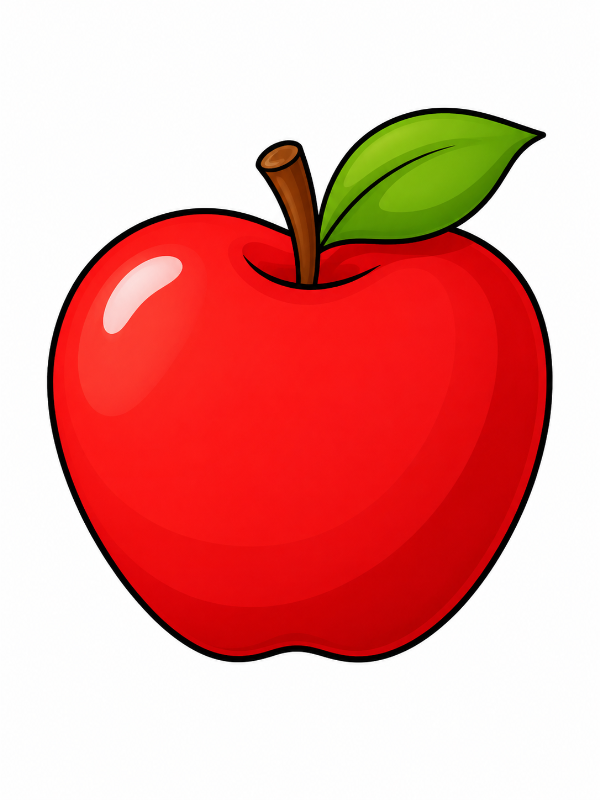
Now for the most satisfying part!
Once the color is in, that glossy red body with the single bright highlight is what makes the apple look genuinely juicy and ready to eat rather than flat and paper-thin — it's a tiny drawing that packs in a surprising amount of charm. 🍎
The part of this drawing most people hesitate over is getting the two body curves in Step 1 and Step 2 to meet up cleanly at the top and bottom without the whole shape looking pinched or lopsided. The fix is simpler than it seems: draw the two curves a little loosely at first, let them overlap slightly rather than trying to land them perfectly, and then clean up the meeting points with your eraser once both sides are down. It's far easier to trim away a little extra line than to stretch a curve that fell short.
Once this basic apple feels easy, try drawing a small bite taken out of one side, or a short curved worm peeking out through a little hole — both are quick additions that turn a plain apple into a tiny scene with a bit of story to it.
Happy drawing! 🍎
Ears have a bit of a reputation for being one of the trickier facial features to draw. Learn how to draw a realistic ear with this easy, step-by-step tutorial!
A hibiscus is one of those flowers that immediately feels like summer — big, open petals fanned out around a long graceful stamen. It looks impressive, but the secret is that every single petal follows almost the same shape, just rotated slightly around the center. Follow this easy step-by-step tutorial!
There is something magical about a hot air balloon floating across a clear blue sky. Those bold, colorful stripes and the little wicker basket hanging below make it one of the most satisfying things to draw — perfect for beginners of all ages!
There is nothing quite as fun and colorful to draw as a big swirly ice cream cone. With its soft, wavy layers and the option to fill it with every color of the rainbow, this is one of those drawings that looks impressive but is actually built from just a few repeating curved shapes. Perfect for a relaxing afternoon of drawing, this tutorial will have you creating a delicious-looking treat in no time.