



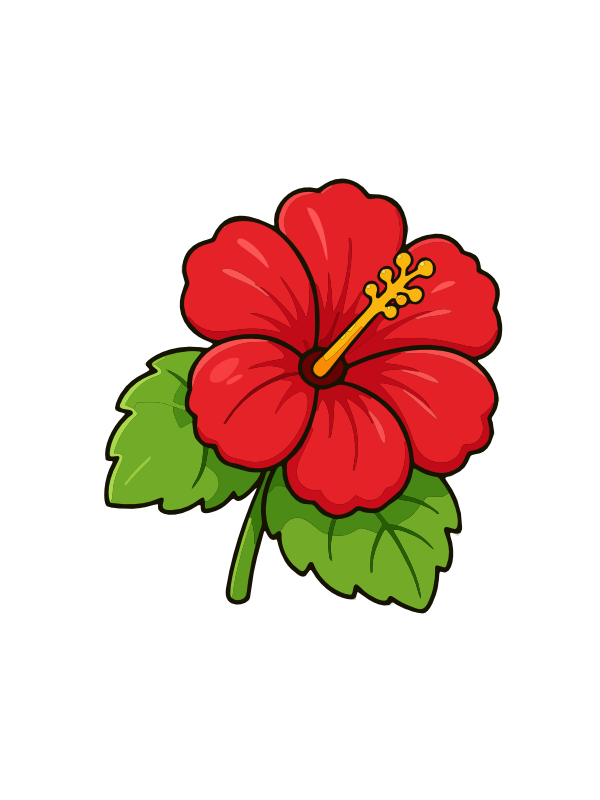

How to Draw a Hibiscus Flower

July 2, 2026
13 Steps
AR Drawing Logo

AR Drawing

Drawing Tutorials

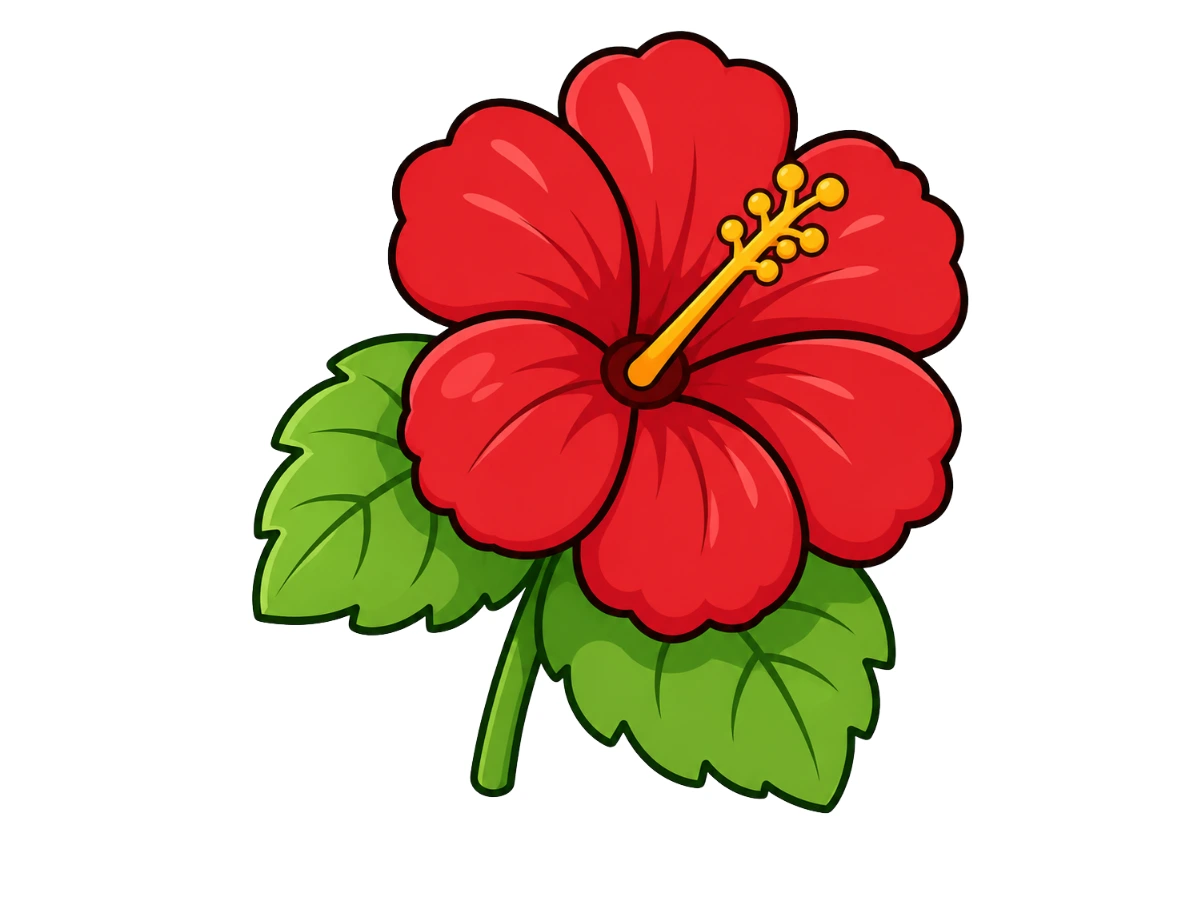
A hibiscus is one of those flowers that immediately feels like summer — big, open petals fanned out around a long graceful stamen, the kind of bloom you see in tropical gardens and on every beach resort brochure. It looks impressive, but the secret is that every single petal follows almost the same shape, just rotated slightly around the center. Once you get that first petal right, you've basically solved the whole flower. The stamen and leaves are the finishing details that give it personality, and by the time the color goes on, you'll wonder why you ever thought hibiscus was a hard flower to draw. Let's get drawing!

How to Draw a Hibiscus Flower
What You Will Need
  • Pencil
  • Eraser
  • White paper
  • Black marker or fine-liner (optional)
  • Colored pencils, crayons, or markers
1

Draw the Center

Step 1: Draw the Center

Right in the middle of your paper, draw a small, slightly flattened oval. This tiny shape is the anchor of the entire flower — every petal will grow outward from it, and the stamen will pass right through it. Keeping it small and roughly centered is the most important thing you can do in this first step, because everything that comes later will be organized around this one little oval.

2

Draw the First Petal

Step 2: Draw the First Petal

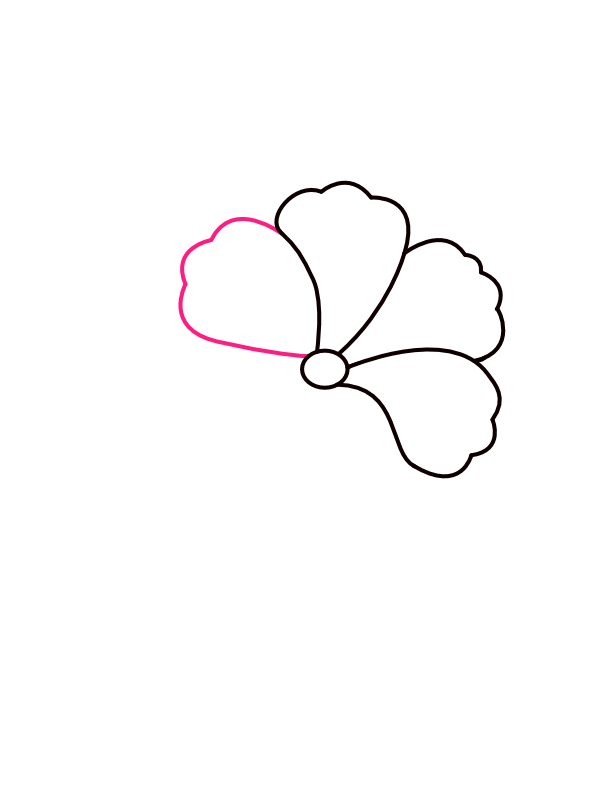
From the top of the center oval, draw the first petal — a soft, rounded shape that curves upward and slightly to the left, with a gentle lobed or bumpy edge along the top. The petal should narrow back down to the base of the center oval where it meets. Think of it like a rounded mitten shape or a soft cloud blooming upward. This petal sets the size for all the others, so take a moment to make sure it feels right before moving on.

3

Add the Second Petal

Step 3: Add the Second Petal

From the right side of the center, draw a second petal that fans out horizontally to the right — wider and more open than the first, with the same softly bumped outer edge. Where the base of this petal meets the center, let it overlap the first petal's base just slightly. This small overlap is what makes the flower feel like the petals are actually layered and fanning out from one shared point, rather than five separate shapes that just happen to be grouped together.

4

Draw the Third Petal

Step 4: Draw the Third Petal

Moving to the lower-right section of the flower, draw the third petal curving downward and to the right. This one should sit at roughly a diagonal below and to the right of the center, following the same lobed outline as the petals before it. By this point you should have three petals arranged in a loose arc from upper-left to lower-right — the flower is beginning to take shape on the right side of the circle.

5

Add the Fourth Petal

Step 5: Add the Fourth Petal

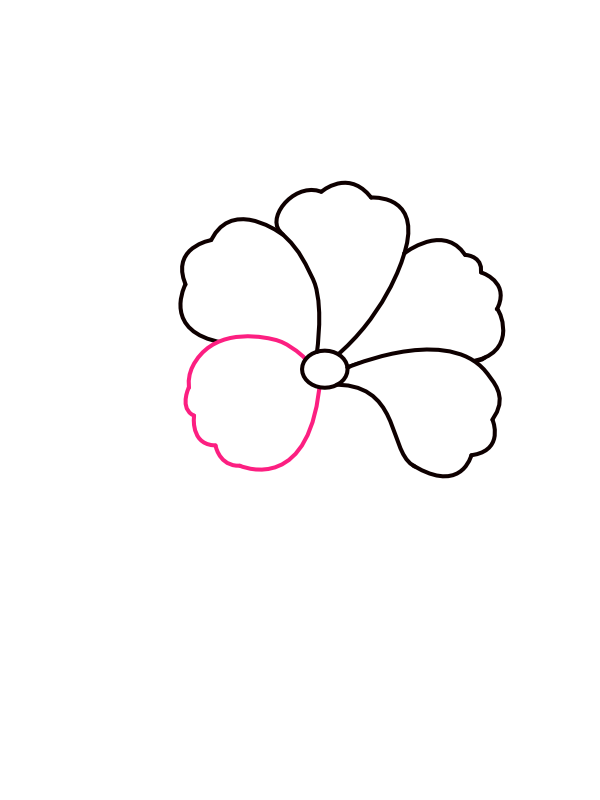
On the left side of the center, draw a fourth petal that points outward to the left, mirroring the second petal on the opposite side. Let it sweep out naturally with the same soft bumpy edge, and bring its base back to meet the center oval. With four petals in place — upper-left, right, lower-right, and left — the flower's frame is now established, with just the lower section still open.

6

Draw the Fifth Petal

Step 6: Draw the Fifth Petal

At the lower-left of the flower, draw the fifth petal — a large, rounded, slightly fuller shape that sits below and to the left of the center. This petal is often one of the most visible in a hibiscus drawing because of its central position at the bottom, so give it the same soft bumpy outer edge and let it feel just as full and round as the others. After this step, five of the six petal slots are filled.

7

Complete the Sixth Petal

Step 7: Complete the Sixth Petal

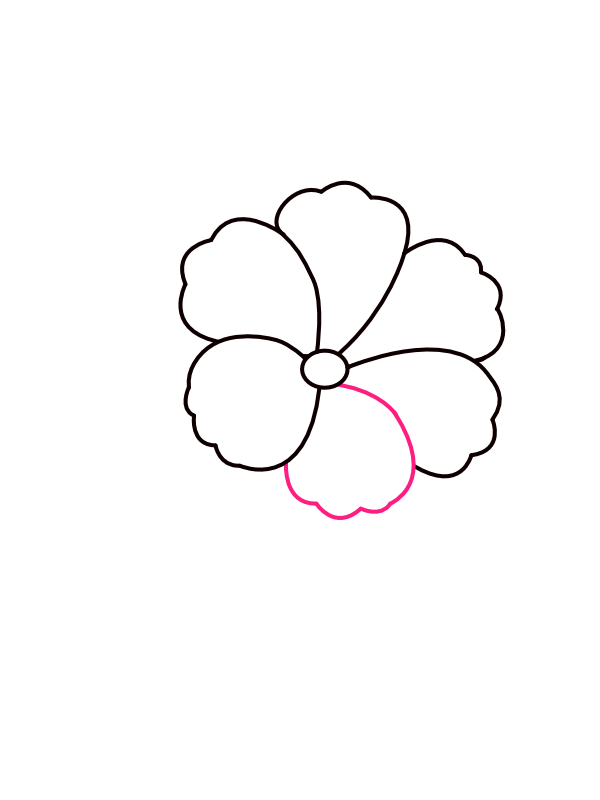
Between the third petal (lower-right) and the fifth petal (lower-left), draw the sixth and final petal nestled at the bottom of the flower. This last petal tucks in beneath the center, completing the full circular fan. Step back and check that the petals feel roughly evenly spaced around the oval — they don't need to be mathematically perfect, but a slightly uneven gap is much easier to spot and correct now than after all the detail lines go in.

8

Add the Petal Vein Lines

Step 8: Add the Petal Vein Lines

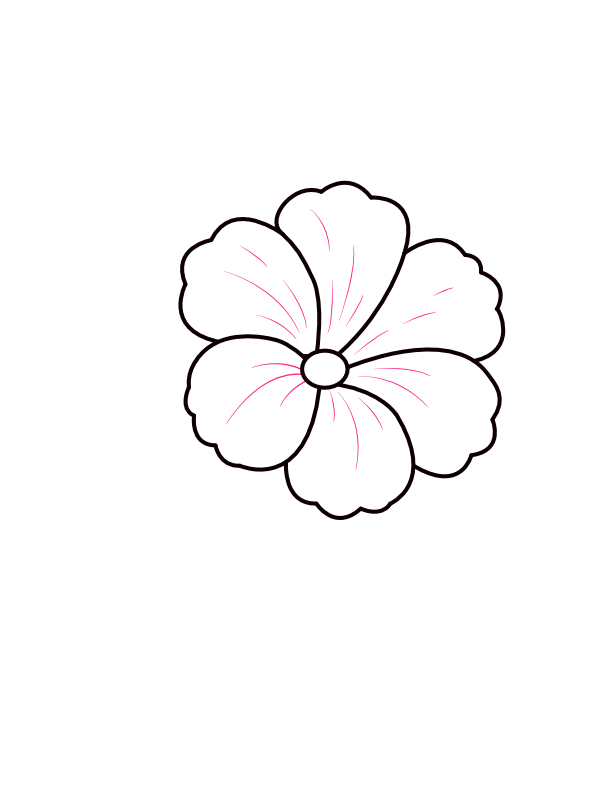
Inside every petal, draw a few thin lines radiating outward from the base toward the tip, following the natural curve of each petal. These lines don't need to reach all the way to the edge — stopping them about two-thirds of the way out looks more natural than running them to the very tip. The veins are what transform flat, blank petals into something that has texture and weight, and they take maybe two minutes to add across all six petals.

9

Draw the Pistil Tube

Step 9: Draw the Pistil Tube

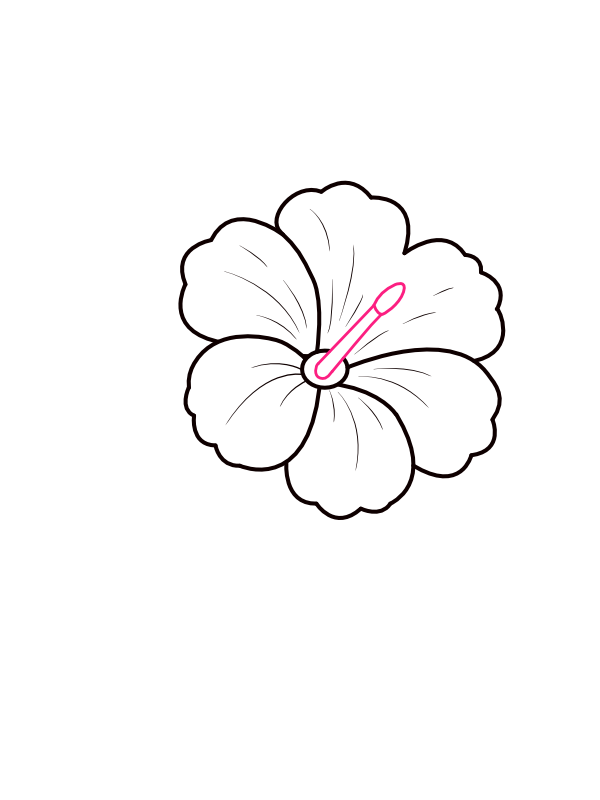
From the center oval, draw the long pistil tube — a slender, elongated shape that extends outward toward the upper-right, stretching past the edge of the petals. Give it a slightly oval cross-section so it reads as a rounded tube rather than a flat line. This is the most distinctive feature of a hibiscus flower, that long protruding tube that shoots out from the center like an antenna, and it's also what most people find most satisfying to draw once they get the length right.

10

Add the Stamen Anthers

Step 10: Add the Stamen Anthers

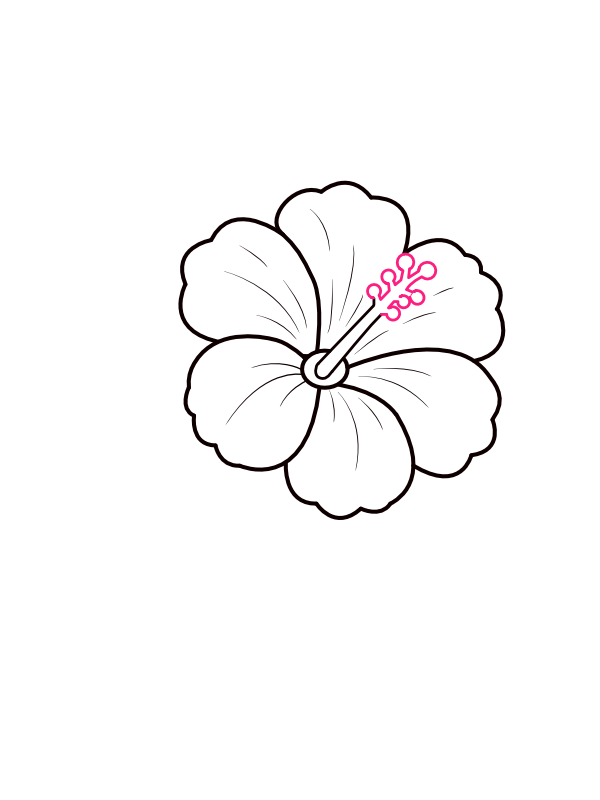
At the tip of the pistil tube, draw a cluster of small, curling, looping shapes — the anther tips that carry the pollen. Let them splay outward slightly unevenly, with a few branching off at different angles rather than all pointing the same direction. These little squiggles might seem like an afterthought, but they're the detail that makes the hibiscus unmistakable from any other flower. A tight, uniform cluster looks stiff; a loose, slightly chaotic one looks alive.

11

Draw the Stem

Step 11: Draw the Stem

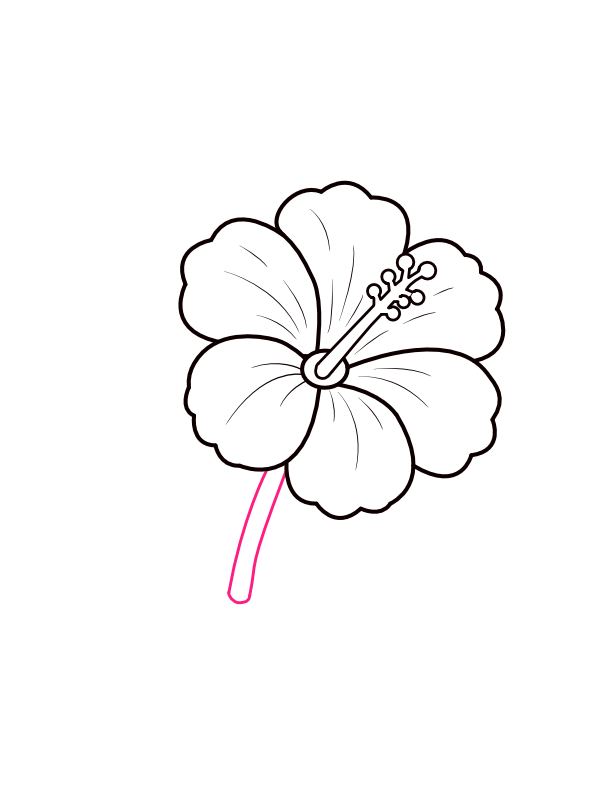
Below the center of the flower, draw a short, gently curved stem dropping downward. Give it some thickness — draw it as two parallel lines rather than a single thin line — so it looks sturdy enough to actually support the weight of the bloom above it. A stem that's too thin or too straight tends to make the whole flower look like it's floating rather than growing, so a little body and a slight curve go a long way.

12

Add the Leaves

Step 12: Add the Leaves

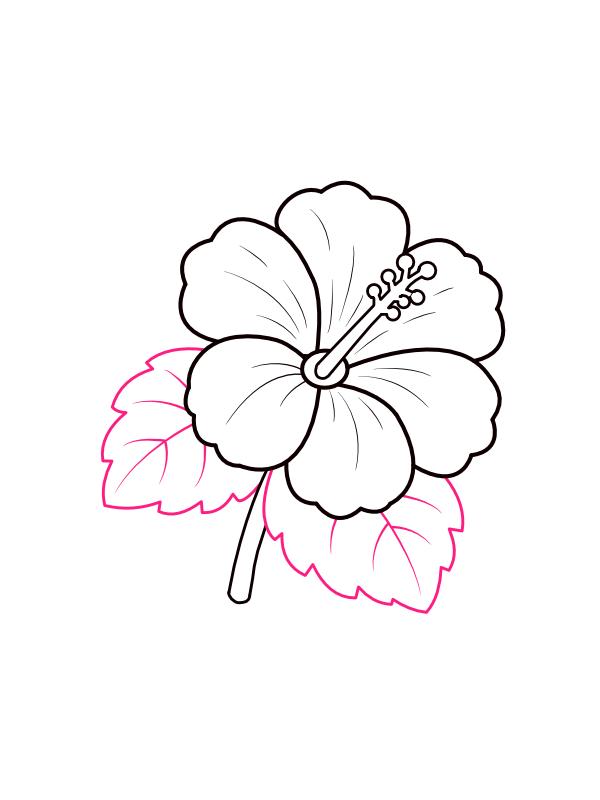
On either side of the stem, draw one broad leaf to the left and one to the right. Each leaf should be a large, pointed oval shape with a serrated or gently toothed edge all the way around and a single main vein running down its center. Let the leaves sit naturally at the base of the flower, overlapping the lower petals slightly where the stem begins — this overlapping is what roots the bloom and makes the whole drawing feel like a real plant rather than a cut flower with a handle.

13

Color Your Hibiscus

Step 13: Color Your Hibiscus

Now for the most satisfying part!

  • Petals: Deep, vivid red all over, with a slightly darker red in the deeper creases between petals and along the base of each one where they meet the center
  • Petal highlight: A thin, lighter red or warm pink streak running down the center of each petal to suggest where the light catches the surface
  • Center base: Dark reddish-brown or deep crimson where all the petals converge
  • Pistil tube: Warm orange or golden yellow, fading slightly toward the tip
  • Anther tips: Bright golden yellow — small, rounded, and dotted like pollen beads
  • Stem: Deep forest green
  • Leaves: Medium to bright green, with slightly darker shading along the veins and edges and a lighter highlight strip running down the center vein

Once the color fills in, the contrast between that bold red bloom and the fresh green leaves is exactly what makes a hibiscus so visually striking — your flower looks ready to bloom in a tropical garden. 🌺

Final Thoughts

The biggest lesson this flower teaches is patience with the petals — all six of them. It's tempting to rush through them since they're all roughly the same shape, but taking time to check the spacing after each one is added is what prevents the finished flower from looking lopsided or crowded on one side. The stamen is the other detail worth slowing down for, since the length and the loose curl of the anthers are what set a hibiscus apart from every other five-petaled flower.

Once you're happy with this front-facing view, try drawing the same flower at a slight angle so one or two of the petals tuck partway behind the others, or sketch a second smaller bud on the same stem just beginning to open beside the main bloom.