How to Draw a Hot Air Balloon

June 17, 2026
10 Steps
AR Drawing Logo

AR Drawing

Drawing Tutorials

There is something magical about a hot air balloon floating across a clear blue sky. Those bold, colorful stripes and the little wicker basket hanging below make it one of the most satisfying things to draw. The great news is that a hot air balloon is built almost entirely from simple curved lines and basic shapes — making it a perfect drawing project for beginners of all ages. Follow these ten easy steps and you will have a beautiful, fully colored hot air balloon ready to show off!

How to Draw a Hot Air Balloon
What You Will Need
  • Pencil
  • Eraser
  • White paper
  • Black marker or fine-liner (optional)
  • Colored pencils, crayons, or markers
1

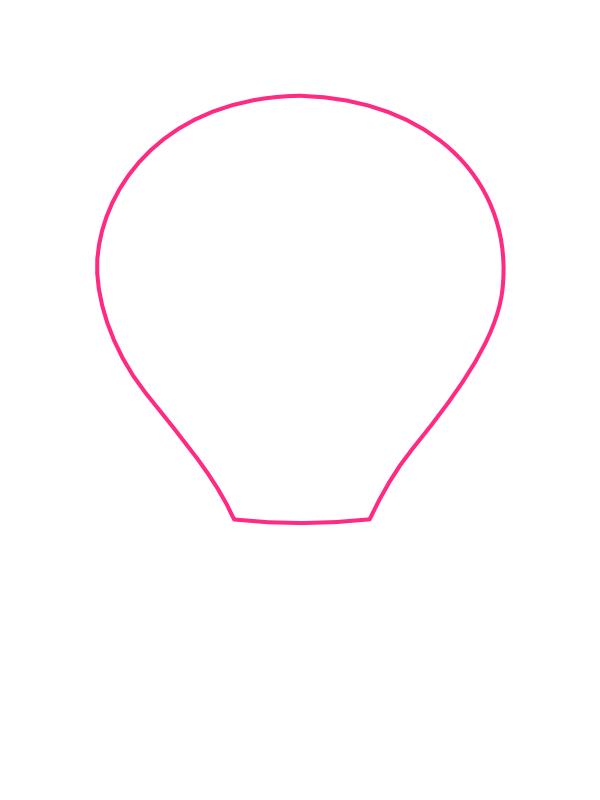
Draw the Balloon Shape

Step 1: Draw the Balloon Shape

Start near the top center of your paper. Draw a large, rounded shape — wide and full at the top like a big circle, then curving gently inward as it comes down, ending with a short flat base at the bottom. Think of it like a giant teardrop that is slightly flattened at the very bottom. This is the main envelope of your hot air balloon.

2

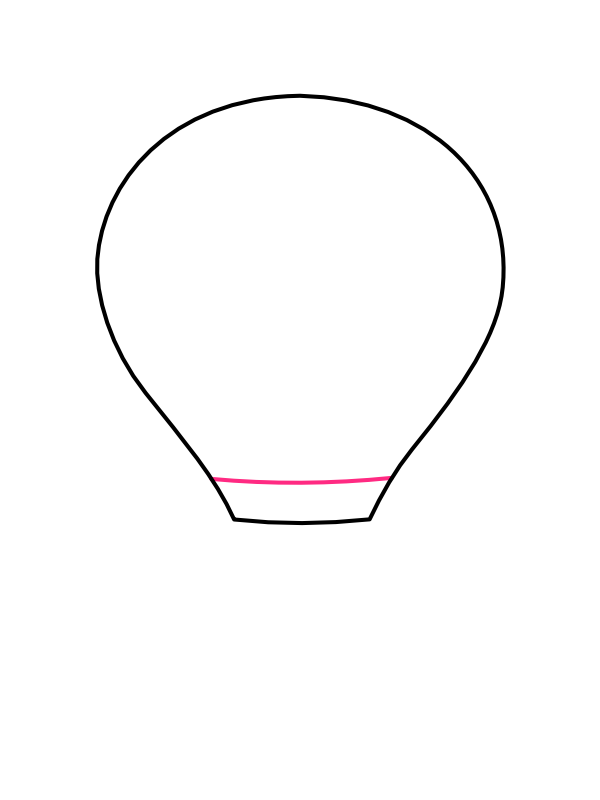
Add the Bottom Band

Step 2: Add the Bottom Band

Draw a straight horizontal line near the bottom of the balloon shape, just above the flat base. This line separates the main balloon from the lower skirt section. It should go all the way across the width of the balloon at that point, creating a clean dividing line between the two sections.

3

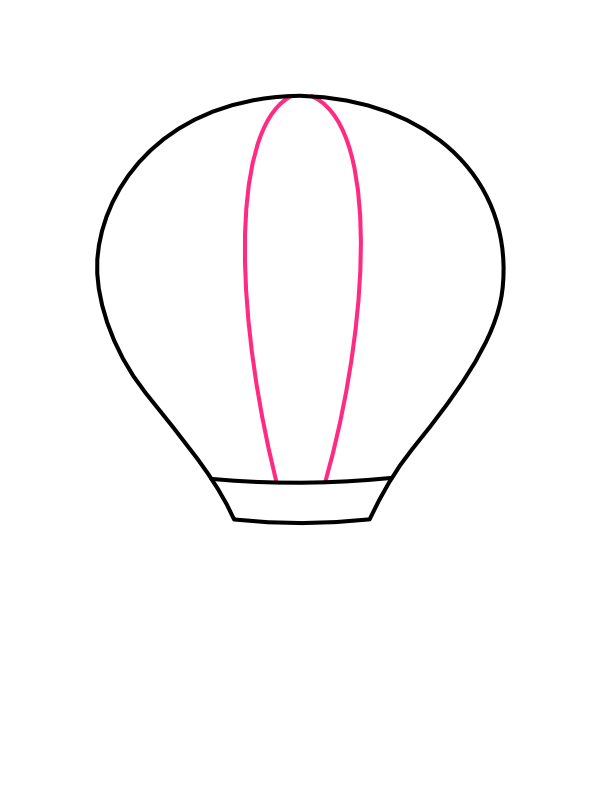
Draw the Center Panel Lines

Step 3: Draw the Center Panel Lines

Inside the balloon, draw two long curved lines running from the very top down to the bottom band. These two lines should curve gently outward, like a tall, narrow oval sitting in the center of the balloon. This creates the central panel — the most prominent stripe that runs right down the middle of the balloon.

4

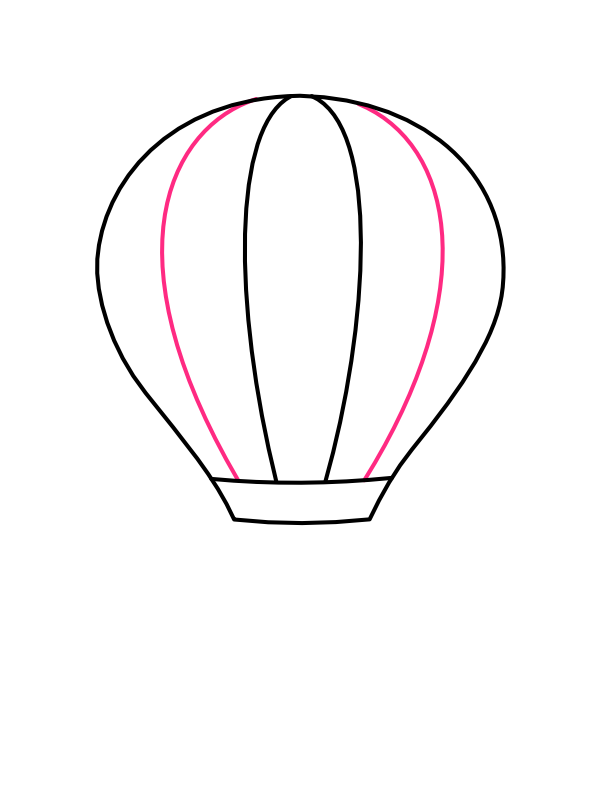
Add the Side Panel Lines

Step 4: Add the Side Panel Lines

On each side of the center panel, draw one more curved line following the same top-to-bottom direction. These lines should curve with the shape of the balloon, bowing outward slightly as they travel down. You now have four vertical panel divisions inside the balloon, giving it that classic hot air balloon stripe look.

5

Draw the Rope Cords

Step 5: Draw the Rope Cords

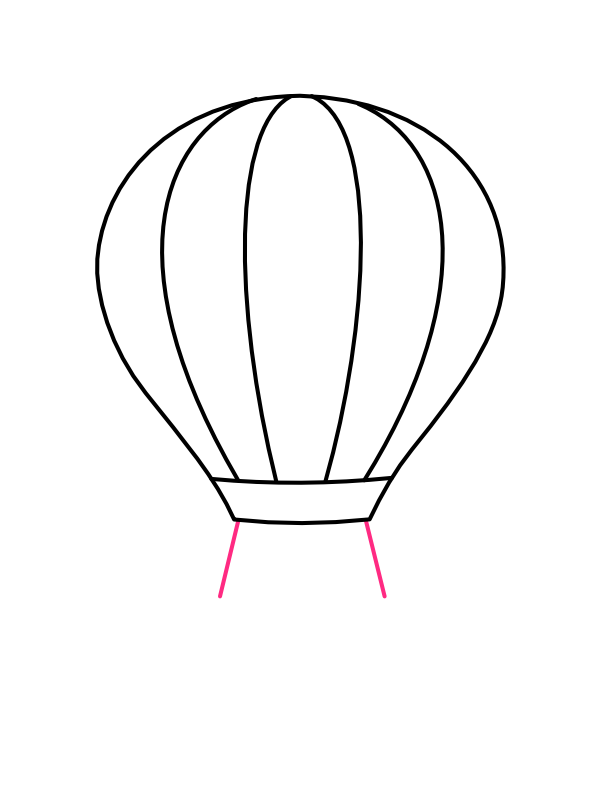
From the bottom corners of the balloon, draw two thin diagonal lines angling downward and inward. These are the load ropes that connect the balloon to the basket below. They should start just below the bottom band of the balloon and angle toward each other as they descend.

6

Add More Rope Details

Step 6: Add More Rope Details

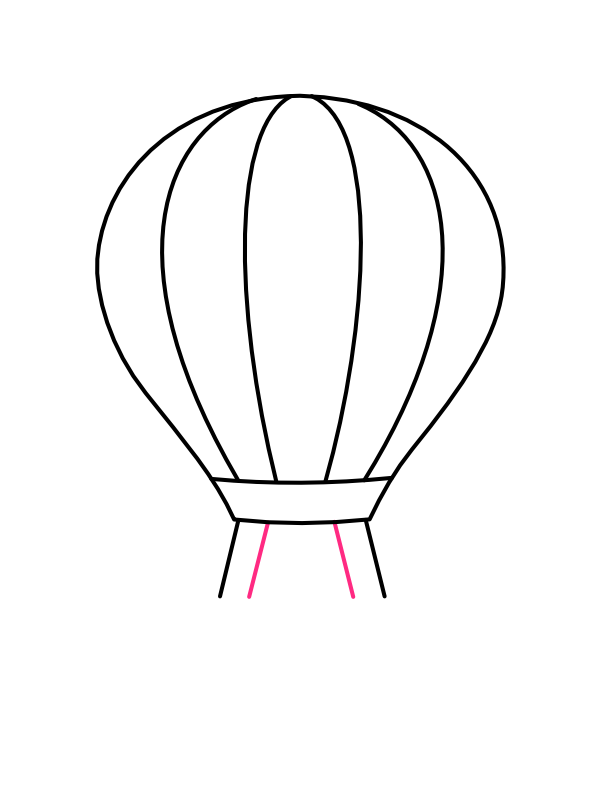
Add two more rope lines between the first two, creating a total of four evenly spaced cords. These ropes form a slight fan shape as they come down from the balloon. Getting these lines evenly spaced makes the drawing look balanced and realistic, so take your time placing them.

7

Draw the Basket

Step 7: Draw the Basket

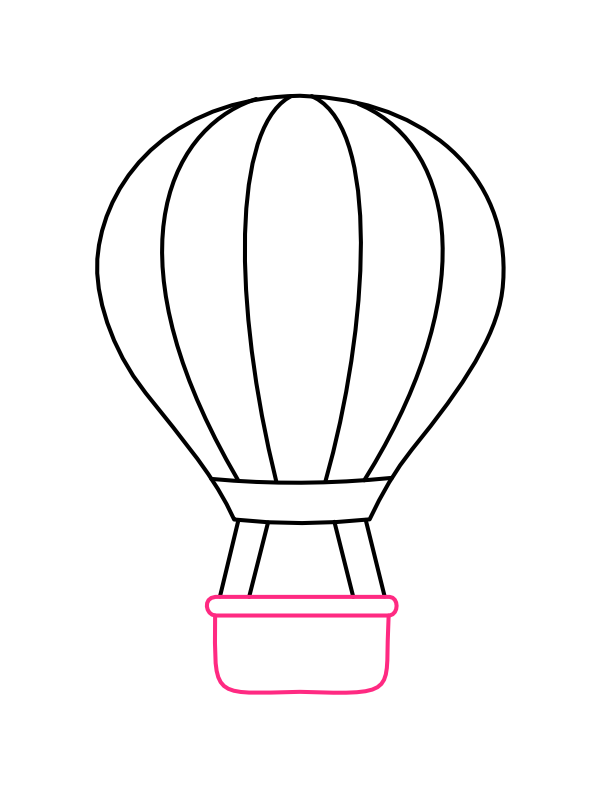
At the bottom of the rope cords, draw the wicker basket. It is a simple rounded rectangle shape — slightly wider than it is tall, with soft rounded corners. Draw a thin horizontal band across the very top of the basket to separate the upper rim from the body below. This basket is where the passengers would stand!

8

Add the Burner and Flame

Step 8: Add the Burner and Flame

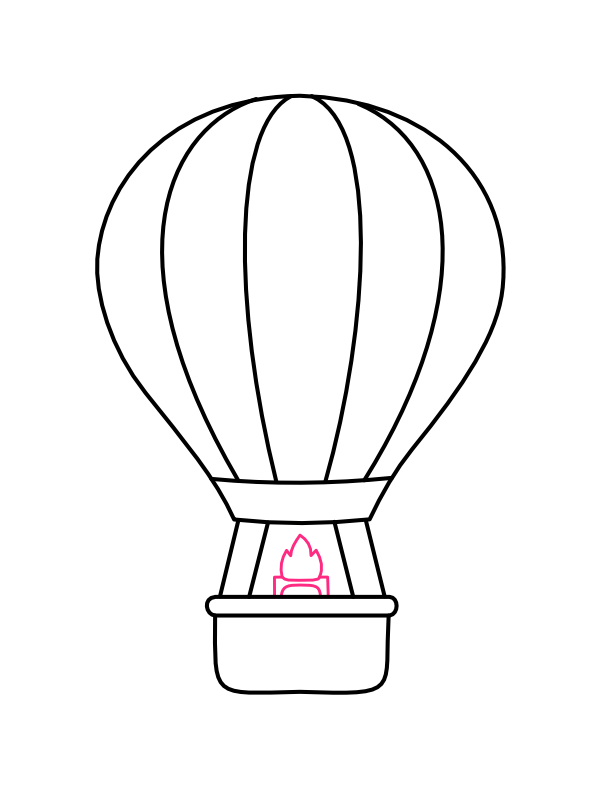
In the center of the upper section between the ropes and the basket rim, draw a small burner detail. Draw a tiny rectangular burner base, and rising from it, draw a small flame shape — like a little teardrop or fire with a pointed tip. This burner is what heats the air inside the balloon to make it fly.

9

Add the Basket Weave Pattern

Step 9: Add the Basket Weave Pattern

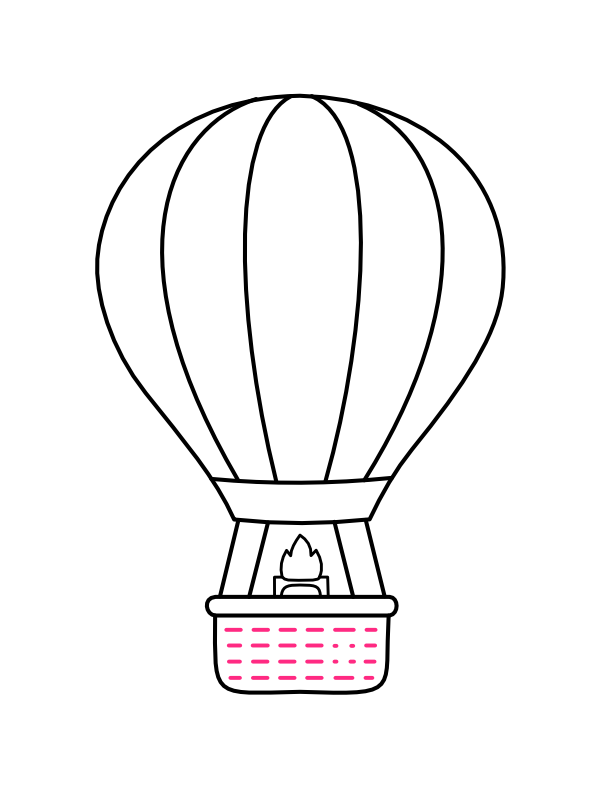
On the body of the basket, draw short horizontal dashed lines in rows from top to bottom. These small dashes represent the woven wicker texture of the basket and add a lot of detail and character to the drawing. Keep the rows evenly spaced and the dashes roughly the same size for a neat, clean look.

10

Ink and Color Your Hot Air Balloon

Step 10: Ink and Color Your Hot Air Balloon

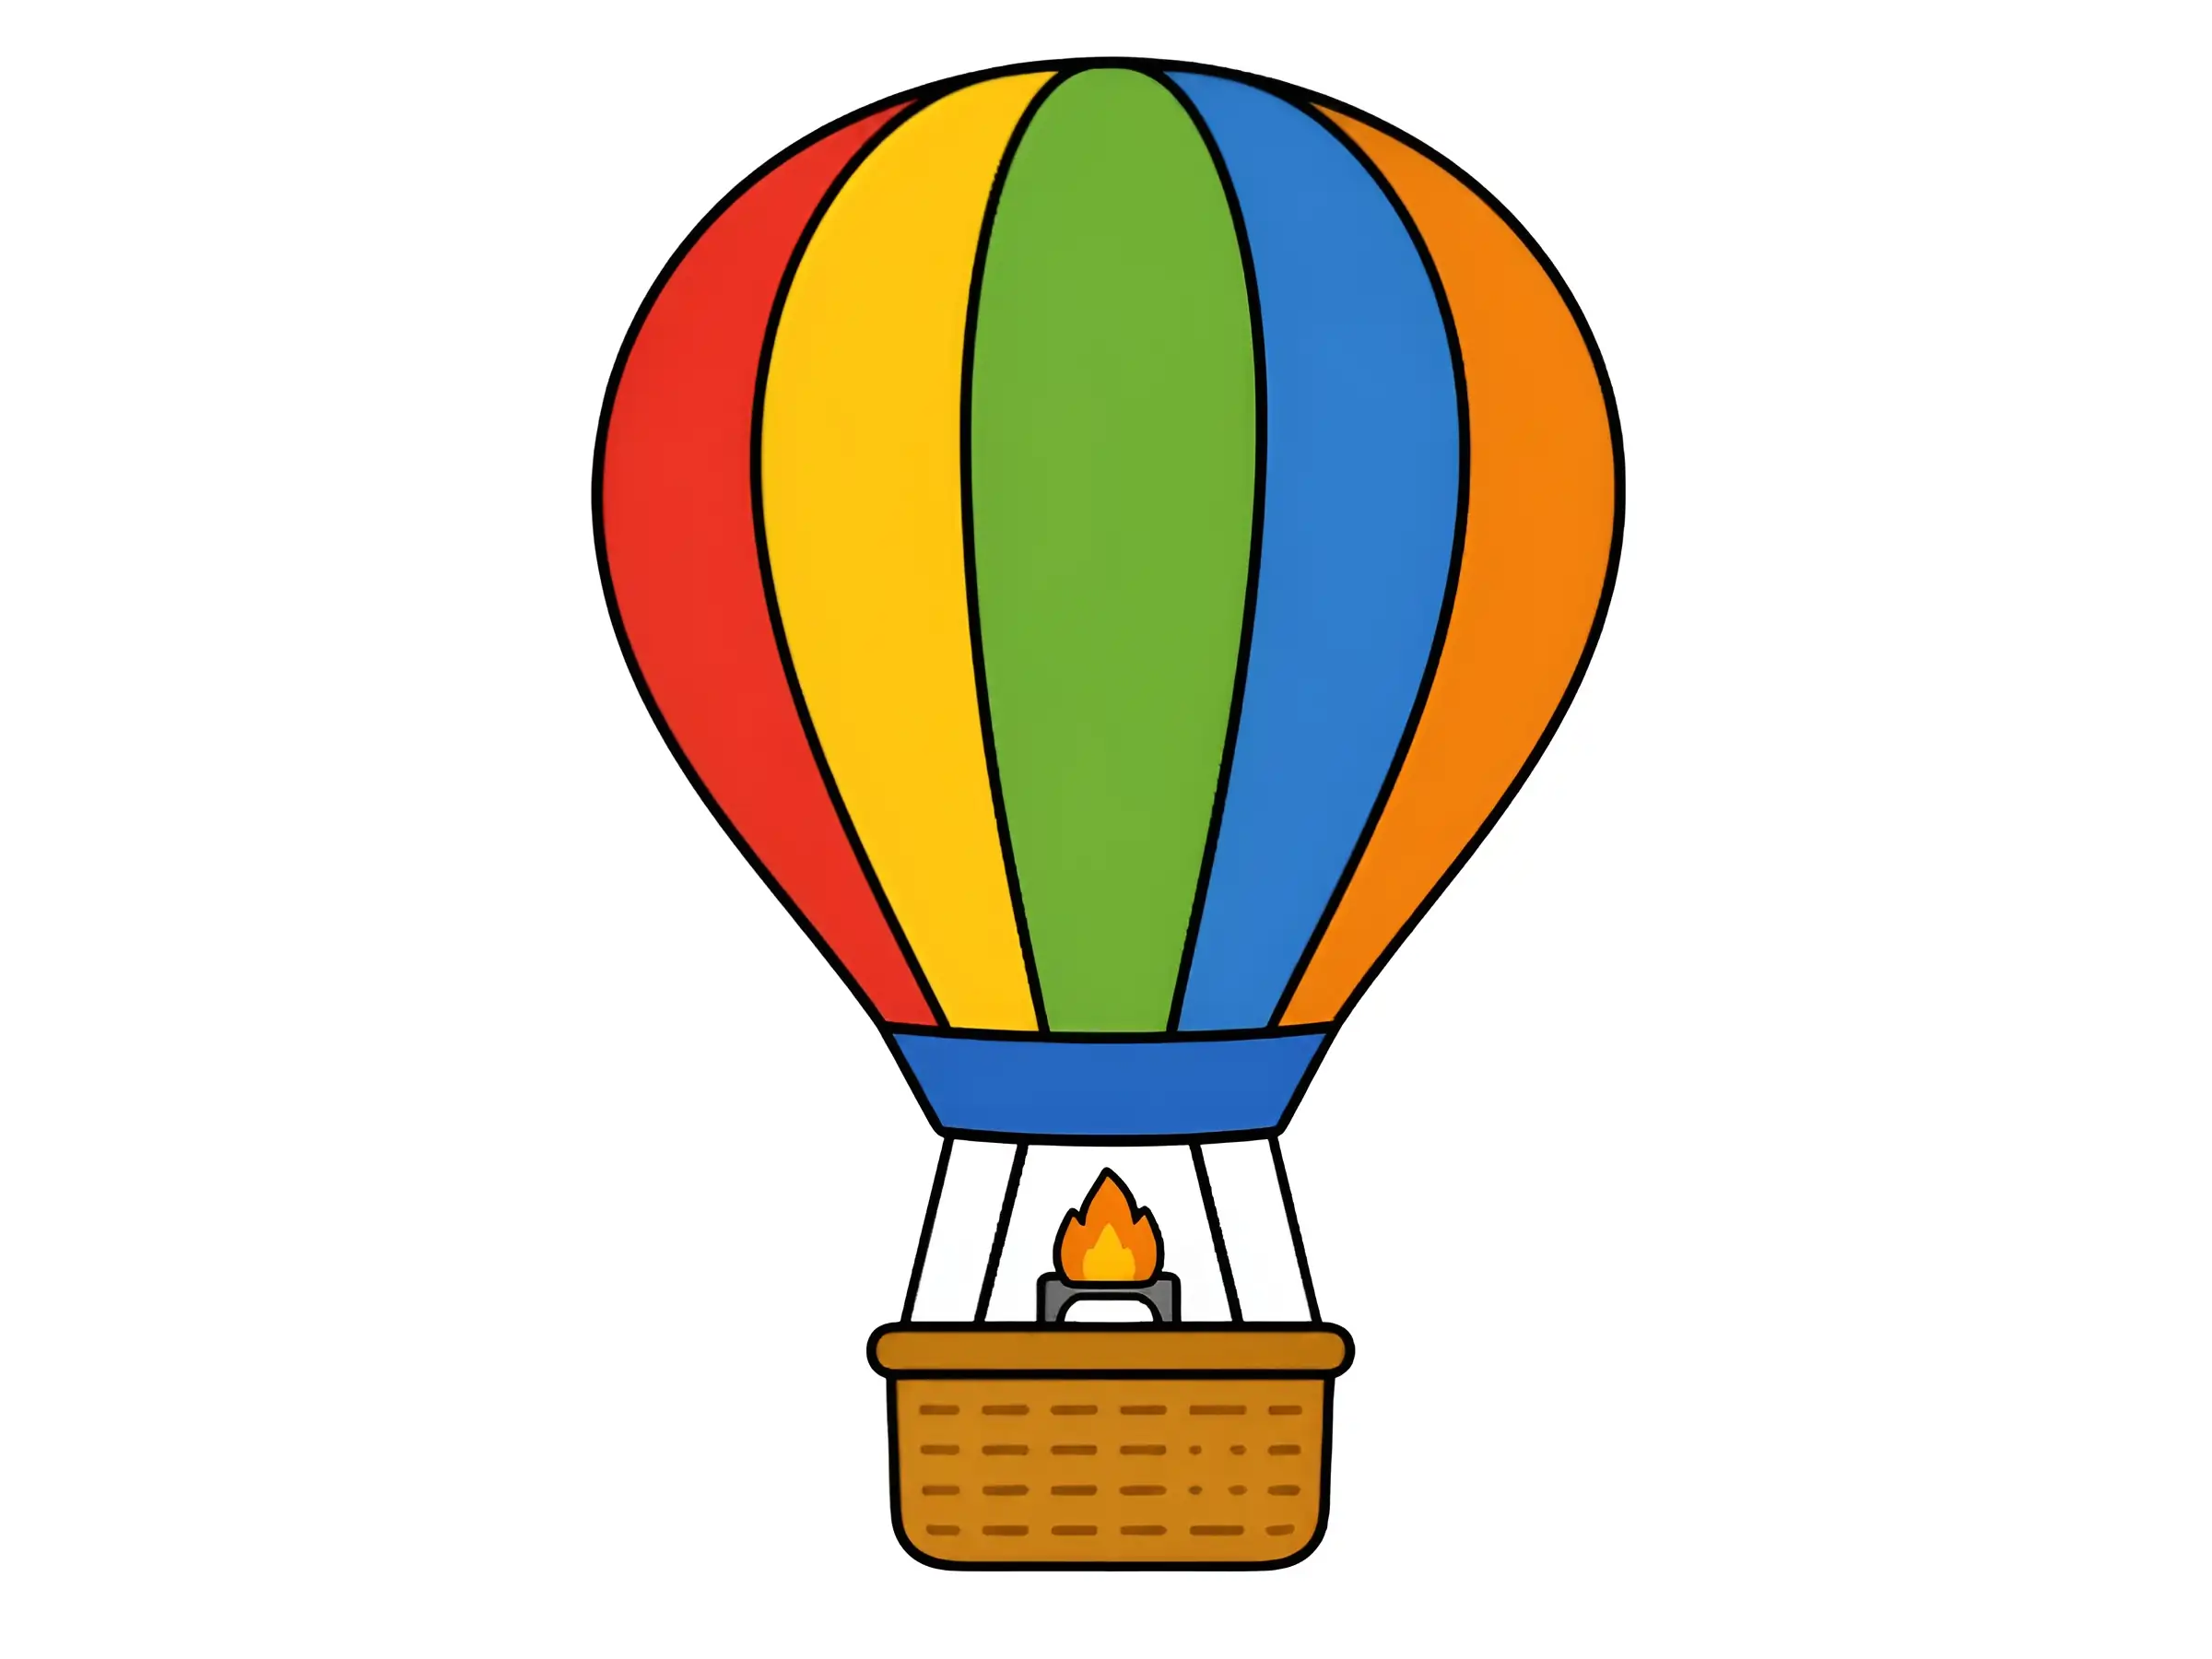
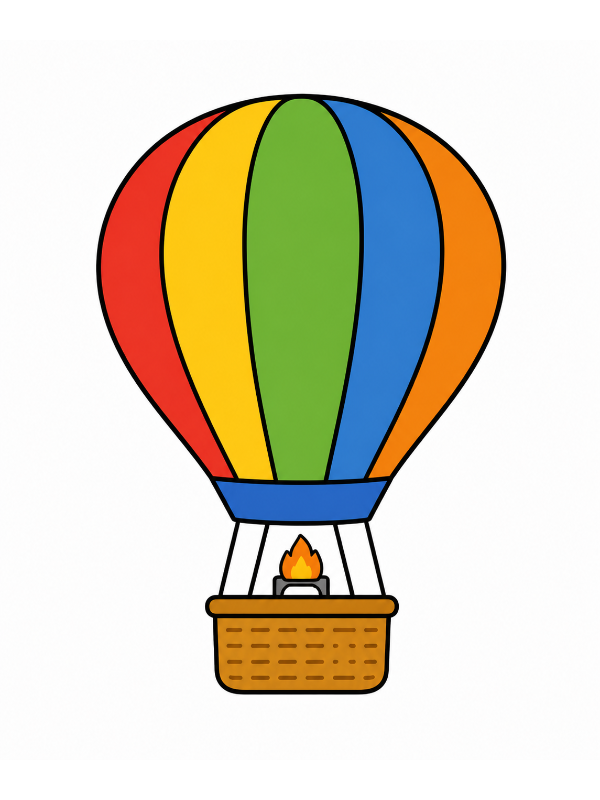
Go over your final lines with a black marker and erase the pencil underneath once dry. Now fill in the colors — this is the most exciting part!

  • Balloon panels (left to right): Red, yellow, green, blue, orange
  • Bottom band of balloon: Blue
  • Rope cords: Dark gray or black
  • Basket upper rim: Blue or dark band
  • Basket body: Warm brown or golden tan
  • Basket weave lines: Darker brown
  • Burner: Gray
  • Flame: Orange and yellow

Your colorful hot air balloon drawing is complete and ready to fly!

Final Thoughts

Drawing a hot air balloon is a wonderful exercise in symmetry and patience. Each panel line you add brings more structure and life to the drawing, and by the time you reach the coloring step, the result is truly eye-catching. The bold stripes and warm basket colors make this one of those drawings that always looks impressive — even on a first try.

Keep practicing and try drawing your balloon in different color combinations. A purple and gold balloon, a pastel rainbow balloon, or even a night sky themed one could look stunning. The sky is the limit! 🎈