

How to Draw a Lotus Flower
The lotus flower is one of the most beautiful and peaceful flowers in the world. Learn how to draw a full lotus sitting on a lily pad with water ripples — easy enough for complete beginners!
9 Steps
Read
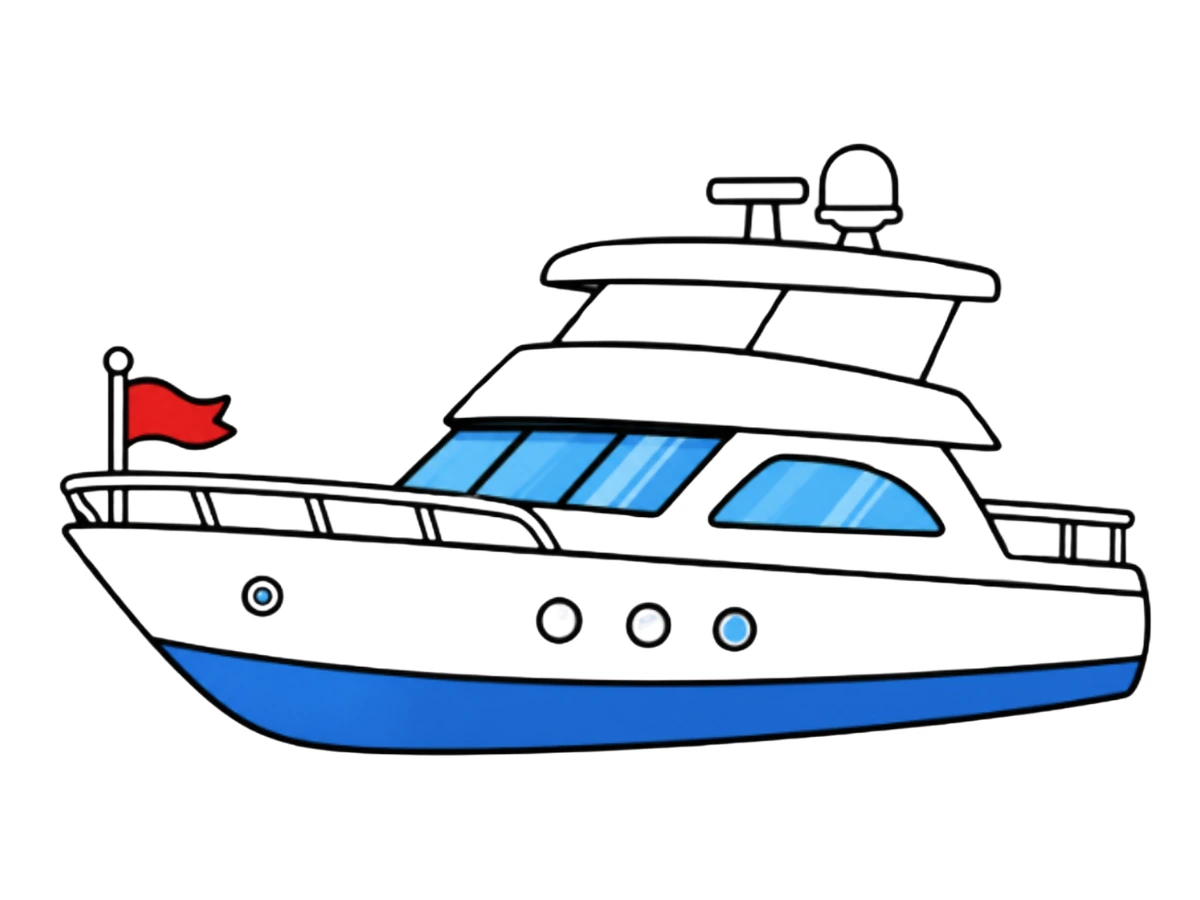
A yacht looks like one of those drawings that requires a ruler, a steady hand, and maybe a degree in naval architecture. But the whole thing is really just a long, flat hull shape that you stack level after level on top of — cabin, then flybridge, then upper deck, each one smaller than the last. Once that foundation hull is in place, the rest of the yacht practically builds itself upward like a little floating building. It's a wonderfully satisfying drawing to complete, because every single step makes it look noticeably more like a real boat. Let's get drawing!
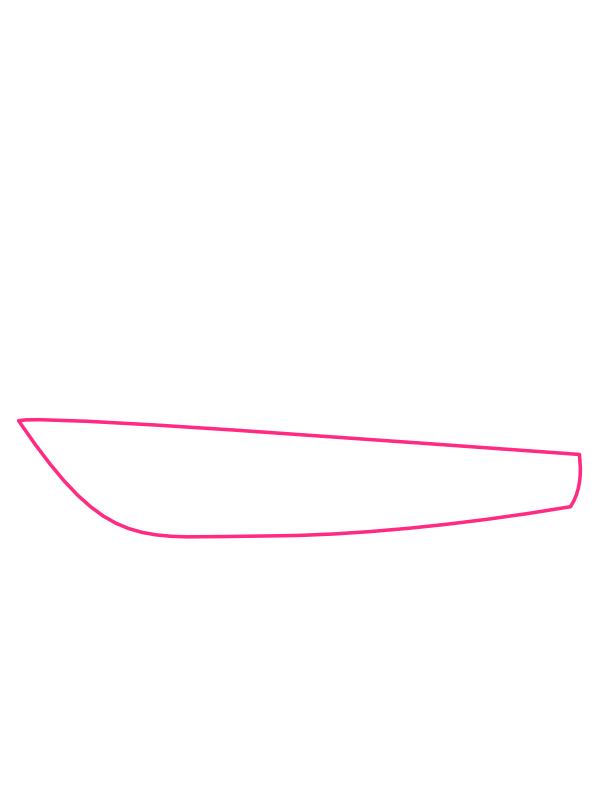
In the lower-center portion of your paper, draw the yacht's hull — a long, low shape that's rounded and blunt on the left side (the bow) and slightly taller and more squared-off on the right (the stern). The top edge of the hull runs in a nearly straight, very gently sloping line from left to right, while the bottom curves softly underneath, lowest in the middle and tapering slightly at both ends. Keep it long and sleek rather than short and stubby — the hull's horizontal stretch is what gives the whole drawing that elegant, open-water feeling right from the very first line.
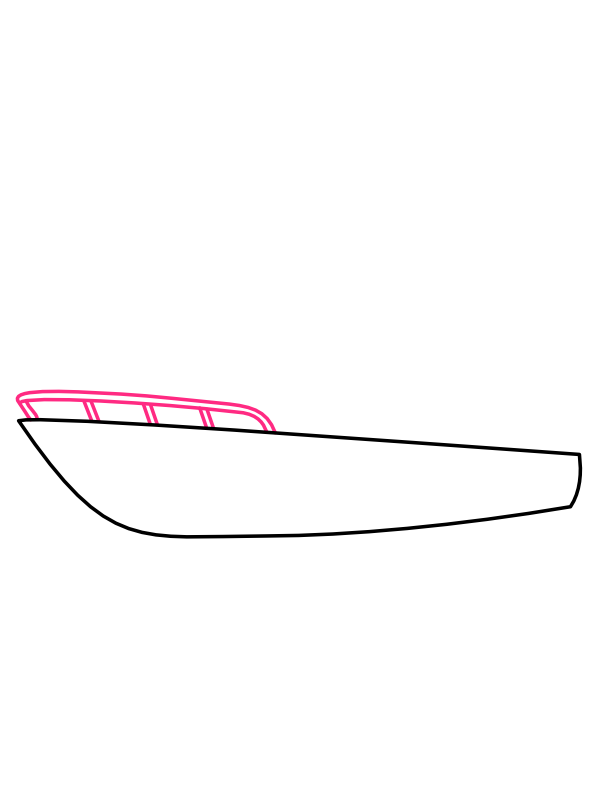
At the front-left end of the hull, draw a low curved railing running along the top edge of the bow — two thin parallel lines following the curve of the front, with two or three short vertical bars connecting them like a small fence. This railing wraps the nose of the boat and is the kind of small detail that immediately pushes the drawing from 'generic boat shape' into something that actually looks like a proper vessel with real safety hardware on it.
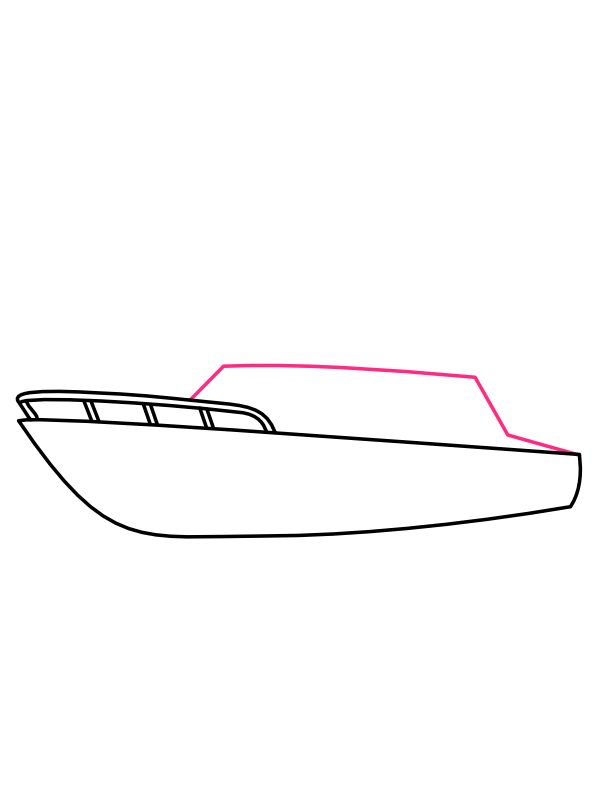
Across the middle and right section of the hull's top edge, draw the cabin — a large rectangular shape with a slightly angled or stepped front edge where it faces forward. The cabin sits squarely on the deck and its top edge should be noticeably taller than the bow railing on the left, giving the boat that stepped silhouette that makes motor yachts so recognizable. Don't worry about windows just yet — this step is just about getting the overall cabin outline in the right position and proportion.
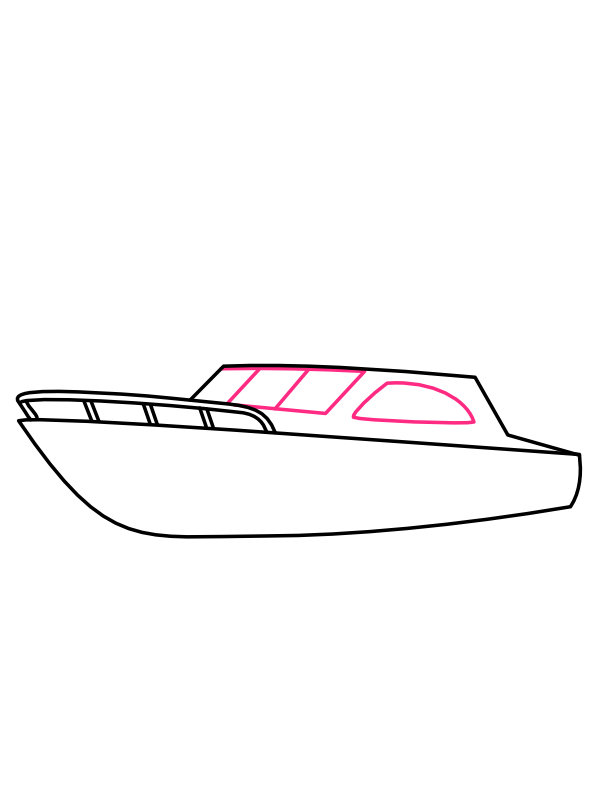
Along the front and side face of the cabin, draw the windows — two or three rectangular panes across the front section and one larger, gently arched window on the right side, like a wide doorway with a rounded top. The slightly arched right window is the most distinctive shape here, so take a second with it; it's the window that gives the cabin that classic motor yacht look. A small dividing line between the window panes in the front section helps suggest the frames without overcomplicating the detail.
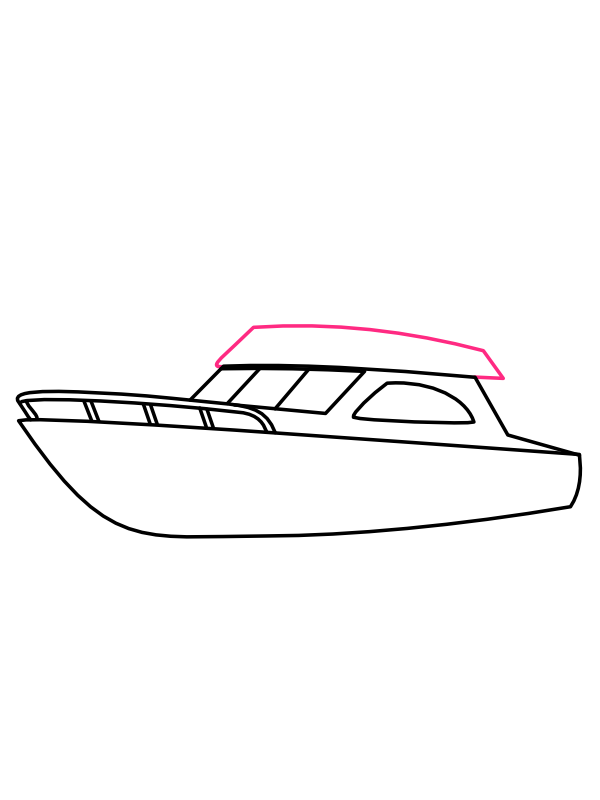
Above the cabin, draw the first upper deck roof — a wide, slightly curved shape that spans most of the cabin's width and has gently rounded edges. Think of it as a soft, low dome rather than a flat rectangle; the subtle curve is what makes it look like a real molded fiberglass roof rather than just a box lid placed on top of the cabin. This roof marks the base of the flybridge, the open upper deck where the captain can helm the yacht from above with a full view in every direction.
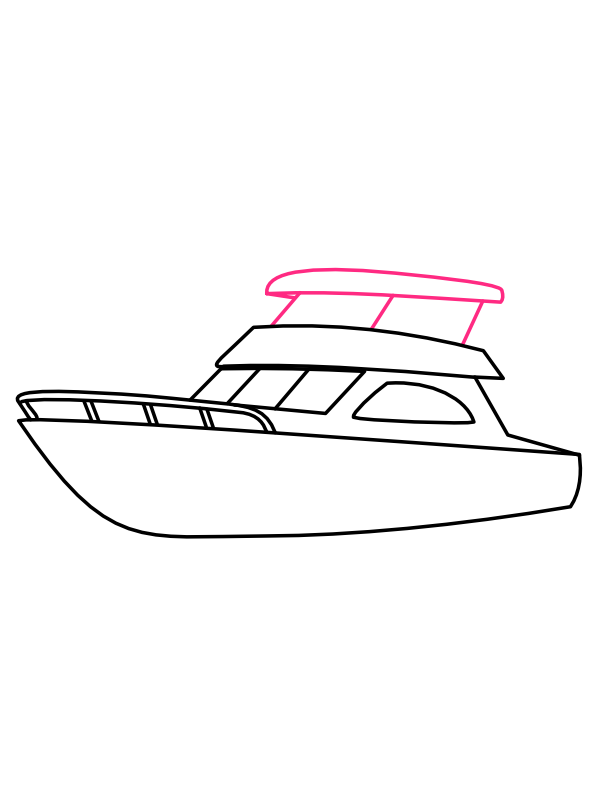
On top of the roof, draw a second, smaller rectangular platform — narrower than the roof below it and with a flat top edge. This is the flybridge deck itself, the elevated command level. A short vertical line or two on either side of it suggests the deck's side walls or railings. Each level you add makes the yacht look taller and more impressive, and this second tier is the one that really gives the drawing that multi-story luxury yacht silhouette.
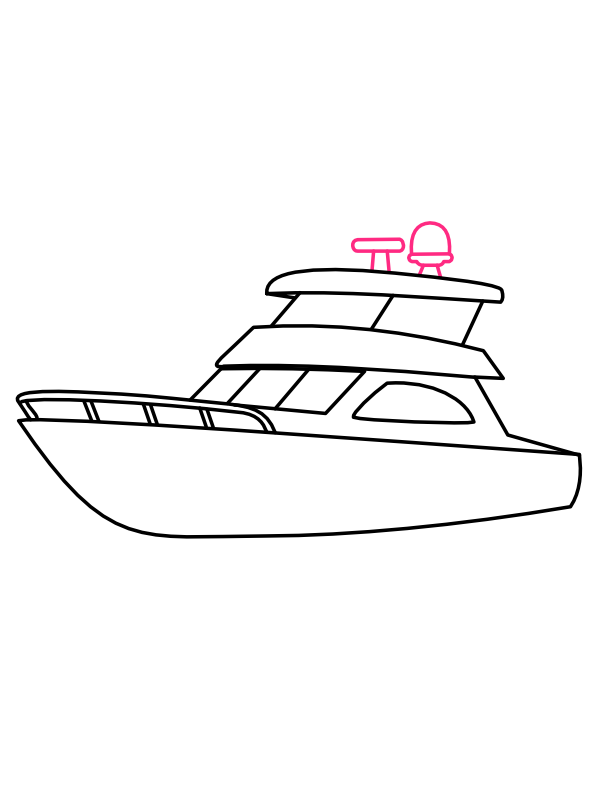
On top of the flybridge deck, draw two small pieces of equipment side by side — a short T-shaped antenna or navigation pole on the left, and a small rounded dome or radar ball on the right. These are tiny shapes, barely bigger than a thumbnail, but they're the unmistakable finishing touch that sits at the very highest point of the boat and signals to anyone looking that this is a proper offshore cruiser with all its gear. Keep them simple — two or three lines each is more than enough.
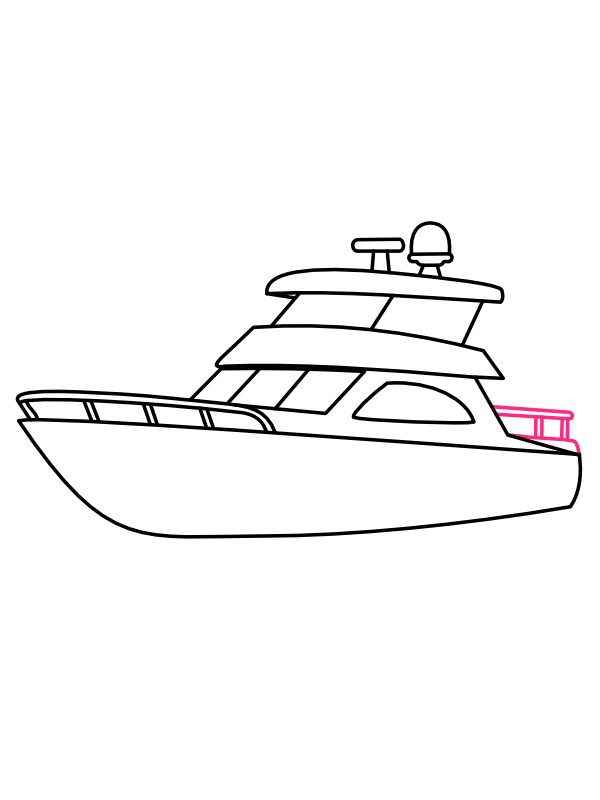
At the far right end of the hull — the stern — draw a small railing similar to the one at the bow, but straight rather than curved: two short horizontal lines with a couple of vertical bars between them. This stern railing mirrors the bow railing from Step 2 and neatly brackets the whole boat from end to end, giving it that finished, symmetrical look that makes it feel complete even before the porthole windows and flag go on.
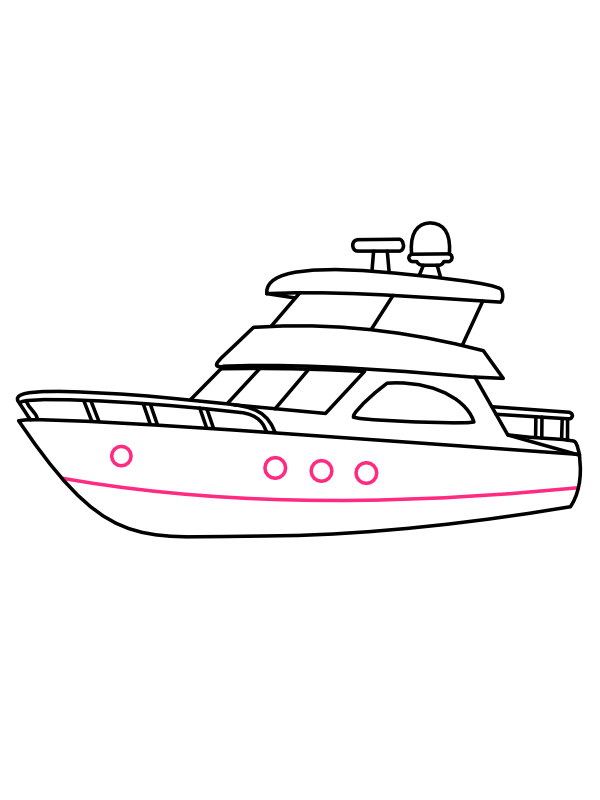
Along the side of the hull, draw a horizontal line running from the bow to the stern about a third of the way down from the top edge, dividing the hull into an upper white section and a lower hull section. Then, along this upper hull band, draw four small circles for the porthole windows — one near the left and three grouped together toward the center-right. Portholes are one of those details that do a disproportionate amount of visual work; those four small circles are what makes the hull finally look like it has an interior, a cabin below deck, a real life inside the boat.
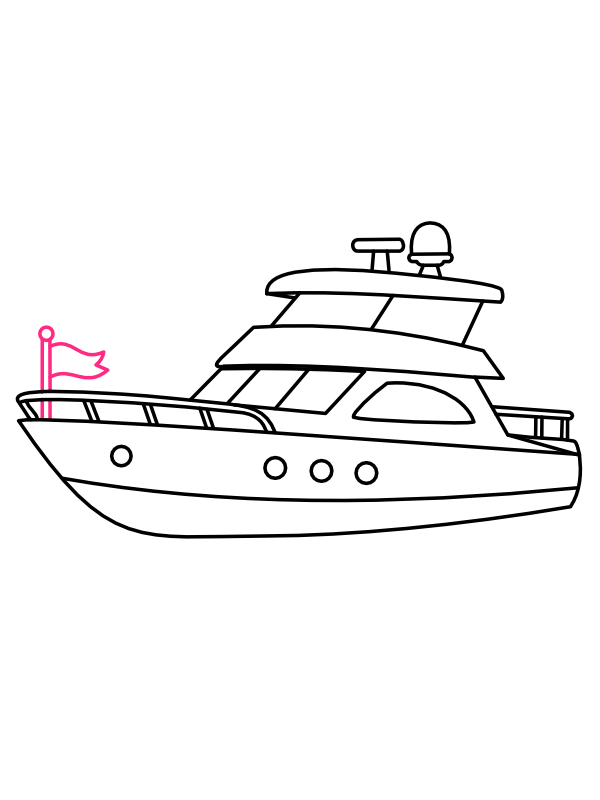
At the very front of the boat, rising up from the bow railing, draw a thin flagpole and a small triangular flag fluttering from its top. Let the flag point slightly backward as if catching a sea breeze — a tiny curved shape with a notched or pointed trailing edge is all it takes. This flag is the last line drawing detail, and somehow it's the one that makes the whole yacht feel like it's actually out on the water, moving forward into open blue rather than sitting still on a page.
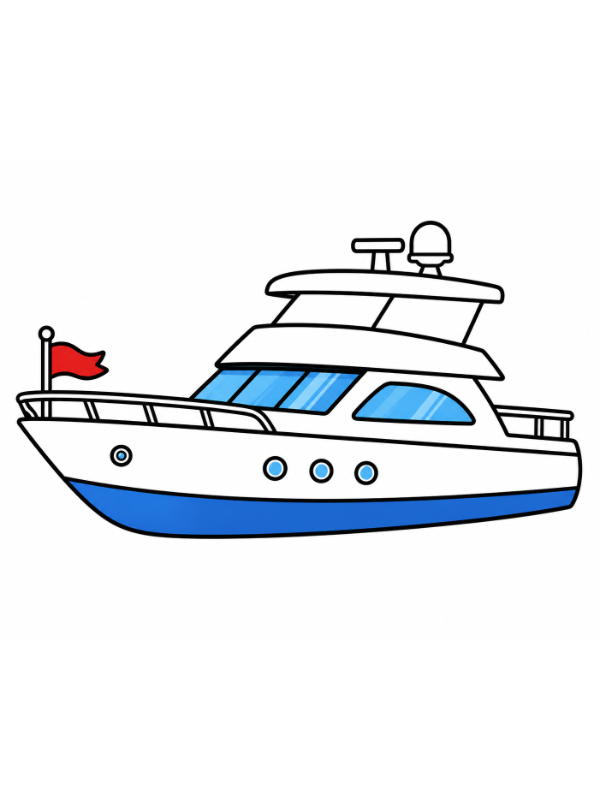
Now for the most satisfying part!
Once the blue hull goes on against that clean white upper body, the yacht suddenly looks like it belongs on a poster for the Mediterranean coast. ⛵
The thing that makes this yacht so satisfying to draw is how each step visibly completes the boat a little more. The hull is just a shape until the railing appears; the railing is just a detail until the cabin rises above it; the cabin looks unfinished until the flybridge stacks on top. It's a drawing where every single step earns its place, and by the time you add the flag, the whole boat has been built from the waterline up.
Once you're comfortable with this profile view, try drawing the yacht from a three-quarter angle so you can see the front and the side at the same time, or sketch it with a wake of white foam spreading out behind the stern to suggest it's cruising at speed.
The lotus flower is one of the most beautiful and peaceful flowers in the world. Learn how to draw a full lotus sitting on a lily pad with water ripples — easy enough for complete beginners!

There's something instantly storybook about a mushroom drawing — that round, domed cap sitting proudly on a plump little stem, dotted with pale spots like something straight out of a fairy tale forest.
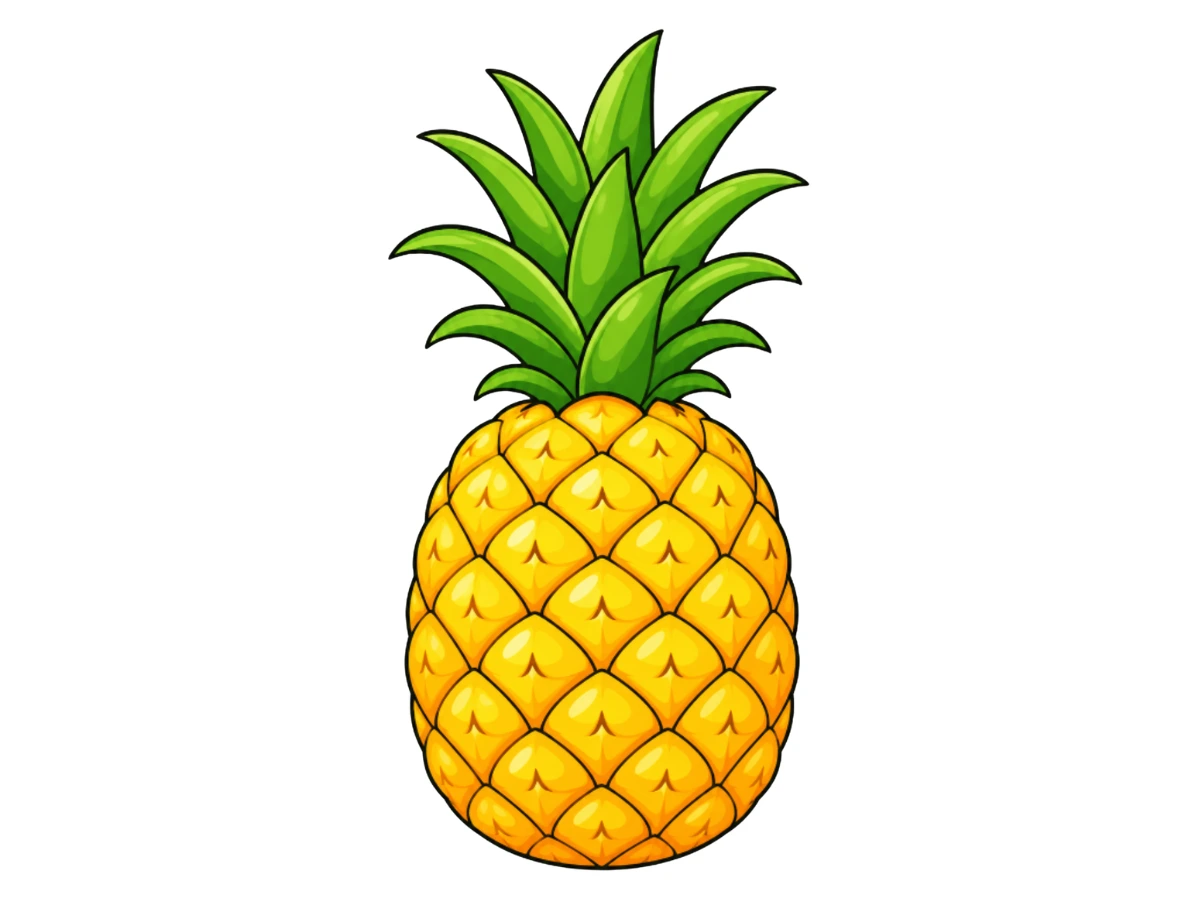
A pineapple looks complicated at first glance — all spiky leaves and crisscrossing texture — but it actually comes together from just a bumpy oval, a bunch of curved leaves, and a simple repeating diamond pattern. Follow this easy step-by-step tutorial and draw a tropical, summery pineapple!

There's something endlessly exciting about drawing a rocket — that sleek body angled toward the sky, the porthole window hinting at adventures inside, and those bold flames blasting out the back like the rocket is already halfway to the moon. What makes it even better is that the whole thing is essentially one big rounded body with a few satisfying details added on top.