How to Draw a UFO for Beginners

June 26, 2026
9 Steps
AR Drawing Logo

AR Drawing

Drawing Tutorials

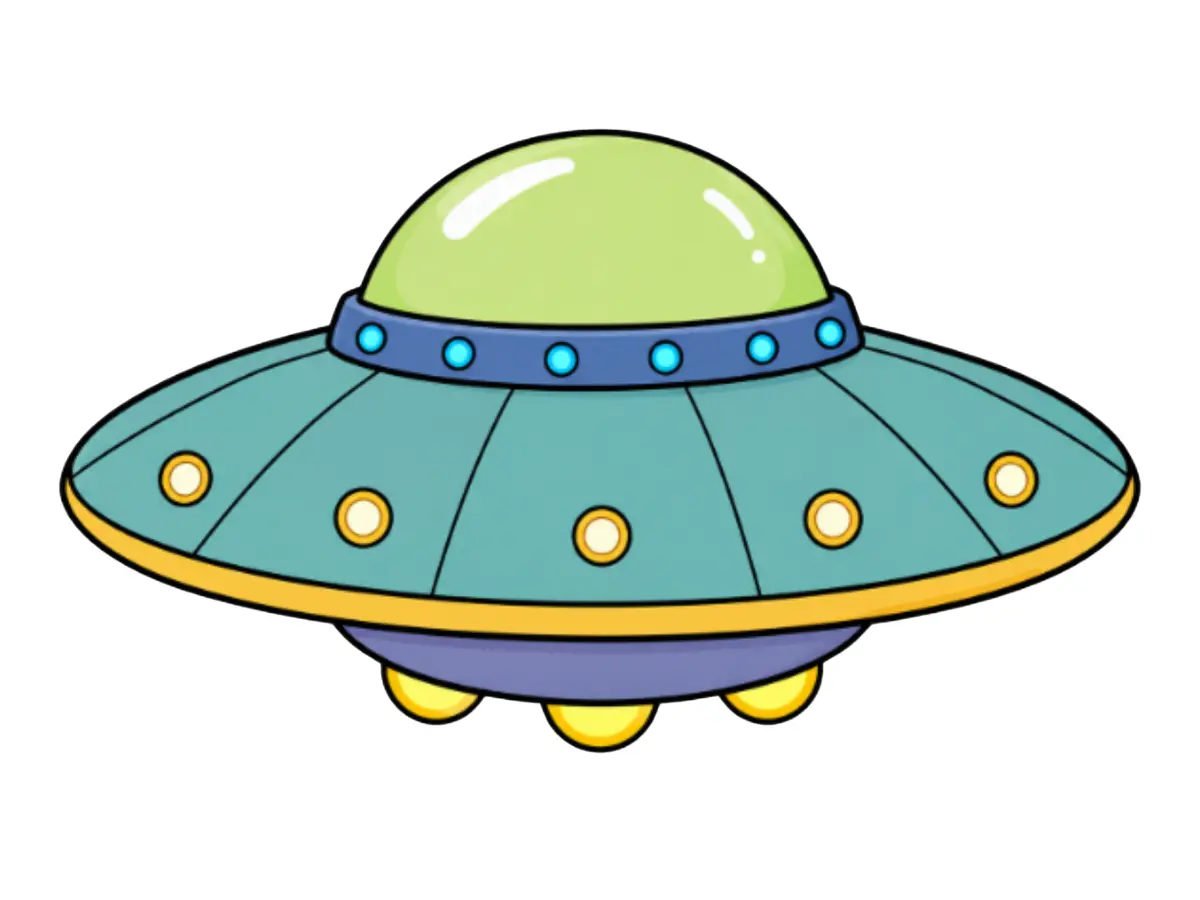
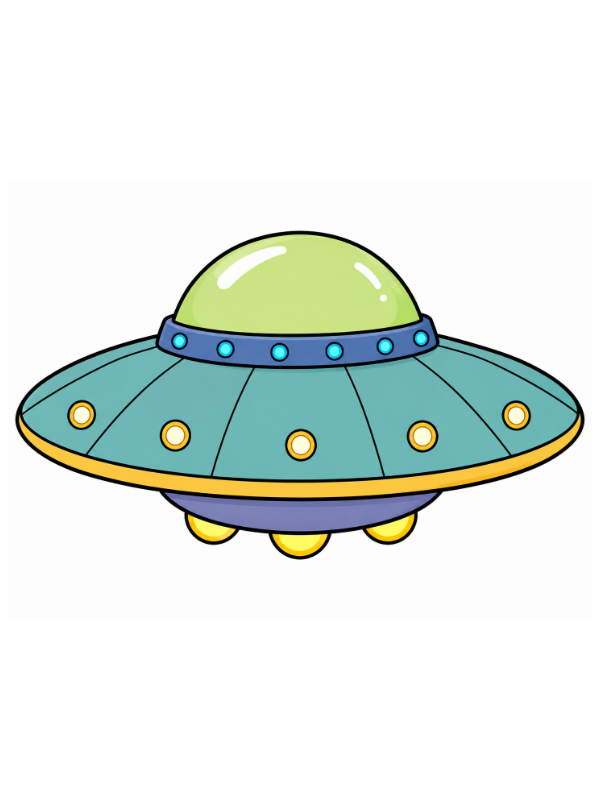
There's something fun about drawing a flying saucer hovering in the sky, lights blinking around its middle, looking like it just zoomed in from another galaxy. The classic UFO shape is really just a dome stacked on top of a wide disc, which makes it a surprisingly easy subject once you break it down piece by piece. No spaceship-engineering knowledge needed — just a few curved lines and some patience for the little details. Let's get drawing!

How to Draw a UFO for Beginners
What You Will Need
  • Pencil
  • Eraser
  • White paper
  • Black marker or fine-liner (optional)
  • Colored pencils, crayons, or markers
1

Draw the Dome

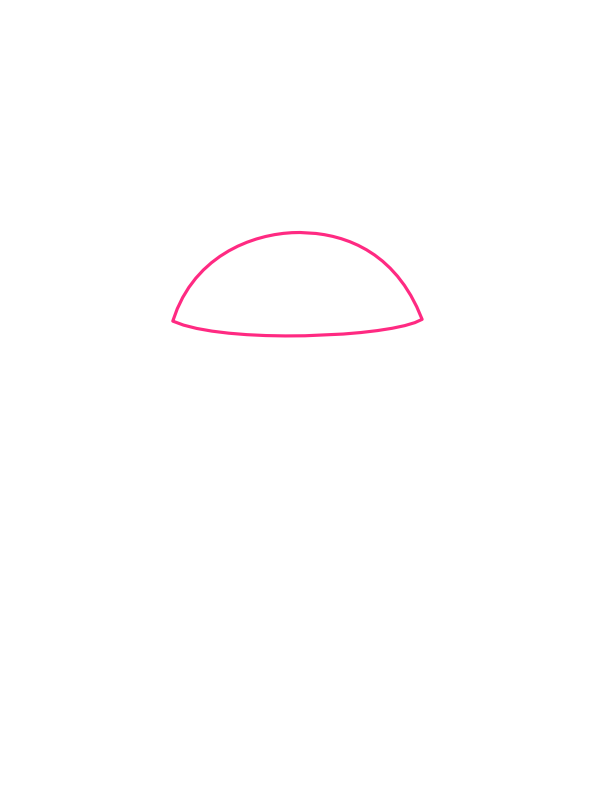
Step 1: Draw the Dome

Near the upper-middle of your paper, draw a wide, low dome shape — like a half-circle that's been gently flattened, with a flat bottom edge and a smooth curve on top. This dome will sit right on top of the saucer's body, so keep it a comfortable size rather than too tall or narrow.

2

Add the Neck Band

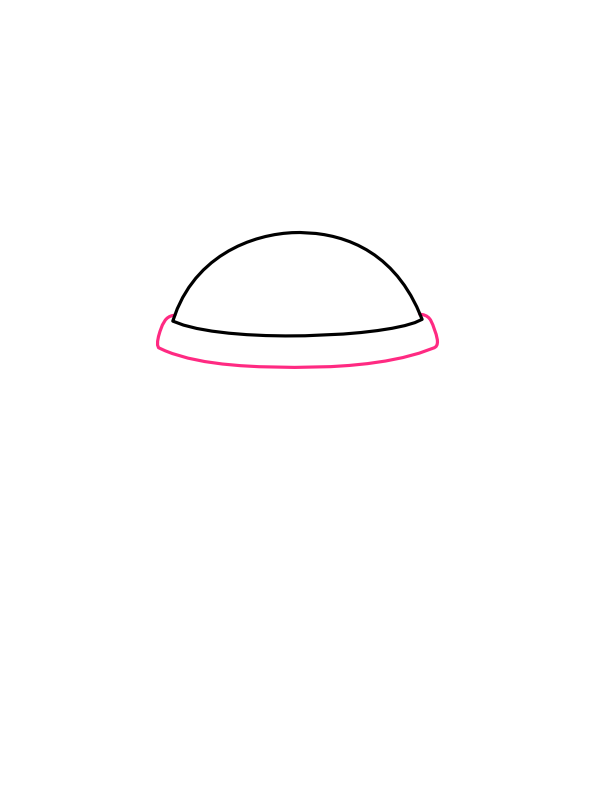
Step 2: Add the Neck Band

Just beneath the dome, draw a thin curved band stretching slightly wider than the dome itself on both sides. This band acts like a collar connecting the dome to the rest of the ship, and it's also where you'll add a row of little lights later on.

3

Draw the Upper Rim of the Saucer

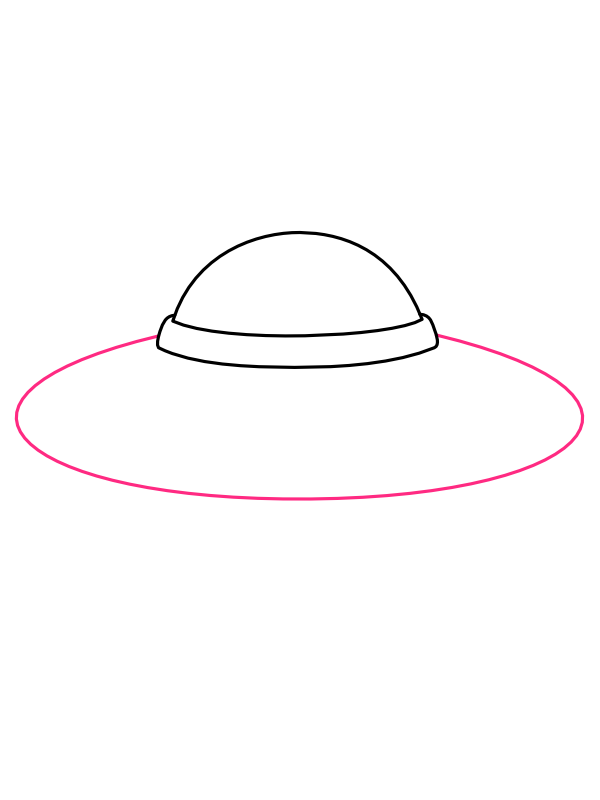
Step 3: Draw the Upper Rim of the Saucer

Below the neck band, draw a long, wide curve that sweeps outward and comes to a gentle point on each side — much wider than the dome above it. This forms the top surface of the saucer's main body, the part that gives the UFO its classic flying-disc silhouette.

4

Draw the Lower Rim of the Saucer

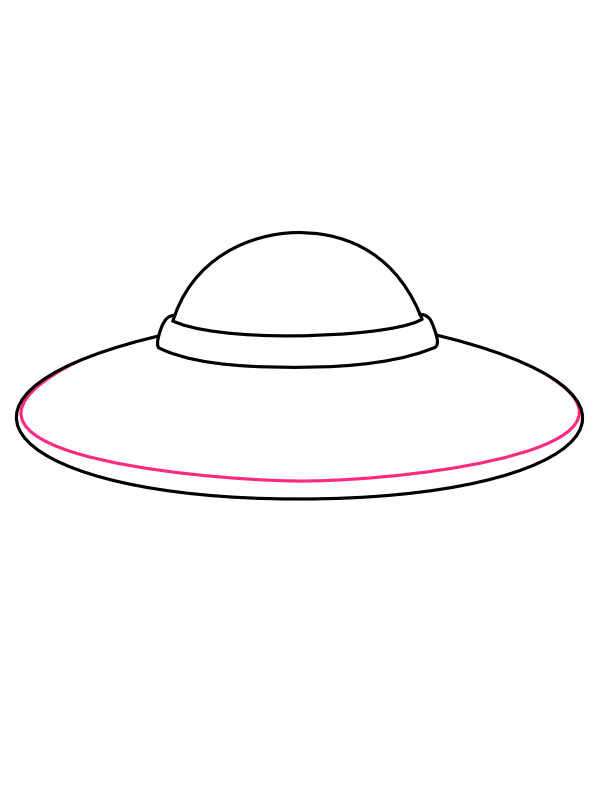
Step 4: Draw the Lower Rim of the Saucer

Right beneath the curve you just drew, add a second, slightly lower curve running the same width, meeting the upper rim at the same two side points. Having both lines close together gives the saucer's outer edge a sense of thickness, rather than looking like a flat, paper-thin disc.

5

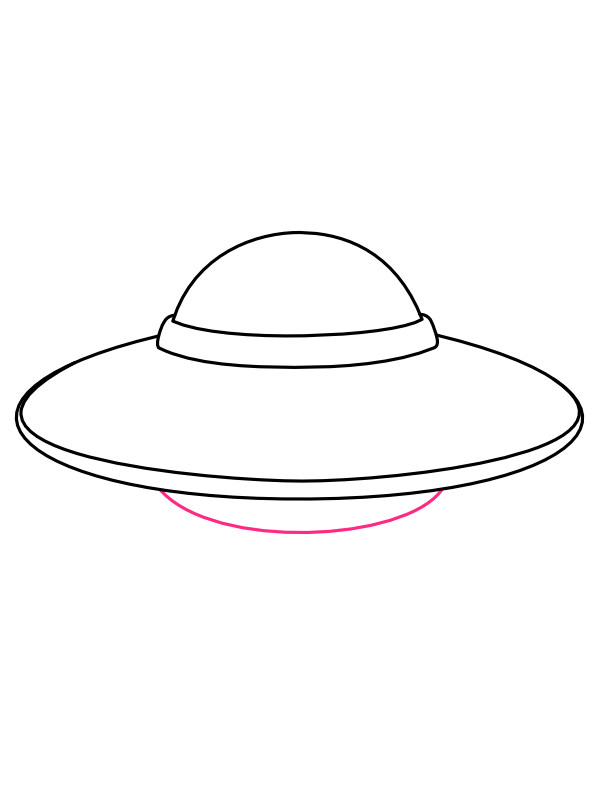
Add the Underside Curve

Step 5: Add the Underside Curve

Beneath the main disc, draw one more curve — shorter and shallower than the rim lines, sitting roughly under the center of the saucer rather than stretching all the way to the pointed tips. This becomes the underside, or "belly," of the ship, tucked just beneath the outer rim.

6

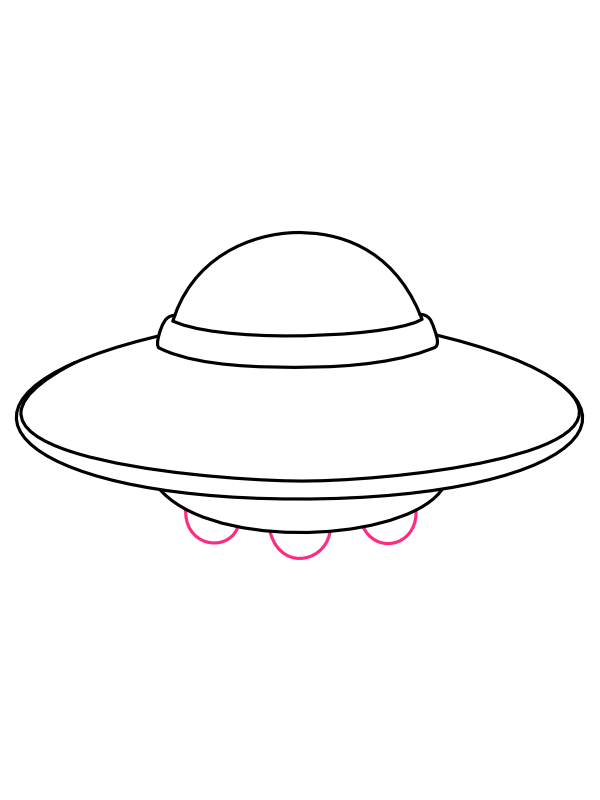
Add the Bottom Lights

Step 6: Add the Bottom Lights

Along the underside you just drew, add three small half-circle bumps spaced evenly across the bottom. These little bumps read as glowing landing lights (or tiny support legs, depending on how you color them), and they're a small detail that makes the underside feel a lot less plain.

7

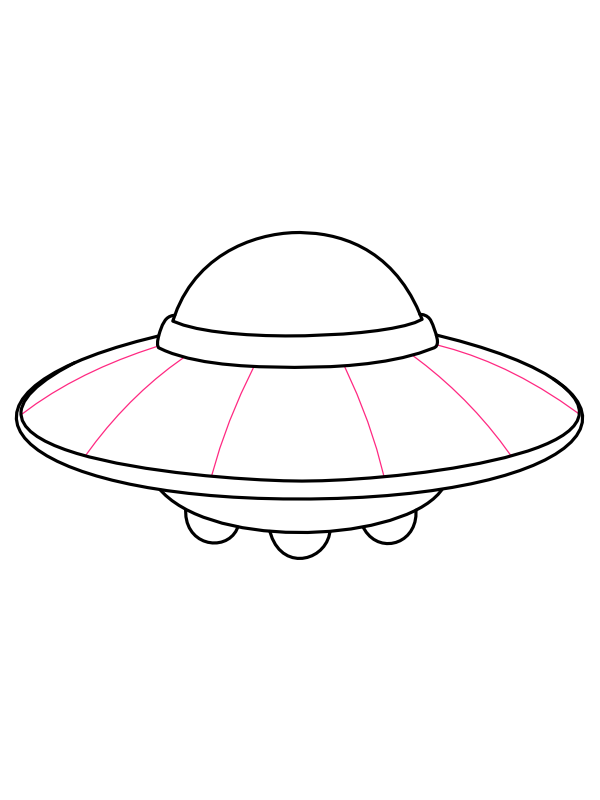
Draw the Panel Lines

Step 7: Draw the Panel Lines

On the top surface of the saucer, between the neck band and the outer rim, draw several straight lines radiating outward like spokes on a wheel. These divide the saucer's surface into individual panels, giving it that mechanical, paneled-hull look you see on classic cartoon UFOs.

8

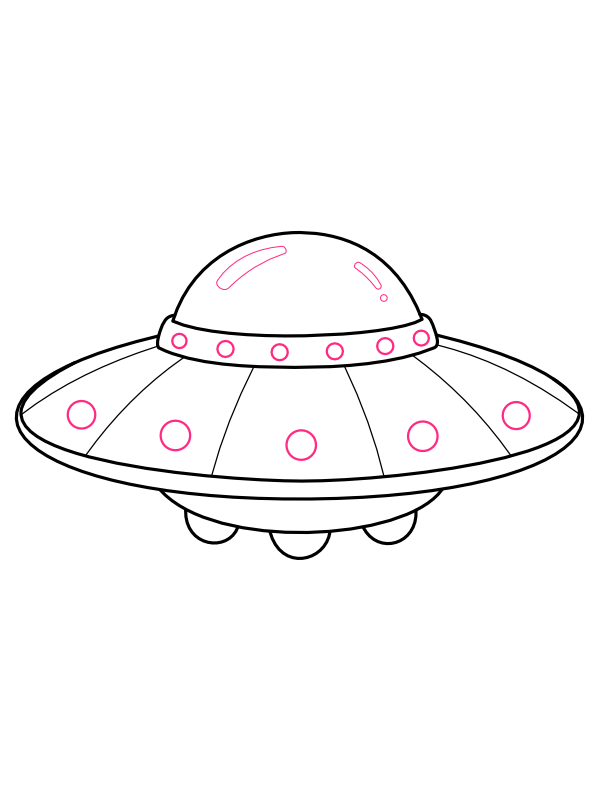
Add the Lights and Shine

Step 8: Add the Lights and Shine

Along the neck band, draw a row of small circles to create a string of lights wrapped around the collar. Add one more small circle in the center of each panel on the saucer's top surface for the larger hull lights. Finally, add a couple of short curved lines on the dome to suggest a glassy shine catching the light.

9

Color Your UFO

Step 9: Color Your UFO

Now for the part that really makes it glow!

  • Dome: Light green or lime, with a brighter white or pale green streak for the shine
  • Neck band: Deep navy or indigo blue
  • Collar lights: Small bright teal or cyan circles
  • Saucer panels: Teal or muted green
  • Panel lights: Orange-yellow rings with a white or cream center
  • Outer rim: Bright golden yellow
  • Underside/belly: Deep purple or dark blue
  • Bottom lights: Golden yellow with a brighter highlight

Once the colors go on, your UFO suddenly looks like it's lit up and ready to hover off the page. 🛸

Final Thoughts

What makes a UFO such a satisfying thing to draw is how a handful of simple curves stack up into something instantly recognizable — there's no perspective trickery involved, just a dome, a disc, and a row of evenly spaced lights doing all the visual work. The panel lines and lights are also a great low-stakes place to practice keeping shapes evenly spaced, since a little unevenness here barely matters and still looks charming.

Once you've got the basic shape down, try experimenting with the color scheme. A classic chrome-silver saucer with red lights feels more retro sci-fi, while a glowing purple-and-pink version leans more playful and cartoonish — both work just as well with the same set of shapes.