
How to Draw a Pineapple

June 30, 2026
7 Steps
AR Drawing Logo

AR Drawing

Drawing Tutorials

A pineapple is one of those fruits that looks complicated at first glance, all spiky leaves and crisscrossing texture, but it actually comes together from just a bumpy oval, a bunch of curved leaves, and a simple repeating diamond pattern. Once you get the hang of that grid, the rest practically draws itself — making this a great little project for anyone who wants a tropical, summery doodle without much fuss. Let's get drawing!

How to Draw a Pineapple
What You Will Need
  • Pencil
  • Eraser
  • White paper
  • Black marker or fine-liner (optional)
  • Colored pencils, crayons, or markers
1

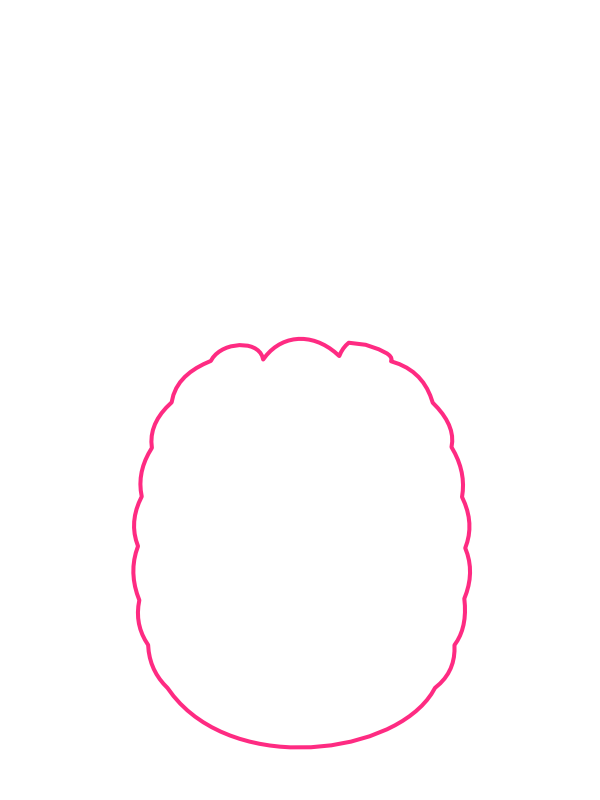
Draw the Body Outline

Step 1: Draw the Body Outline

In the center of your paper, draw a tall, rounded oval shape, but instead of keeping the edge perfectly smooth, add a series of small bumps and gentle waves all the way around it. This slightly uneven contour hints at the pineapple's rough, segmented skin before you've even added any texture inside.

2

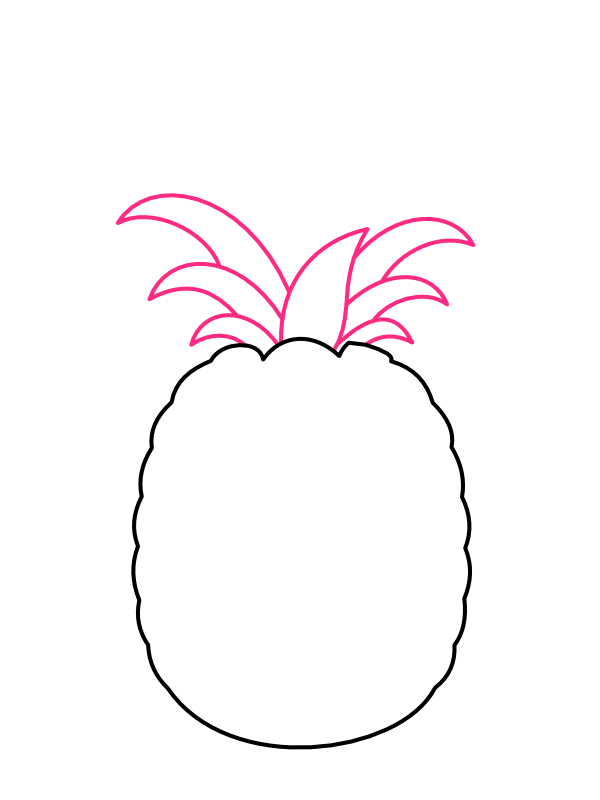
Add the First Leaves

Step 2: Add the First Leaves

At the top of the body, draw several curved, pointed leaf shapes fanning out to the left and right, like a loose bundle of blades. Keep the curves soft rather than straight, and let a couple of the leaves cross over each other near where they meet the body — it makes the bunch look fuller right from the start.

3

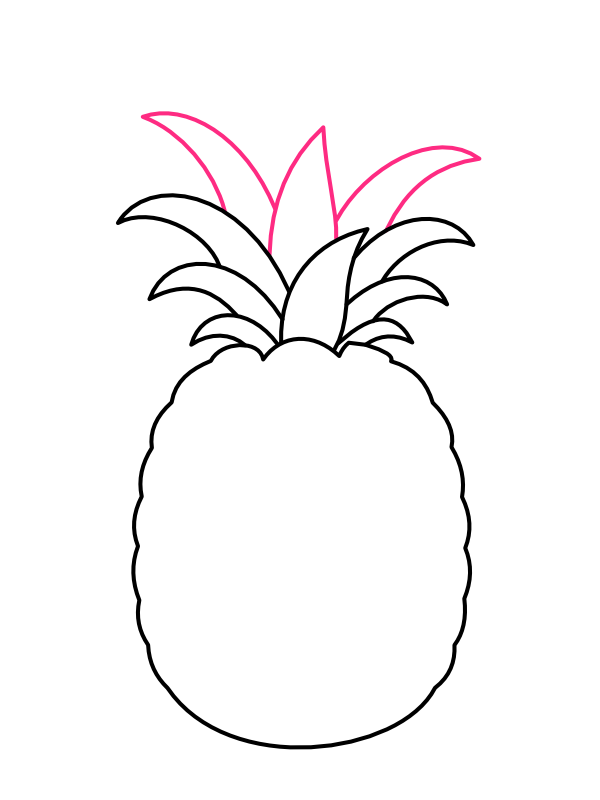
Add a Taller Middle Layer

Step 3: Add a Taller Middle Layer

Layer a few more leaves on top of the first set, positioning them closer to the center and making them noticeably taller than the outer ones. This middle layer is what starts giving the crown some real height and depth, instead of leaving it looking flat and one-dimensional.

4

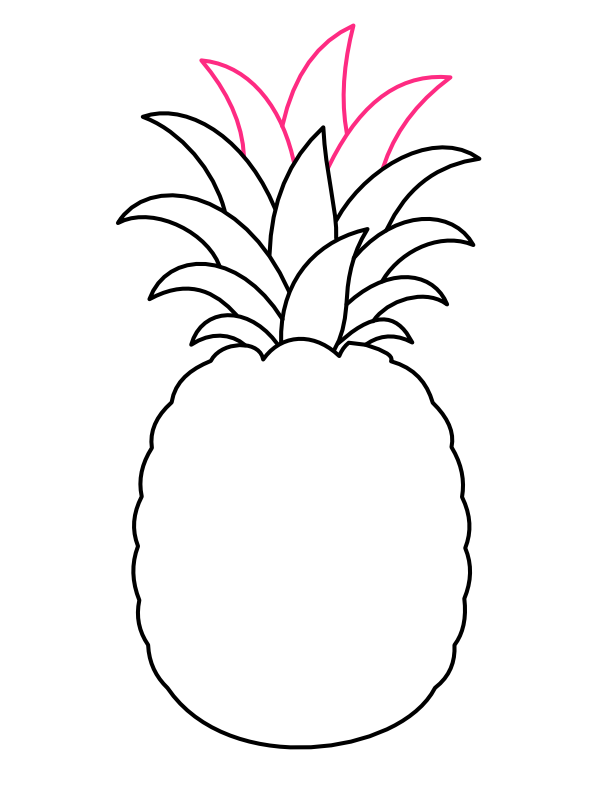
Add the Tallest Center Leaves

Step 4: Add the Tallest Center Leaves

Right in the middle of the crown, add one or two final leaves that rise up above everything else, standing as the tallest point in the whole drawing. These central leaves act like the peak of the bunch, pulling all the surrounding leaves together into one balanced, fan-like shape.

5

Draw the Diamond Pattern

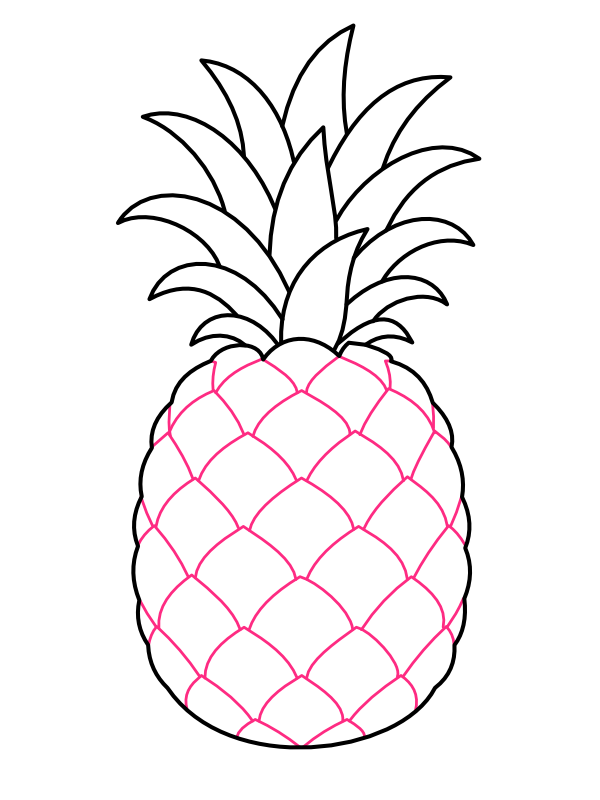
Step 5: Draw the Diamond Pattern

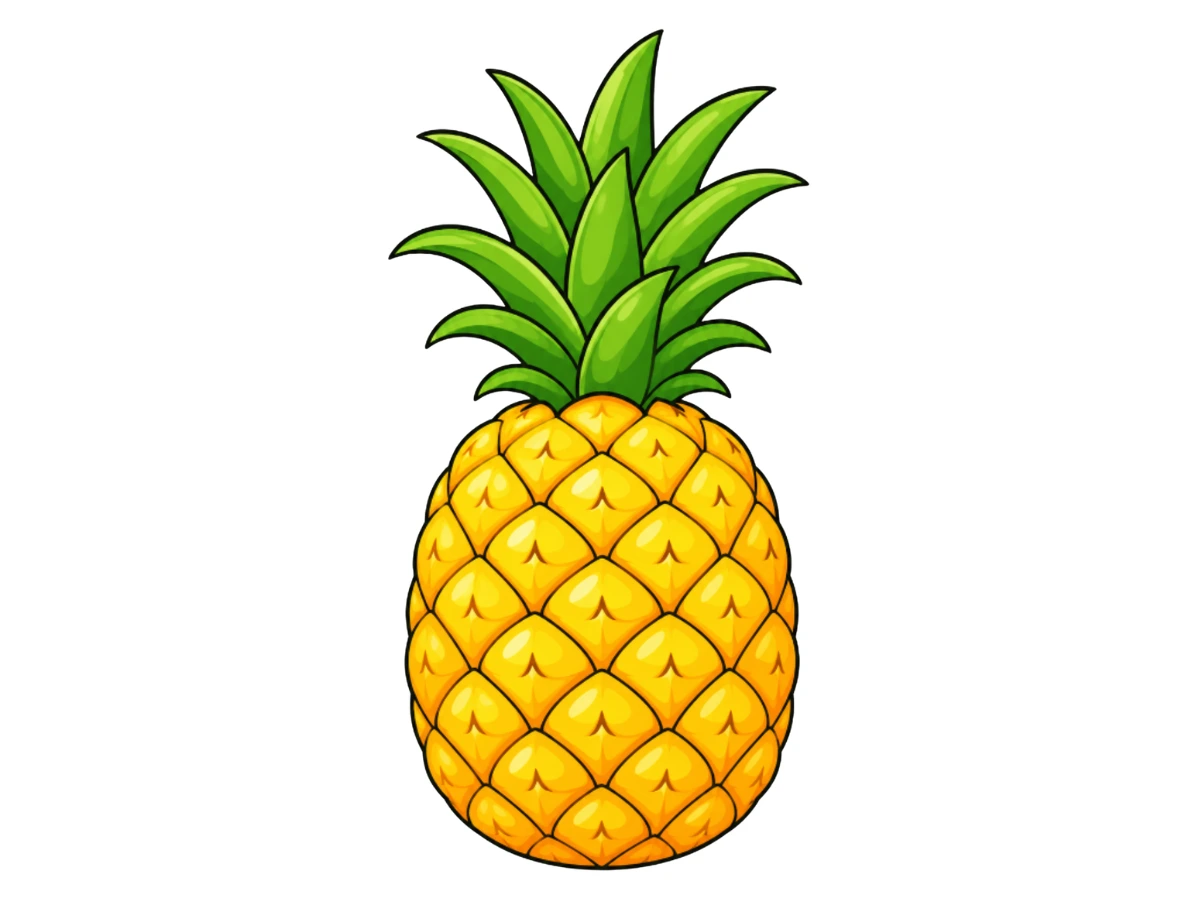
On the body of the pineapple, draw a series of diagonal lines crossing over each other in both directions, forming a grid of diamond shapes across the whole surface. This single detail is what instantly turns a bumpy oval into something unmistakably "pineapple."

6

Add the Texture Marks

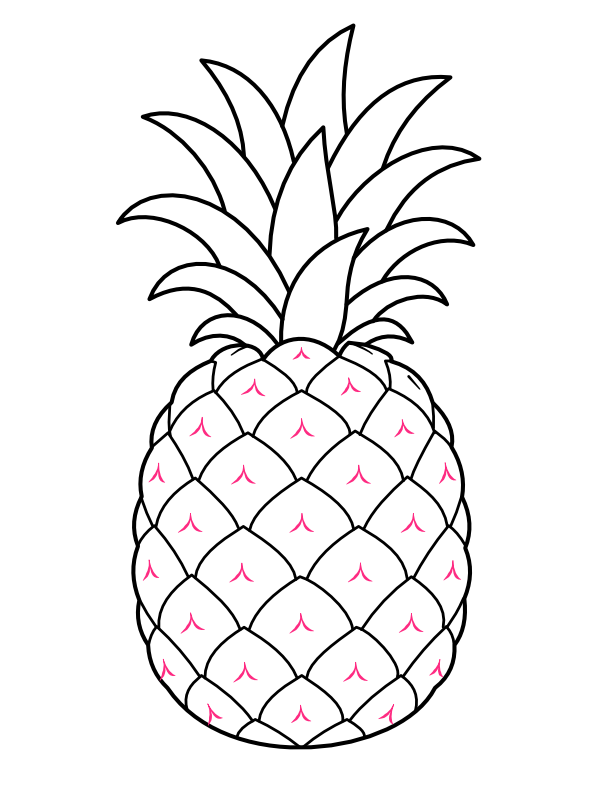
Step 6: Add the Texture Marks

Inside each diamond, draw one small curved mark — like a tiny check or arc — near the top point of the shape. This small, repeated detail mimics the slightly raised texture found on real pineapple skin, and it adds a surprising amount of character for such a quick step.

7

Color Your Pineapple

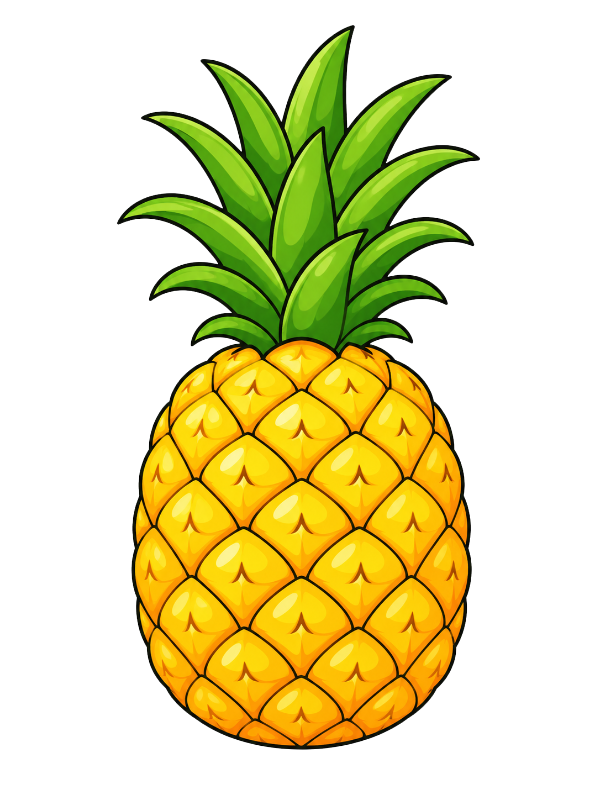
Step 7: Color Your Pineapple

Now for the fun, tropical part!

  • Body: Bright golden yellow, with a deeper orange-yellow shade along the ridges and diamond outlines
  • Texture marks: Warm brown
  • Leaves: Fresh green, deeper near the base where they meet the body and lighter toward the tips
  • Leaf highlight: A pale green streak down the center of each leaf for a bit of shine
  • Body highlight: A soft pale yellow patch near the top for extra glow

Once the color goes on, that diamond grid really comes alive, and your pineapple looks ready for a fruit bowl — or a beach towel print. 🍍

Final Thoughts

The trick to a good pineapple drawing is really just patience with the diamond grid — once those crossing lines are in place, the texture marks and coloring practically fill themselves in. The leafy crown, on the other hand, is where you can have the most fun, since varying the height, curve, and overlap of each leaf gives every pineapple its own slightly different personality.

If you want to switch things up, try drawing the crown leaning to one side instead of standing straight up, or stretch the body taller and narrower for a slimmer, more elegant-looking fruit.