How to Draw a Windmill
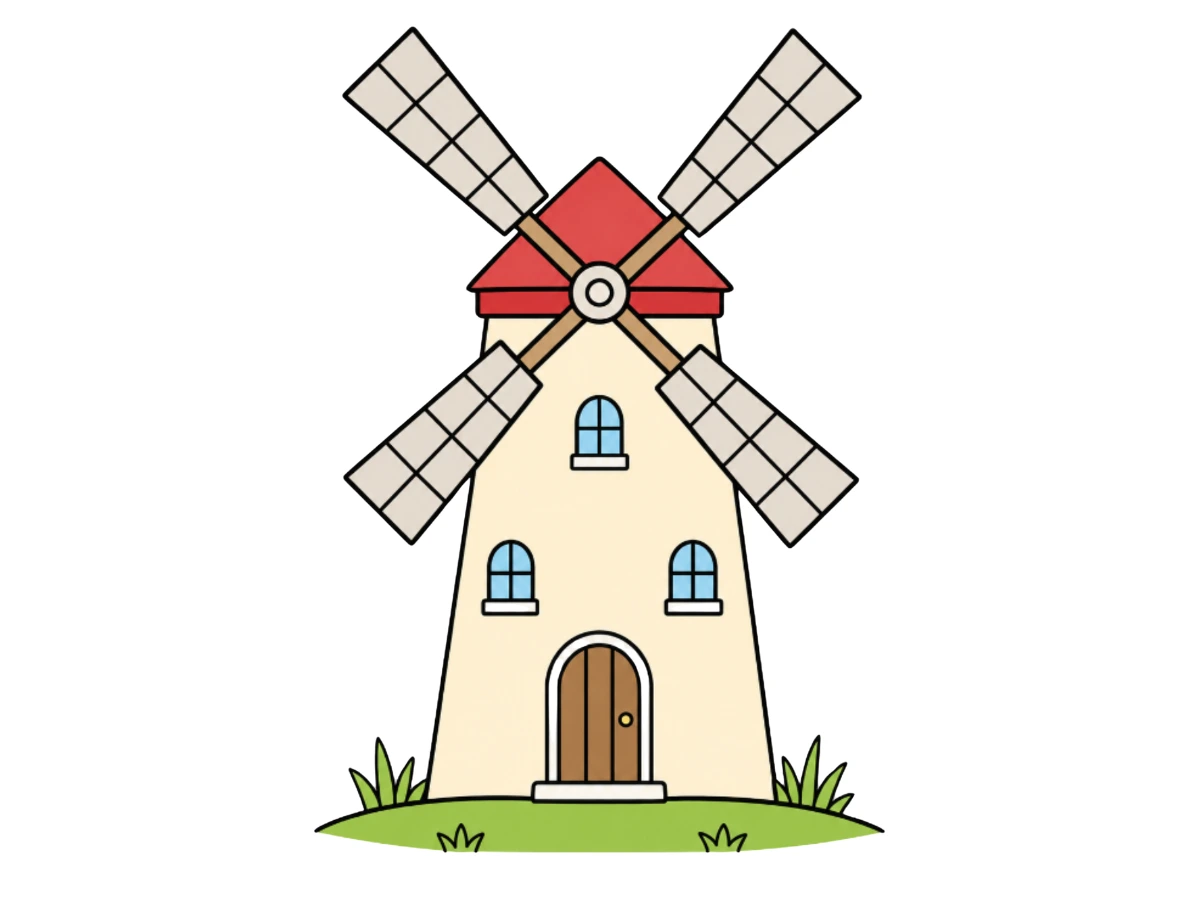
A windmill is one of those drawings that looks architectural and complicated from a distance but is actually built from some of the simplest shapes imaginable. Follow this easy step-by-step tutorial to draw your own windmill!
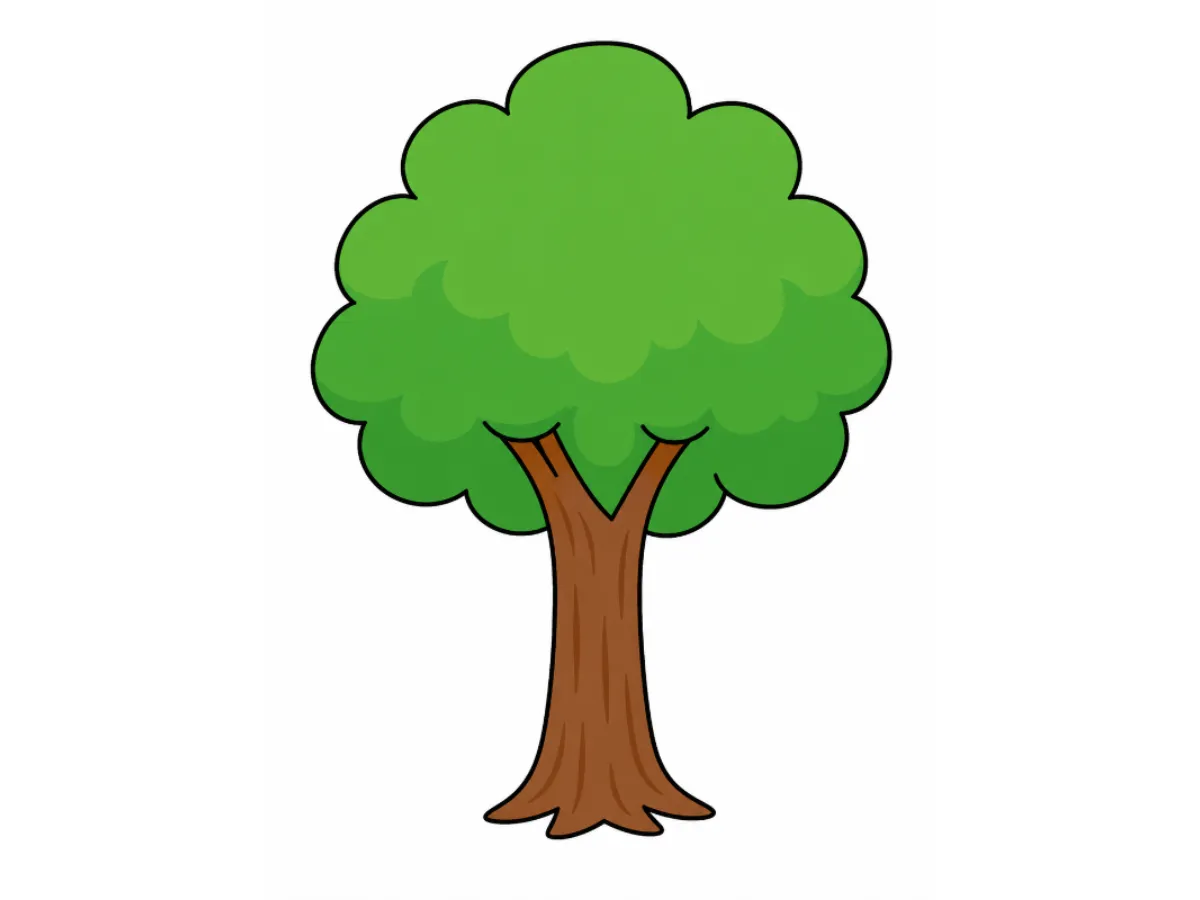
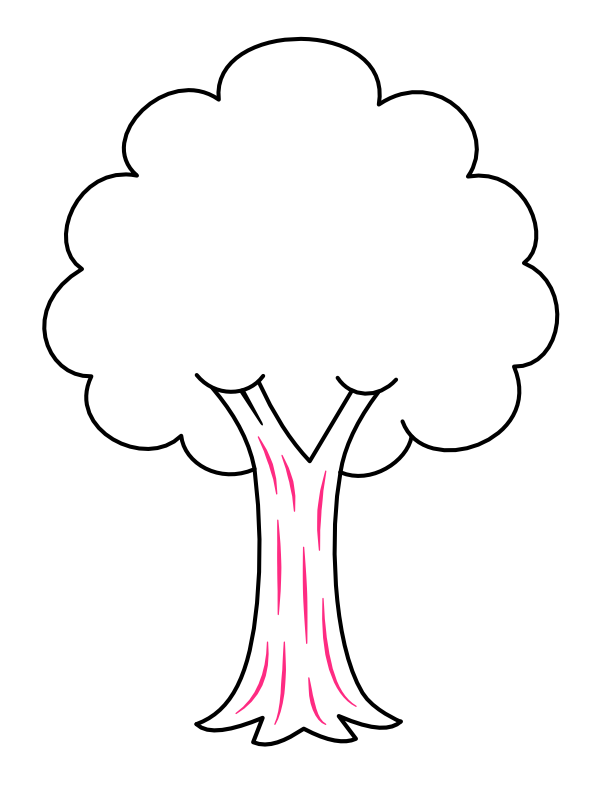
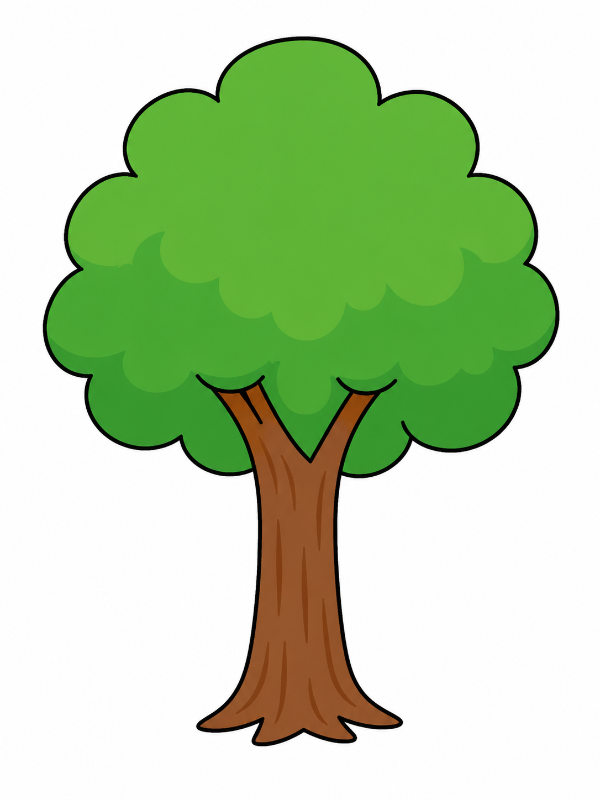
A tree is one of the very first things most of us ever tried to draw, and there is a good reason for that. It uses simple, friendly shapes — soft clouds for the leaves and a sturdy trunk below — making it the perfect drawing project for beginners, kids, or anyone who just wants a relaxing sketch to enjoy. In this tutorial, we will draw a classic cartoon tree using just a handful of easy steps. Let us get started!

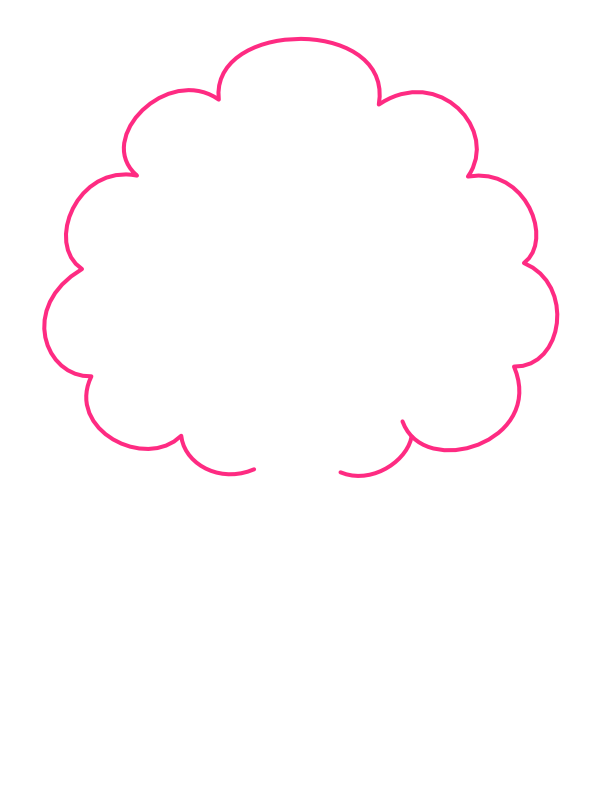
Start near the top of your paper and draw a large, bumpy cloud-like shape. Instead of one smooth circle, create the outline using a series of small connected curves, like a row of overlapping bumps all the way around. This bumpy texture is what makes the treetop look like a full, leafy canopy rather than a plain ball shape.

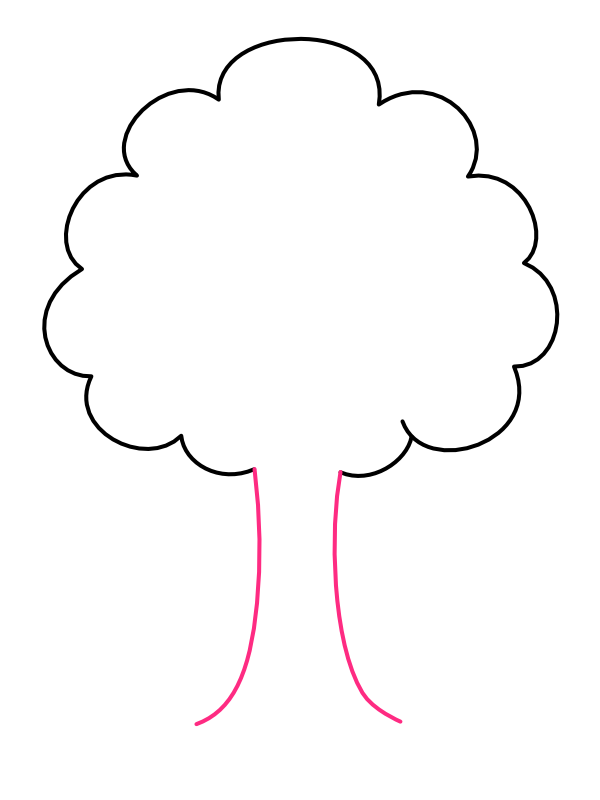
From the bottom of the treetop, draw two curved lines coming down to form the trunk. The lines should start fairly close together at the top, near the center-bottom of the leaves, and curve slightly outward as they travel downward, giving the trunk a natural, slightly wide base.

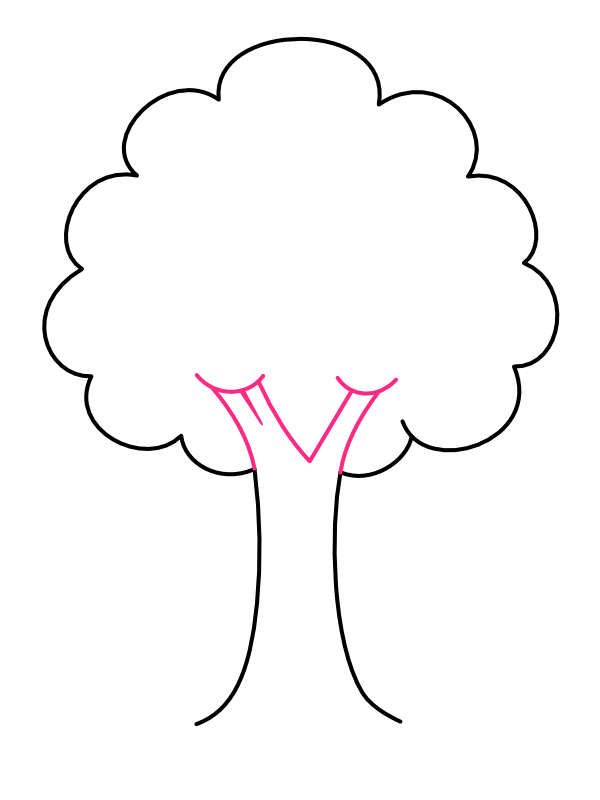
Where the trunk meets the leafy top, draw a small V-shape just above where the trunk begins. Add two short curved lines branching off to each side of this V, like small forks reaching up into the leaves. This detail shows where the trunk splits into branches that disappear into the foliage above.

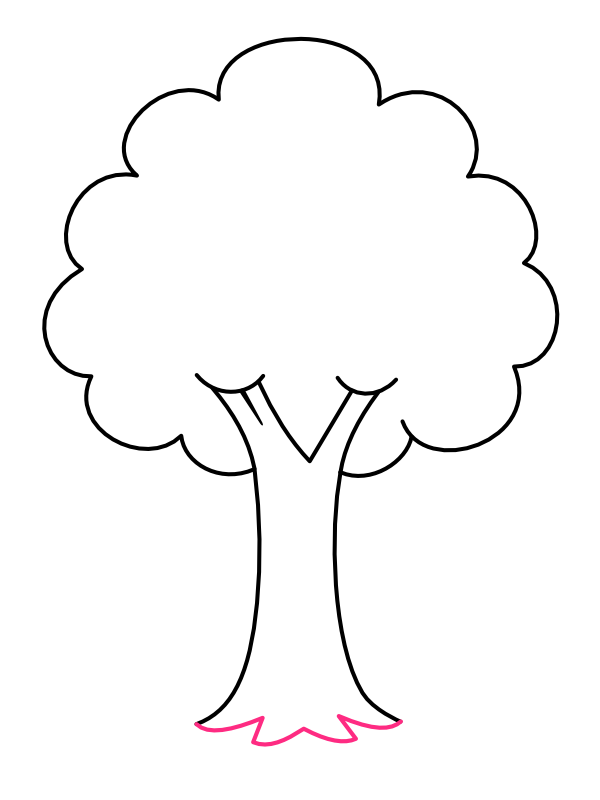
At the very bottom of the trunk, draw a few small wavy bumps spreading outward to both sides. These little curves represent the base of the trunk flaring out into the ground, almost like small roots peeking out at the surface. This detail grounds the tree and makes the bottom look natural rather than just a flat cut-off line.

Inside the trunk, draw a few short vertical curved lines running from top to bottom. These lines do not need to be perfectly straight — in fact, slightly wavy lines work best to represent the rough, natural texture of tree bark. Space them out unevenly for a more realistic look.

Now it's time to bring your tree to life with color:
Your simple, cheerful tree drawing is complete!
Drawing a tree is a wonderful exercise in keeping things loose and natural. None of the lines need to be perfectly straight or symmetrical — in fact, a little unevenness in the bumps and curves makes the tree feel more alive and organic.
Once you are comfortable with this basic shape, you can have fun adding your own twist, like a tree full of autumn colors, a tree with blossoms, or even one with a small bird's nest tucked into the branches. Keep practicing, and enjoy watching your tree grow more confident with every drawing!
A windmill is one of those drawings that looks architectural and complicated from a distance but is actually built from some of the simplest shapes imaginable. Follow this easy step-by-step tutorial to draw your own windmill!
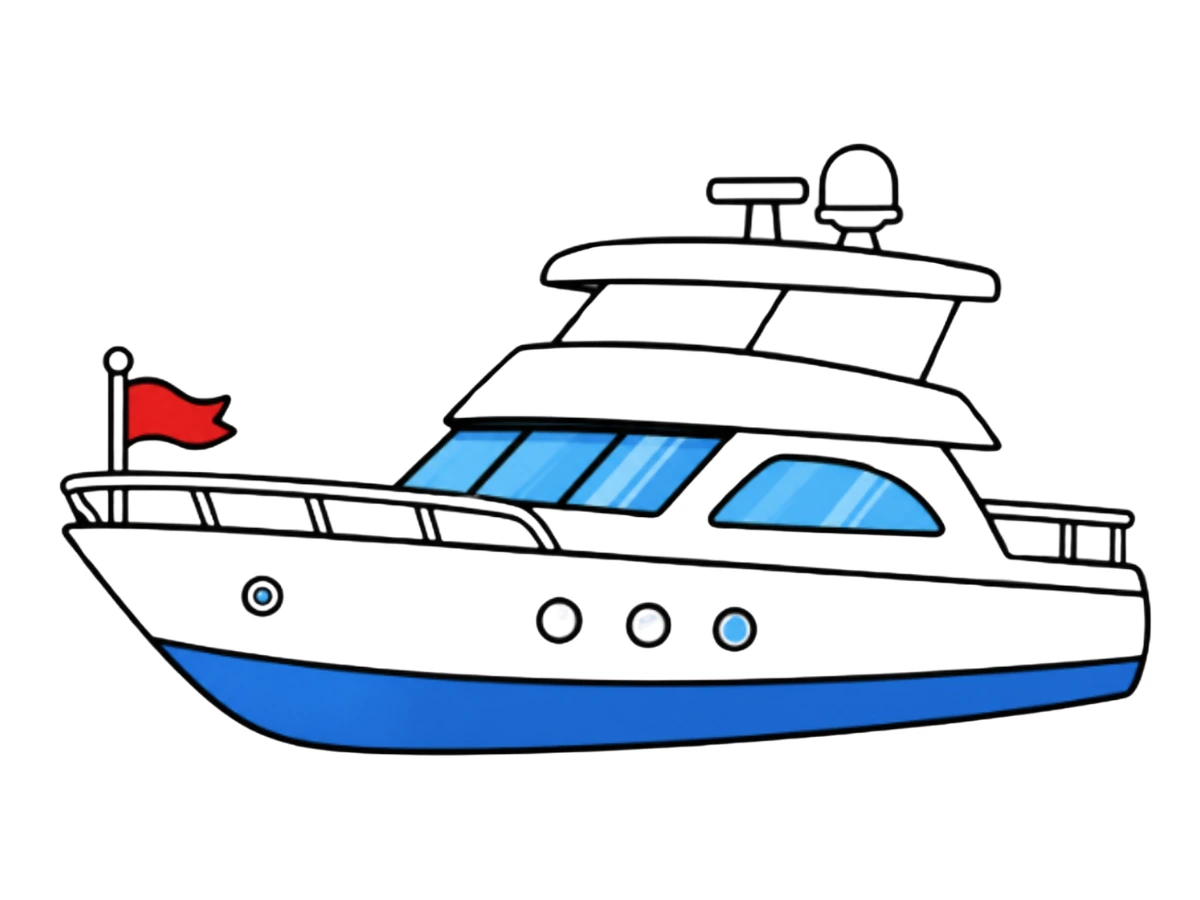
A yacht looks like one of those drawings that requires a ruler, a steady hand, and maybe a degree in naval architecture. But the whole thing is really just a long, flat hull shape that you stack level after level on top of — cabin, then flybridge, then upper deck, each one smaller than the last. Once that foundation hull is in place, the rest of the yacht practically builds itself upward like a little floating building.
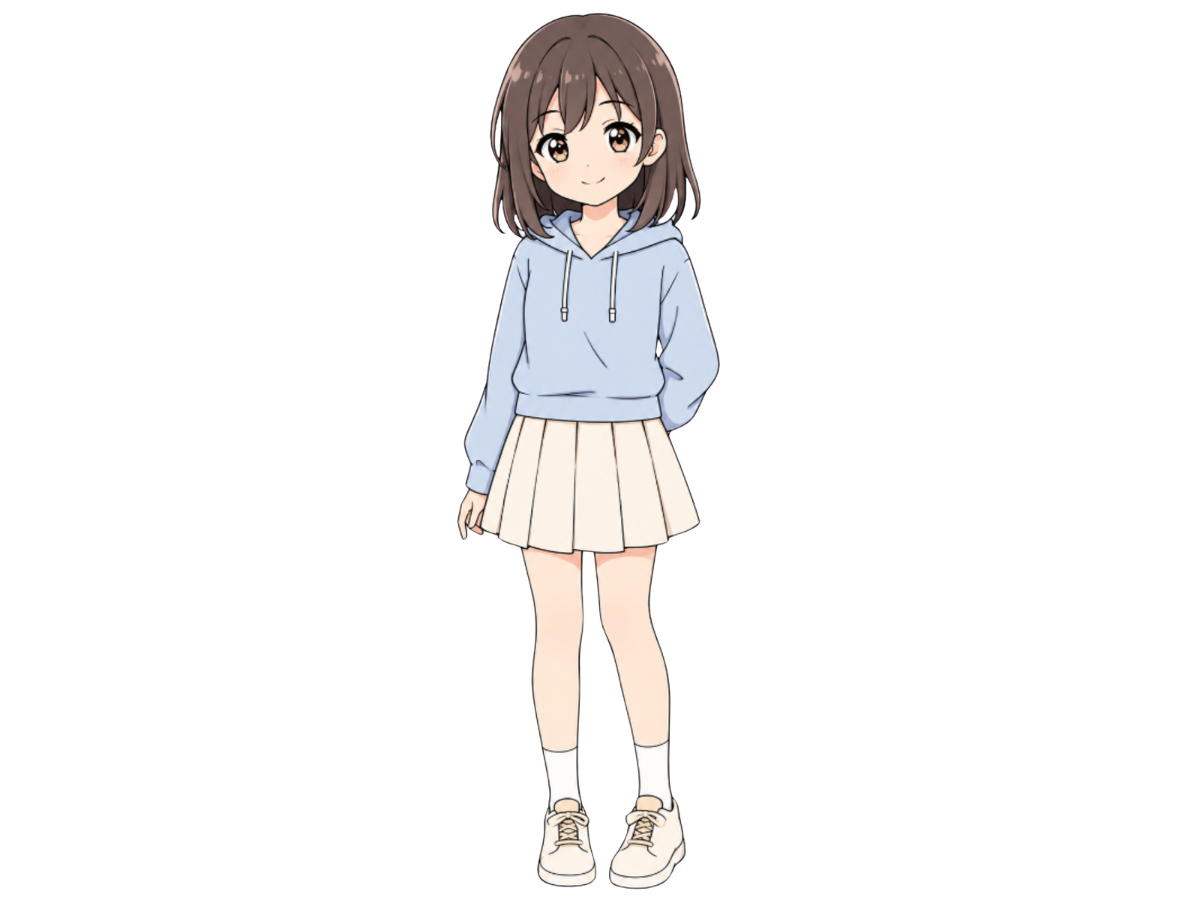
Anime girls are some of the most fun characters to draw because every single feature is designed to carry emotion — those big sparkling eyes, the soft rounded face, the flowing hair, and a simple outfit that instantly gives her personality.
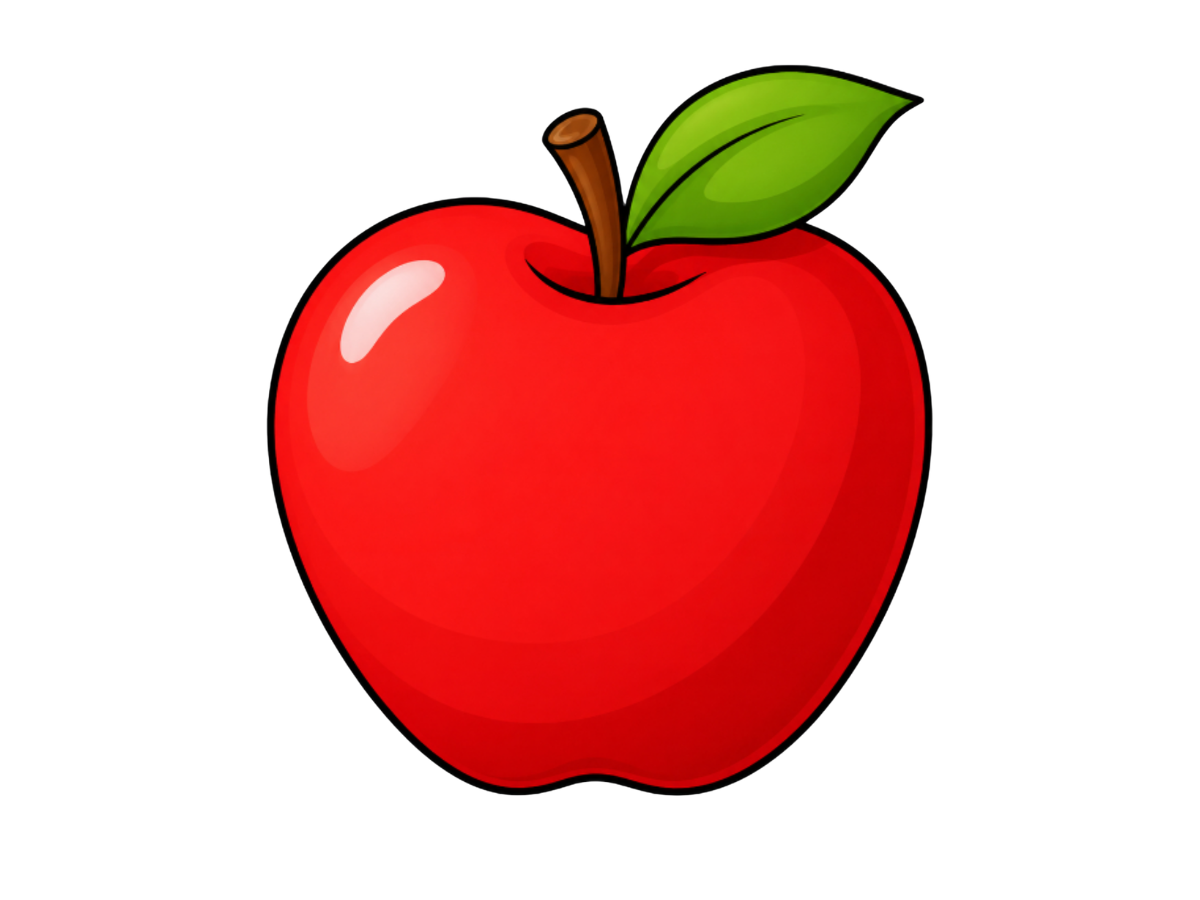
An apple is one of the friendliest shapes you can put on paper — round, familiar, a little lopsided in exactly the way a real apple is, with that small stem and leaf poking out the top. Learn how to draw a simple, rosy-red apple with this easy step-by-step tutorial!