
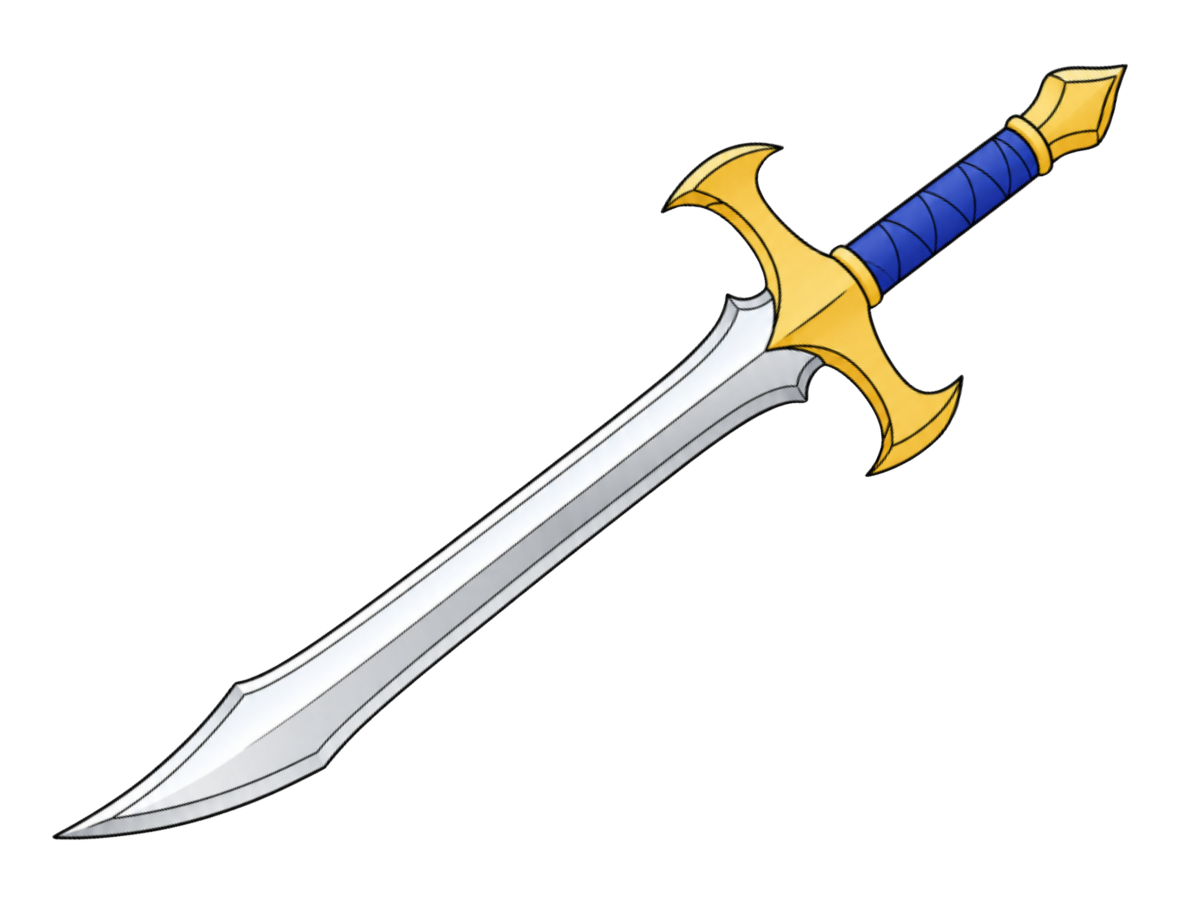
How to Draw a Sword
There's something deeply satisfying about drawing a sword — that long, tapering blade catching an imaginary light, a dramatic curved crossguard, and a grip wrapped and ready to be held.
5 Steps
Read
A lighthouse standing tall against the waves is one of the most peaceful and satisfying things you can draw. With its tapering tower, rows of little windows, and glowing lantern room on top, it might look detailed at first glance, but it is really just a series of simple shapes stacked neatly on top of each other. This tutorial breaks the whole thing down into easy stages so that anyone can draw a beautiful lighthouse, even on their very first try. Let's get started!


Near the top of your paper, draw a small circle. This tiny circle will sit right at the very top of the lighthouse, like a small decorative cap or finial that crowns the structure.

Below the small circle, draw a wide triangle shape with the circle sitting right at its peak. The triangle should be fairly wide at the base and come to a clean point at the top, forming the cone-shaped roof of the lighthouse.

Just beneath the triangle roof, draw a short horizontal line connecting both bottom corners of the triangle. This line defines the edge where the roof overhangs the lantern room just below it.

Below the roof edge, draw a rectangular box shape with a few vertical lines running through it, like window panes. This is the lantern room — the glass-walled chamber at the top of the lighthouse where the light shines out across the sea.

Beneath the lantern room, draw a slightly wider rectangular section with a few short vertical posts along it, like a small fence or railing. This walkway railing, also known as the gallery deck, wraps around the lighthouse just below the light chamber.

Below the railing, draw one more horizontal band, slightly wider than the railing above it. This forms the platform base that the lantern room and railing rest upon, marking the top of the main tower.
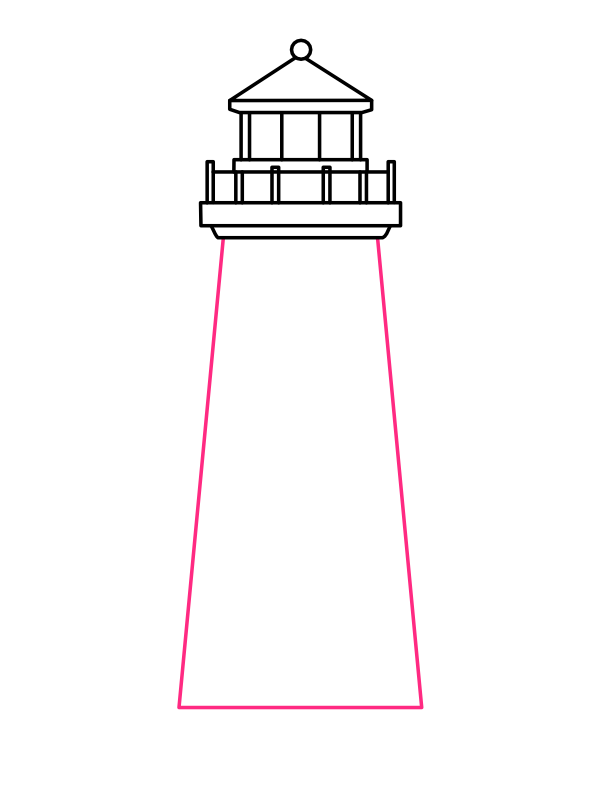
From the bottom corners of the platform base, draw two long lines angling slightly outward as they go down the page, eventually connecting with a straight line at the bottom. This creates the tall, tapered shape of the main tower — narrower at the top and wider at the base.
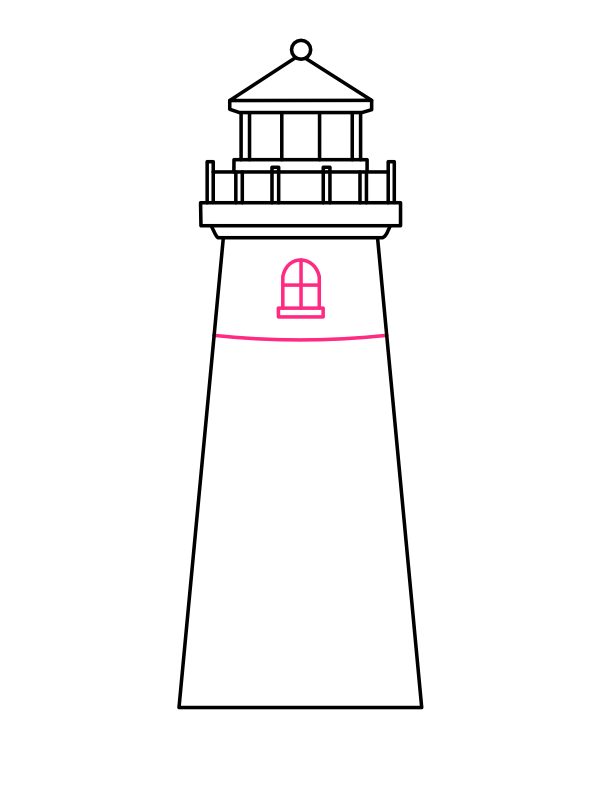
Inside the upper part of the tower, draw a small arched window with a few pane lines inside it. Just below the window, draw a curved horizontal line stretching across the tower's width. This line separates the tower into sections, like the floors of the lighthouse.
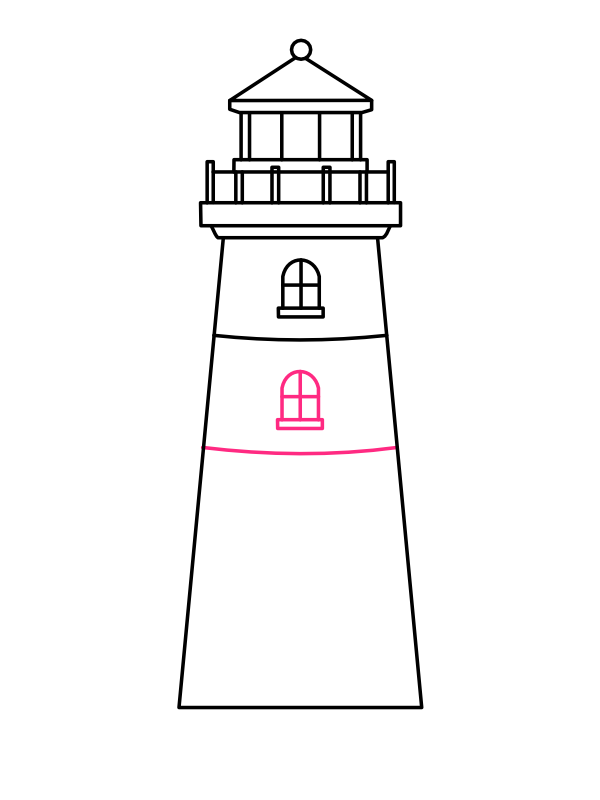
Below the first section line, draw another small arched window, identical in style to the first. Add another curved horizontal line beneath this window to mark off the next section of the tower.
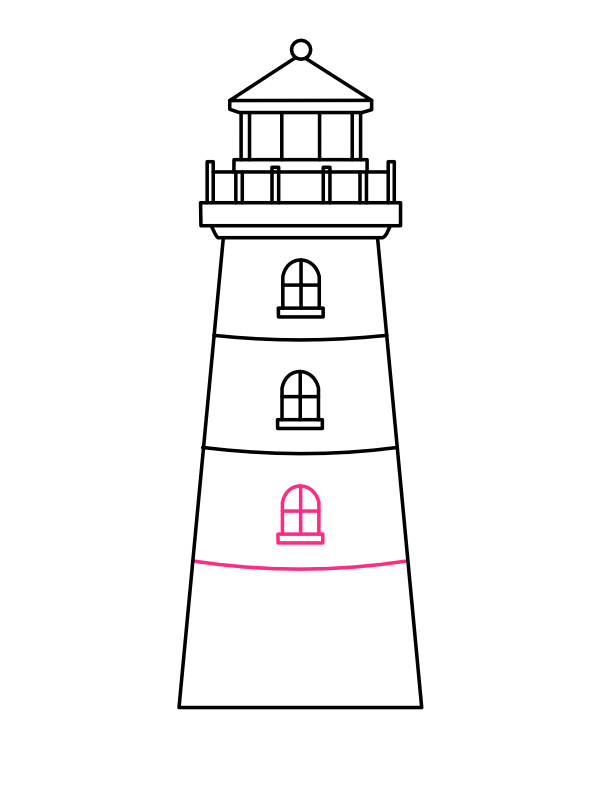
Repeat the same process once more — draw a third arched window below the second section line, followed by another curved horizontal line beneath it. By now, your tower should have a nice rhythm of windows and dividing lines running down its length.
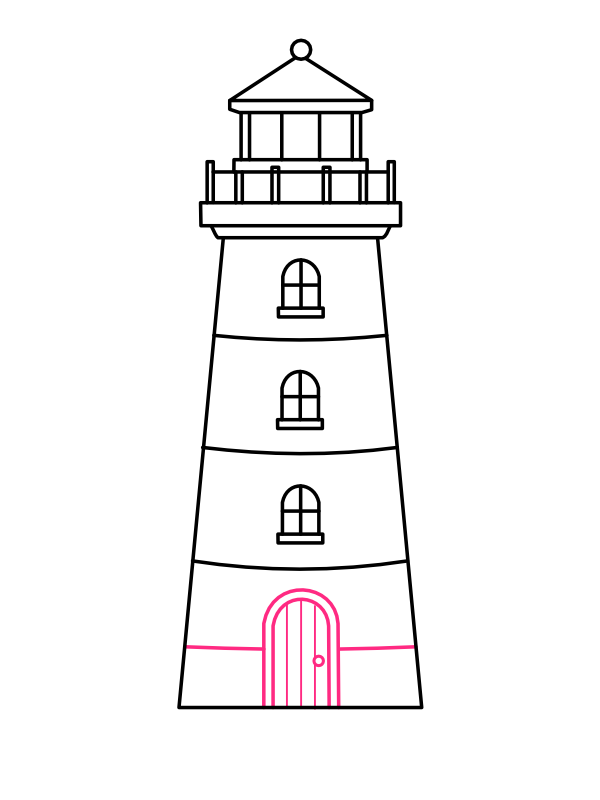
In the lowest section of the tower, draw a tall arched door with a small circle near the side for the doorknob. Add a horizontal line on either side of the door at the same height to complete this final section of the tower.
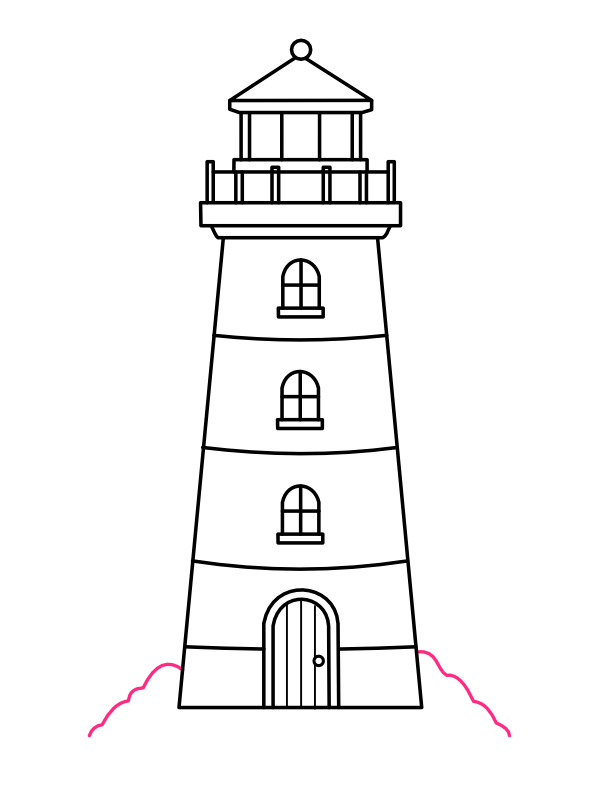
At the base of the tower, draw a few jagged, bumpy shapes on either side of the lighthouse, like small piles of rocks. These uneven, rugged shapes help ground the lighthouse and suggest it is built upon a rocky shore.
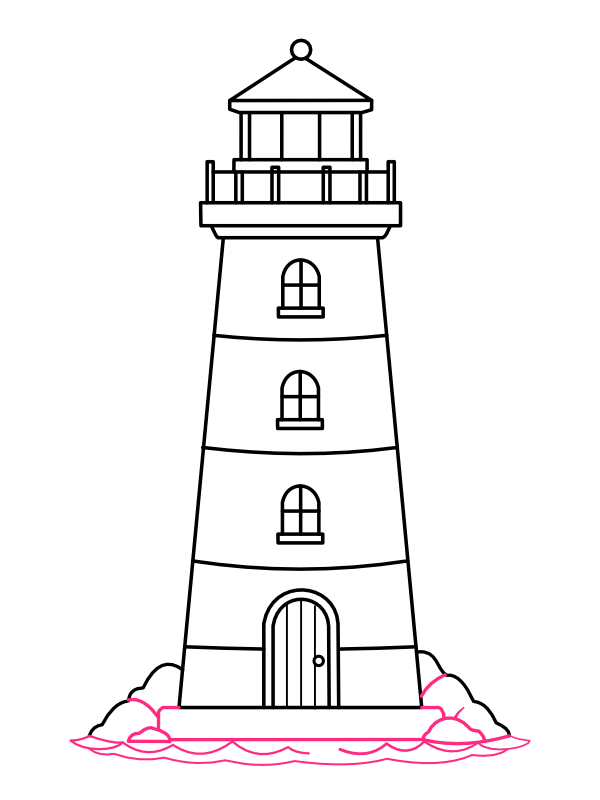
Beneath the rocks, draw a few curved, wavy lines stretching across the bottom of the page. These gentle waves represent the sea surrounding the lighthouse, completing the coastal scene.
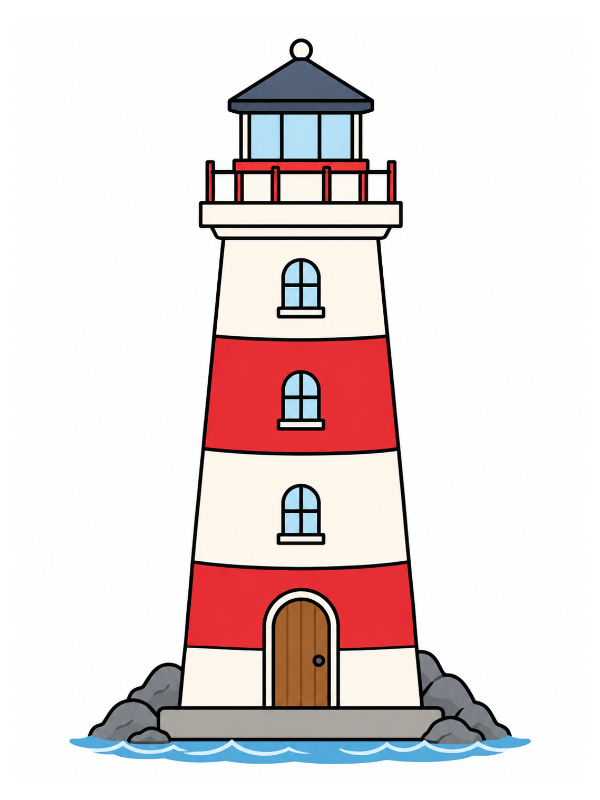
Now it's time to bring your lighthouse to life with color!
Your beautiful lighthouse drawing is complete and ready to guide ships safely home! 🏗️
Drawing a lighthouse is a wonderful exercise in patience and repetition. Once you get comfortable drawing one window and section line, the rest of the tower practically draws itself using the same simple pattern. The classic red and white stripes are what really make this drawing pop, so don't be afraid to make your color bands bold and crisp.
Try experimenting with the setting around your lighthouse too — add seagulls flying overhead, a small boat in the distance, or even a sunset sky behind it for an extra magical touch.
There's something deeply satisfying about drawing a sword — that long, tapering blade catching an imaginary light, a dramatic curved crossguard, and a grip wrapped and ready to be held.
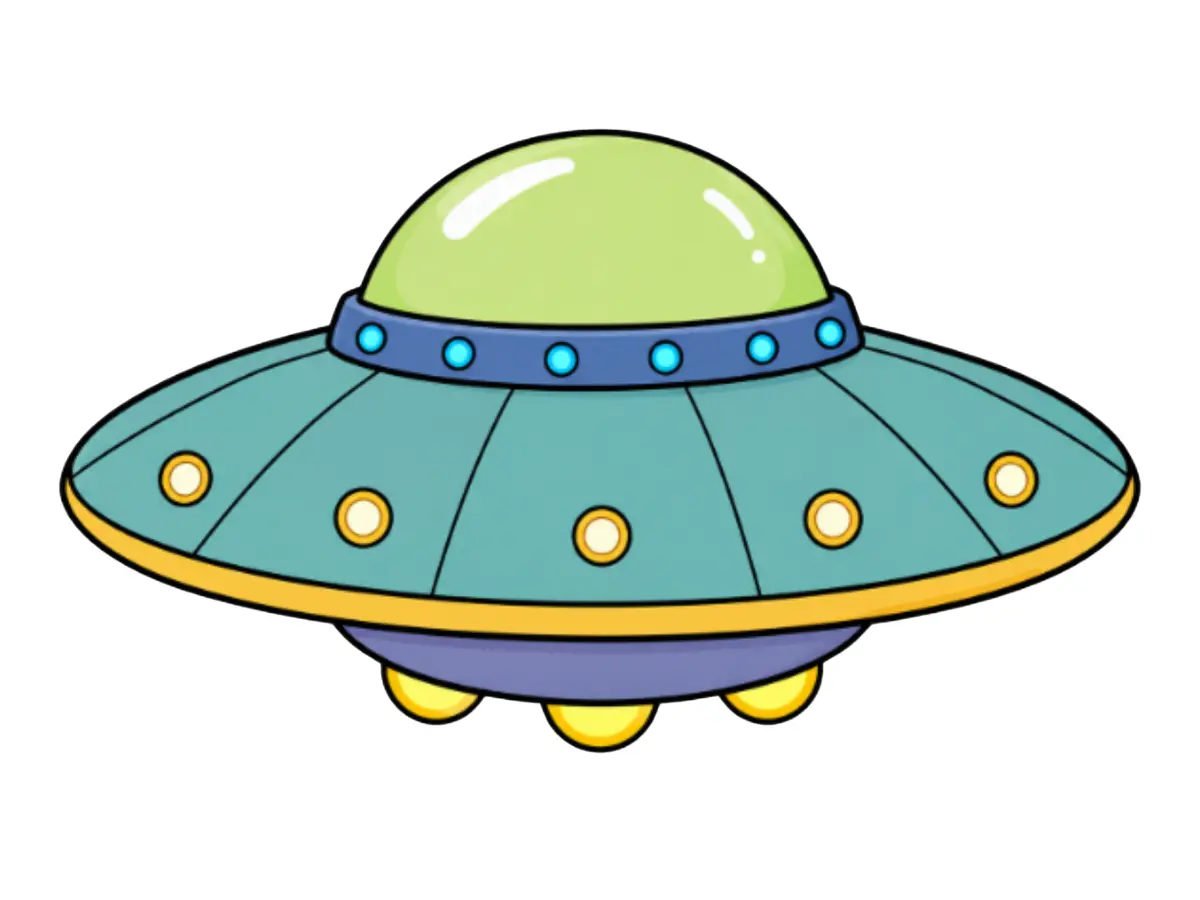
There's something fun about drawing a flying saucer hovering in the sky, lights blinking around its middle. Learn how to draw a UFO with this easy, step-by-step tutorial!

A whale is one of the most joyful animals you can draw — that big, round, generous body, the happy little smile that seems to stretch almost half the length of the face, and that iconic water spout shooting up from the blowhole like the whale is celebrating simply by existing.
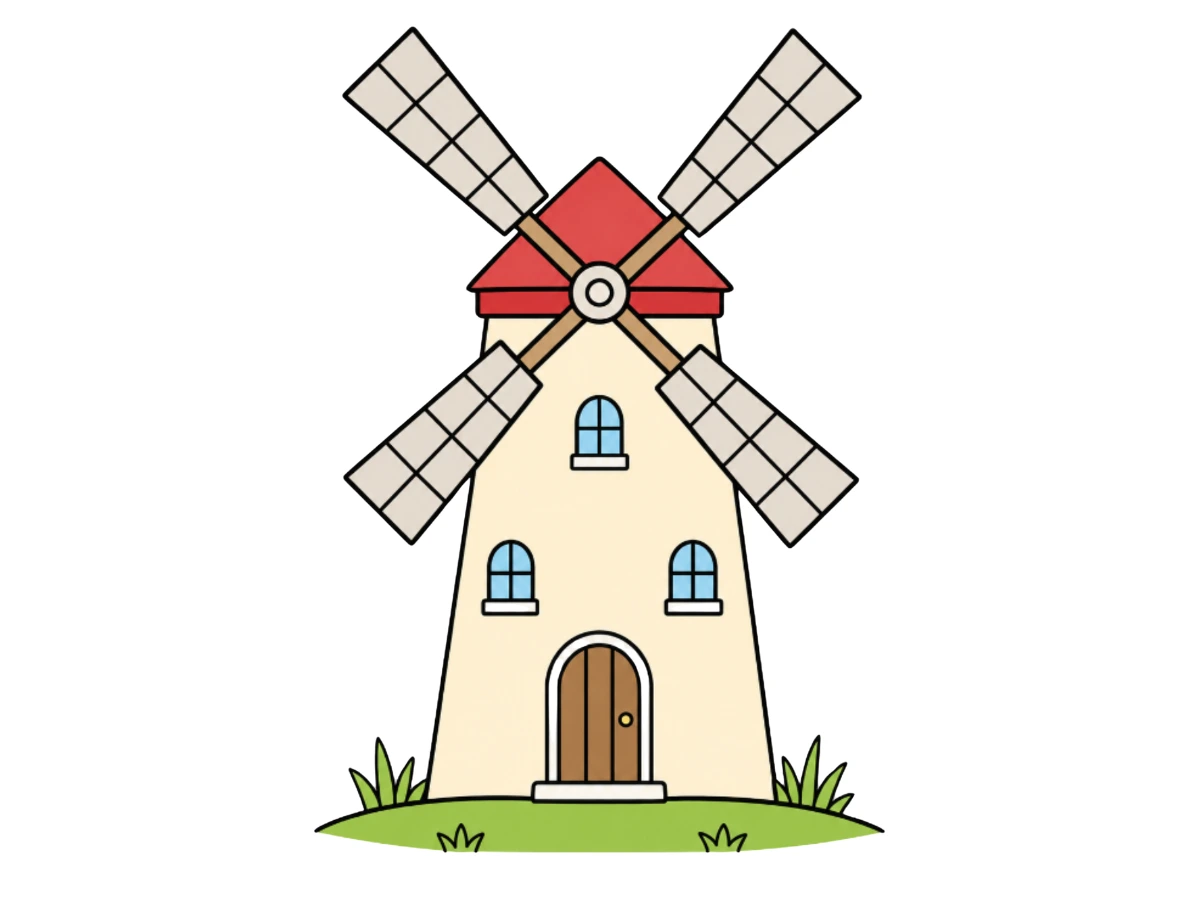
A windmill is one of those drawings that looks architectural and complicated from a distance but is actually built from some of the simplest shapes imaginable. Follow this easy step-by-step tutorial to draw your own windmill!