
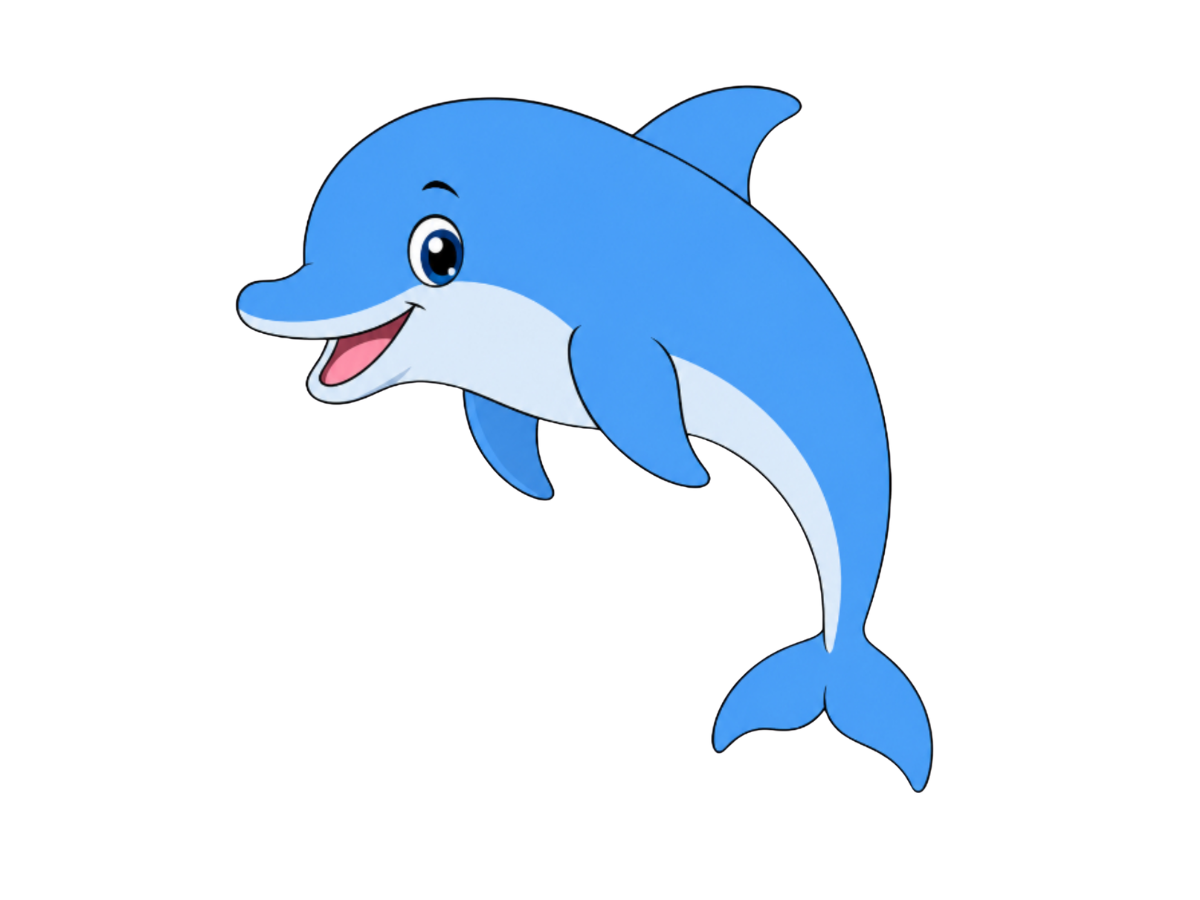
How to Draw a Dolphin
Dolphins are a favorite subject for beach and ocean art. Learn how to draw a playful leaping dolphin step-by-step, starting with one long, sweeping curve and building up the fins, tail, and friendly face.
7 Steps
Read
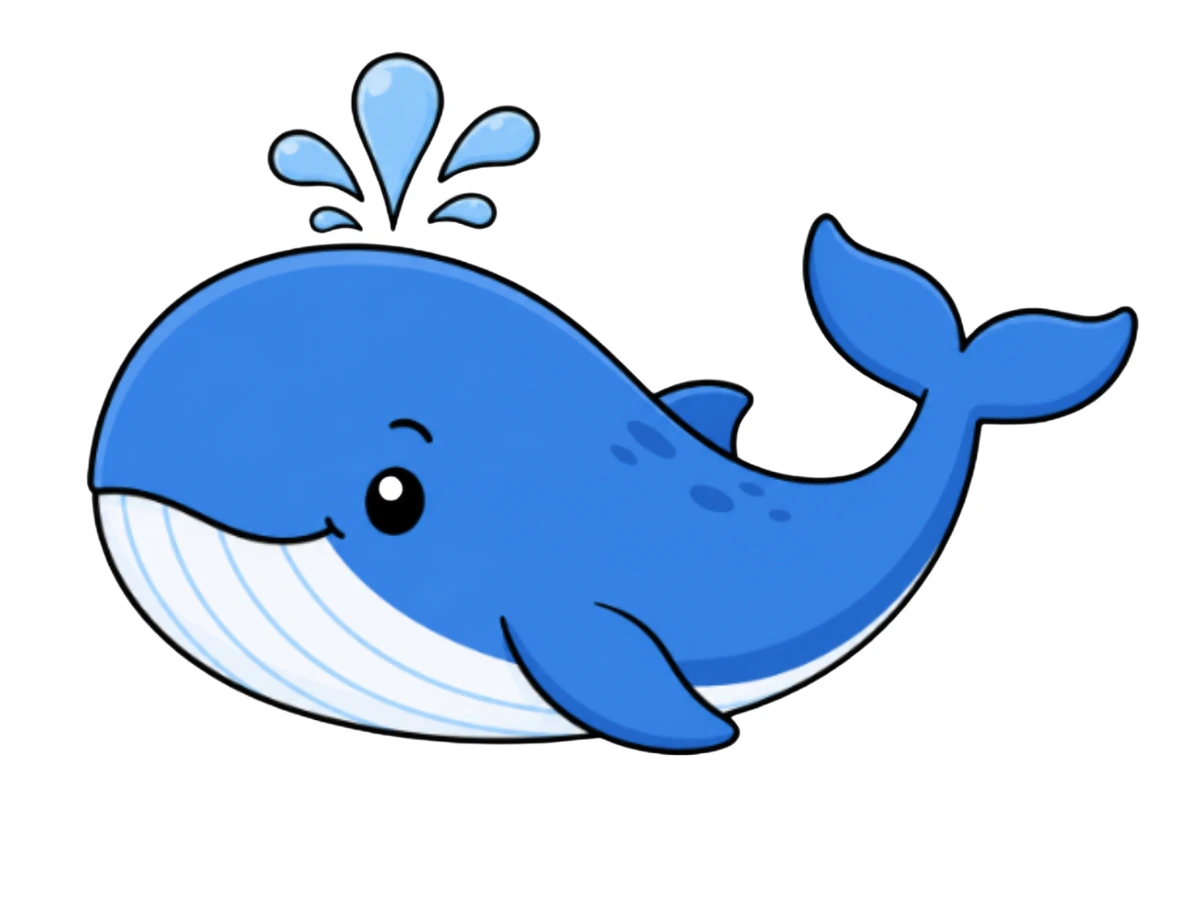
A whale is one of the most joyful animals you can draw — that big, round, generous body, the happy little smile that seems to stretch almost half the length of the face, and that iconic water spout shooting up from the blowhole like the whale is celebrating simply by existing. What makes it especially fun for beginners is that the whole body comes from one single flowing shape, and every detail you add after that — the eye, the tail, the fins, the belly stripes, the spout — just drops into place naturally around it. By the time you add that last splash of water at the top, the whole drawing feels alive. Let's get drawing!
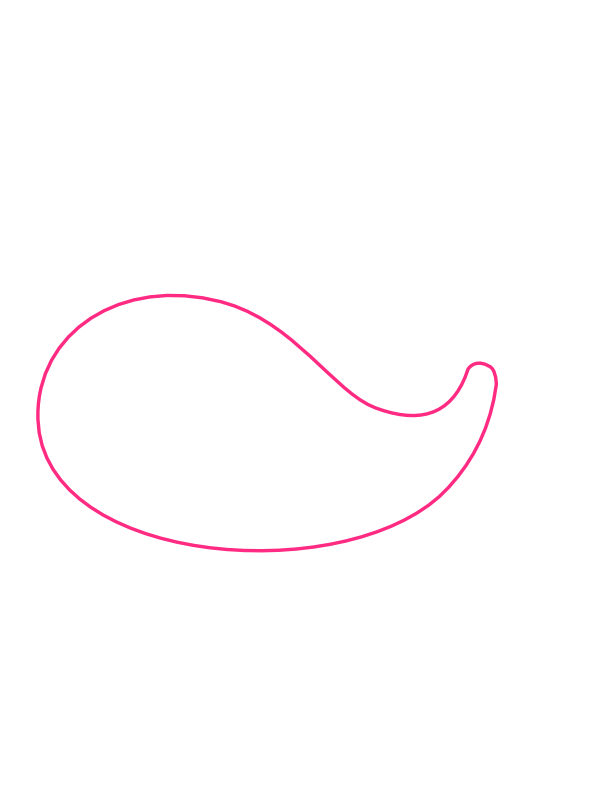
In the center of your paper, draw the whale's body — a large, rounded shape something like a fat comma or a rounded kidney bean, lying horizontally on the page. The left end should be wide and round for the head, the top arc should be smooth and gently curved like a hill, and the right end should taper and curve inward slightly where the tail will eventually attach. The bottom of the body should curve in a broad, gentle arc that mirrors the top, keeping the whole shape plump and soft. Whales should look weightless and buoyant, so aim for smooth, generous curves rather than anything angular or tight.
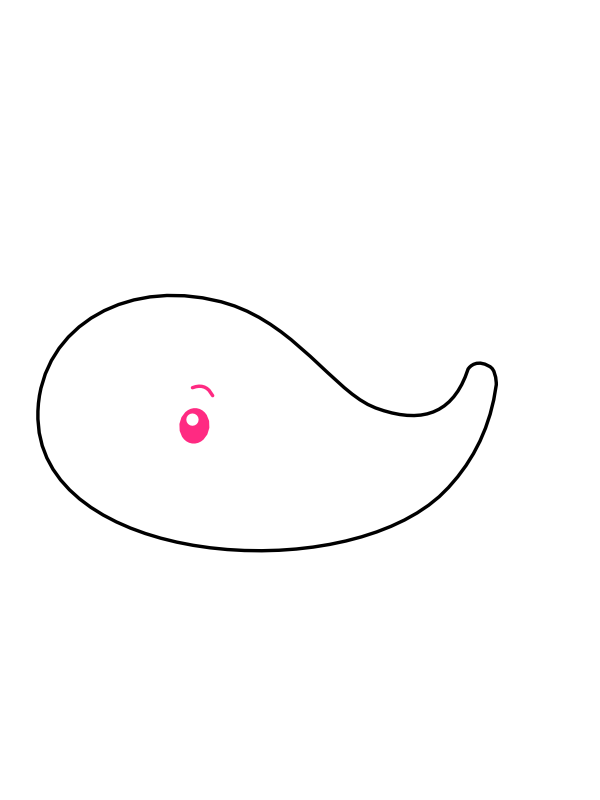
On the left portion of the body, draw a small round eye — a solid filled circle with a tiny white highlight dot left uncolored inside it for that lively, sparkling look. Just above the eye, add a short, slightly curved line for the eyebrow, angled inward very gently toward the nose. That simple eyebrow is the small detail that takes the expression from blank and neutral to cheerful and expressive — a single curved stroke, and suddenly the whale has a personality. Place the eye roughly a third of the way in from the left edge of the body and about halfway up the height of the head.
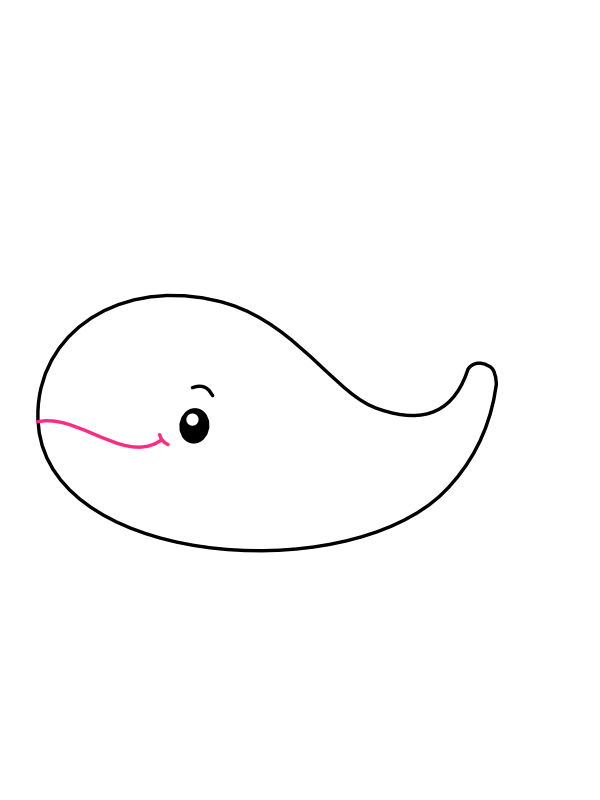
From just left of the eye, draw a long, gentle curved line that sweeps outward to the right and downward like a very wide, relaxed smile. Let it arc back up slightly at the far right end so the mouth doesn't just trail off — that upward flick at the end is what makes it read as a genuine smile rather than just a random line across the face. The whale's mouth is one of its most endearing features because of how wide and content it looks, so don't be shy about making this curve broad and sweeping.
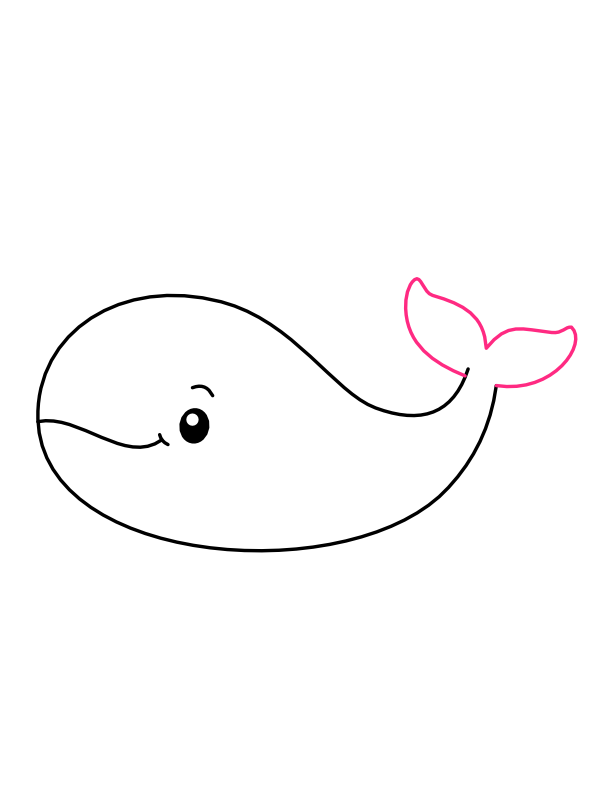
At the narrowing right end of the body, draw the whale's tail — two curved, rounded fin shapes spreading outward in opposite directions from the same point, like an open butterfly or a wide letter V with rounded tips. The upper fin should sweep upward and the lower one should sweep downward, and both should have a gently notched or slightly indented center where they meet in the middle. These tail flukes are one of the most satisfying shapes in the whole drawing, and getting the two sides to feel roughly balanced is what makes the tail look powerful and symmetrical rather than lopsided.
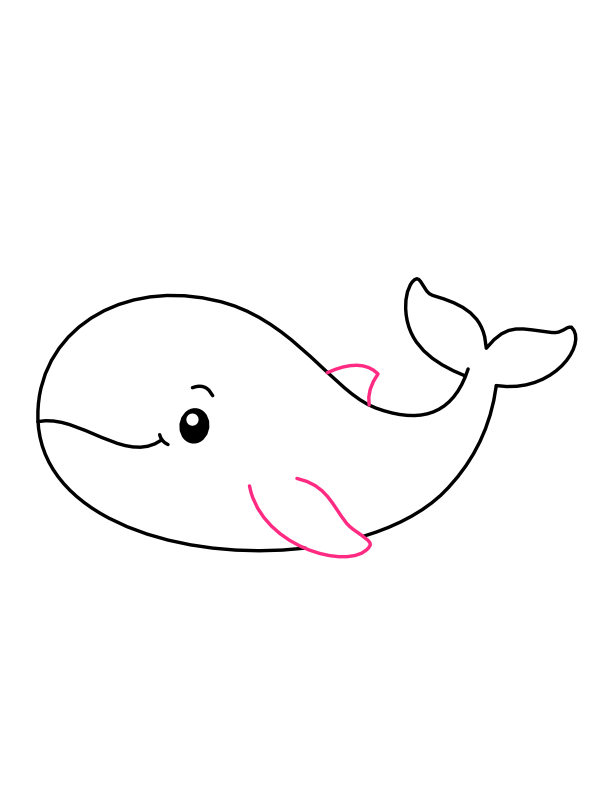
Add two fins to the body — a small, rounded flipper-like fin tucked along the back near where the tail begins, and a slightly larger, more rounded fin hanging down from the underside of the body toward the front. The upper fin is subtle, just a small curved bump rising from the back, while the lower pectoral fin has a fuller, more prominent shape with a gently curved outer edge. These fins give the whale a sense of three-dimensional form, hinting that there are limbs underneath even though this is a flat, side-view drawing.
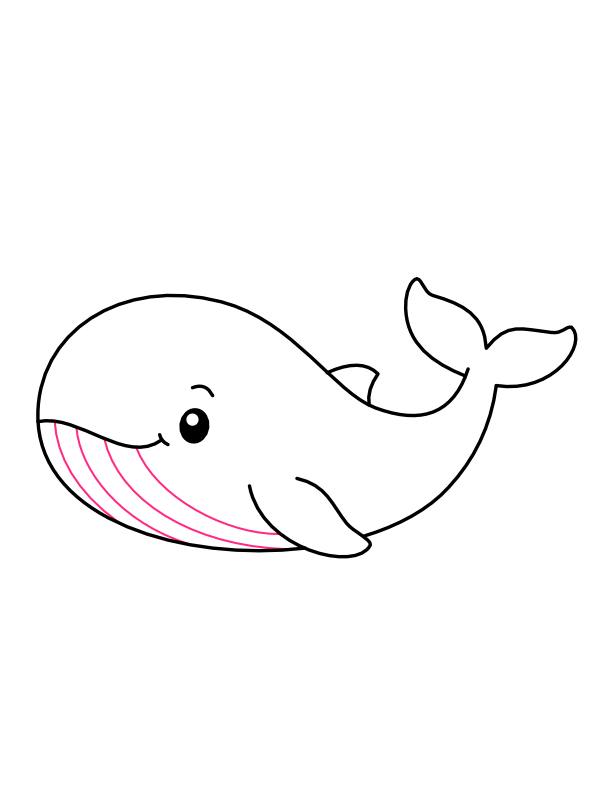
Along the lower-left portion of the body — the throat and belly area — draw a series of thin, gently curved parallel lines that follow the curve of the body from left to right. These stripes represent the throat pleats found on real baleen whales, the long grooves that run from the chin down to the belly. Draw five or six of them, letting each one arc softly to match the belly's curve below. This single detail is what distinguishes a blue whale drawing from a generic cartoon fish — those belly stripes are unmistakably whale, and they add beautiful texture to what would otherwise be a plain, empty lower body.
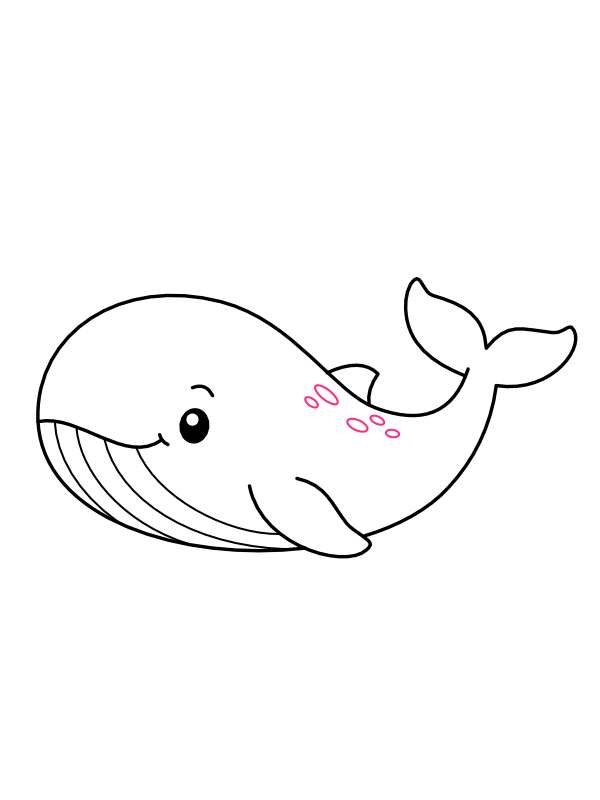
On the upper body just in front of where the tail meets the main torso, draw a small cluster of two or three tiny oval shapes — small, delicate markings like gentle freckles scattered on the skin. Keep them small and subtle, just enough to add a touch of natural variation to the body without making the whale look spotted or leopard-printed. These markings add character and make the whale feel like a living creature with its own little quirks rather than a perfectly uniform cartoon shape.
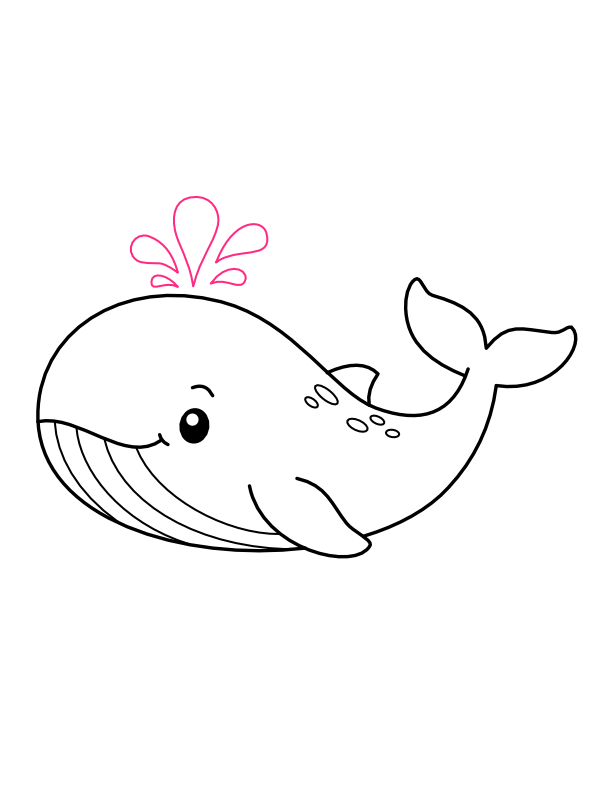
From the very top of the whale's head, draw the iconic water spout — a cluster of water droplet shapes rising upward and fanning outward like a little fountain or a firework of water. Draw a central droplet first shooting straight up, then add two or three smaller droplets on either side curving outward and downward from the same base point. Each droplet should be a simple teardrop shape — wider at the top and narrowing to a point at the bottom where it connects to the blowhole. The spout is the finishing detail that makes a whale instantly recognizable from any other ocean animal, and it's also just genuinely delightful to draw.

Now for the most satisfying part!
Once the color goes on, that rich ocean blue from head to tail against the pale soft belly makes this whale look like it just surfaced from the deep Pacific and is having the time of its life. 🐋
What makes this whale drawing work so well is how much personality gets packed in through just three things — the wide sweeping smile, the cheerful little eyebrow, and the water spout at the top. The body is big and round and simple, but those three details are what make it look genuinely happy rather than just round. The belly stripes are the detail that most beginners hesitate over, worried they'll look wrong, but even slightly uneven stripes read beautifully as long as they follow the curve of the belly beneath them.
Once you're comfortable with this side view, try drawing the whale from slightly above, looking down, so you can see both pectoral fins on either side of the body at the same time — it gives the whale a charming, floating-in-water quality that's different from the standard side pose.
Dolphins are a favorite subject for beach and ocean art. Learn how to draw a playful leaping dolphin step-by-step, starting with one long, sweeping curve and building up the fins, tail, and friendly face.
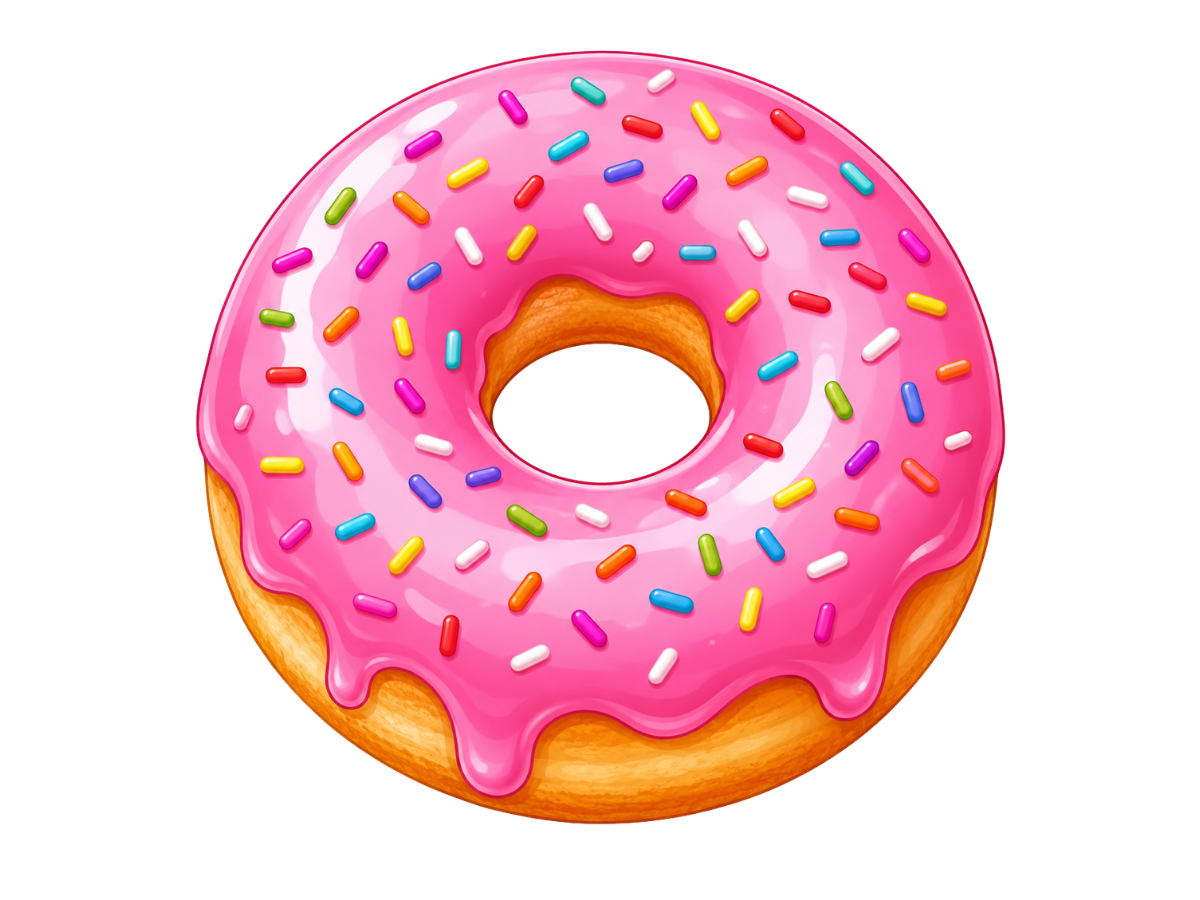
Few things look as instantly cheerful on paper as a donut dripping with icing and scattered with colorful sprinkles. It's one of those drawings that feels like a treat in itself — round, glossy, a little messy in the best way.
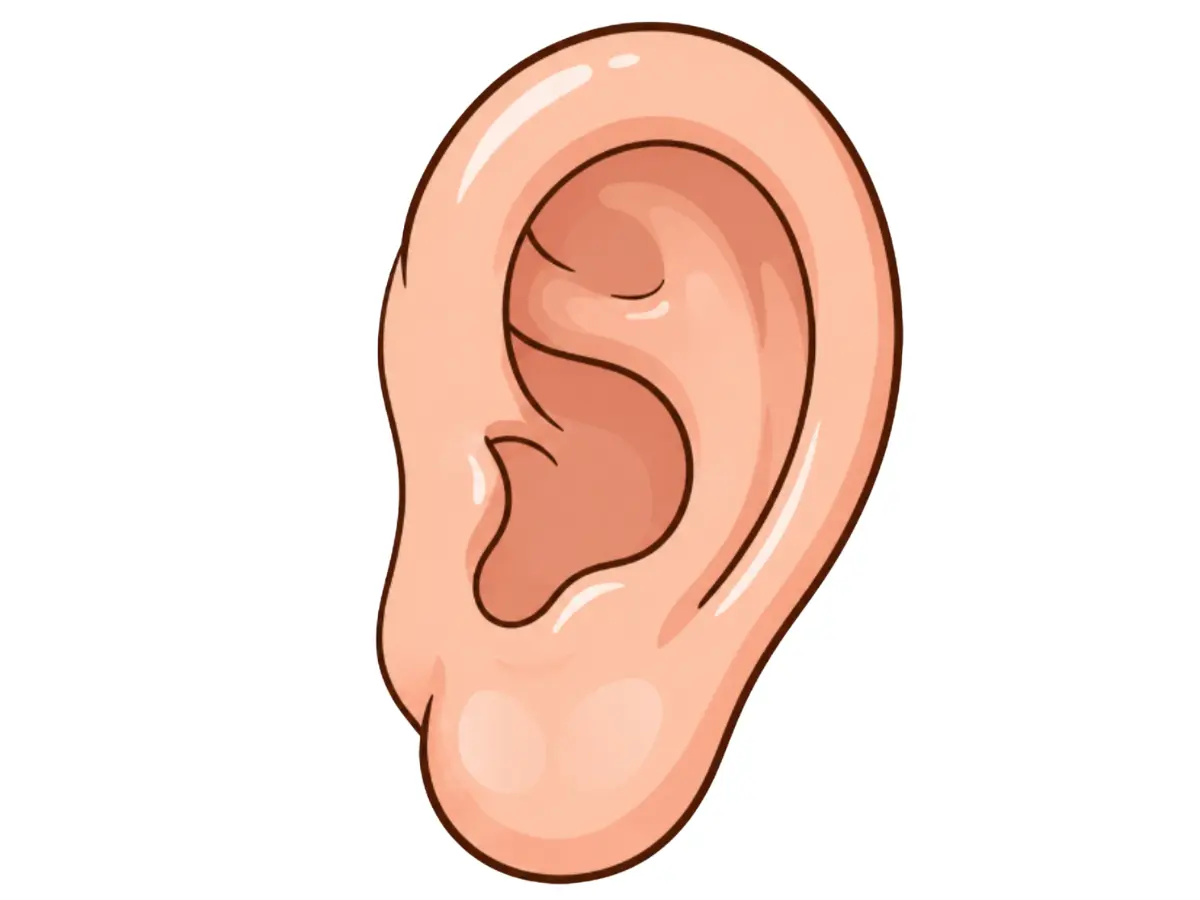
Ears have a bit of a reputation for being one of the trickier facial features to draw. Learn how to draw a realistic ear with this easy, step-by-step tutorial!
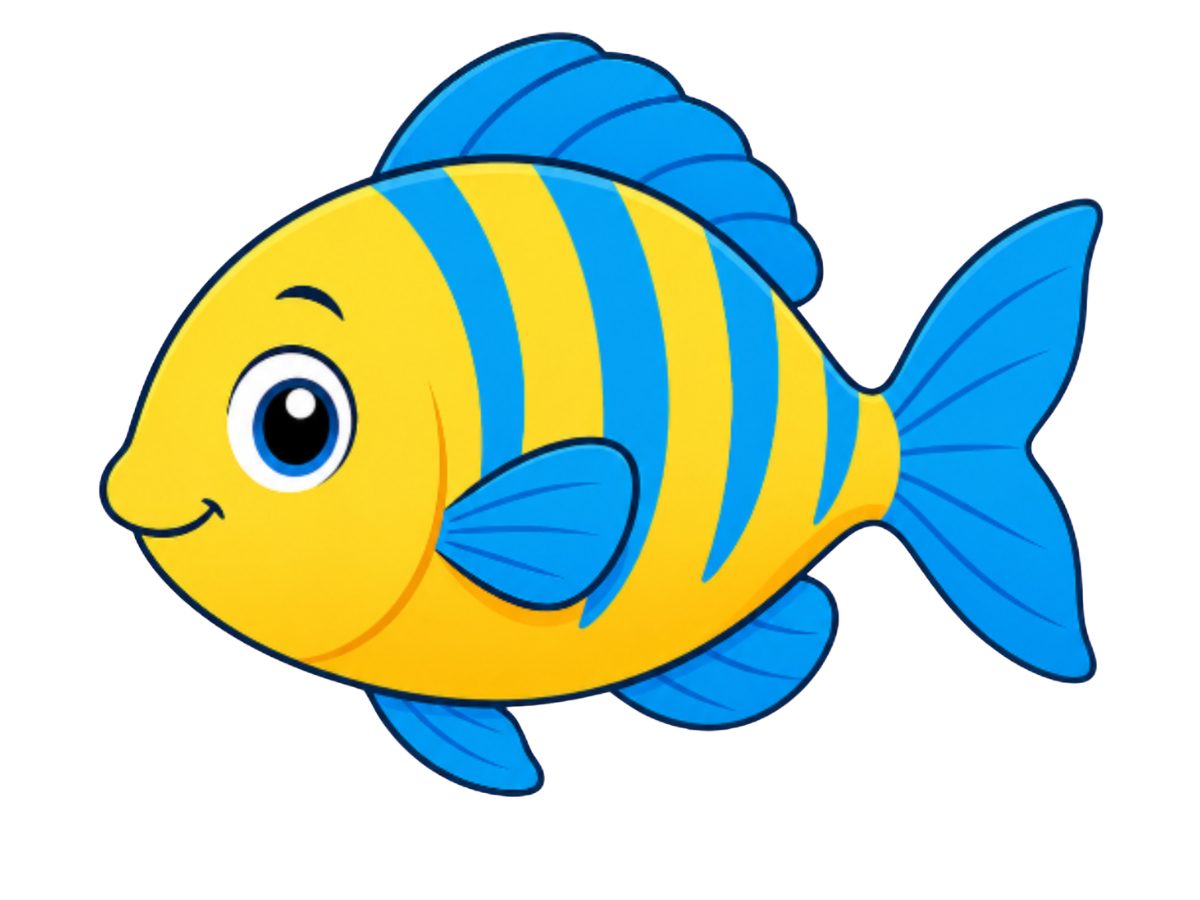
A fish is one of those drawings that feels like it belongs to the ocean the moment you start it. That plump, lemon-shaped body, the big round eye, and the fanned-out fins all come together to make one of the friendliest little sea creatures you can put on paper.