How to Draw a Windmill

July 9, 2026
10 Steps
AR Drawing Logo

AR Drawing

Drawing Tutorials

A windmill is one of those drawings that looks architectural and complicated from a distance but is actually built from some of the simplest shapes imaginable — a triangle, a rectangle, a tapered tower, and four spinning sails made of plain rectangular panels. What makes it so satisfying to draw is the way those spinning sails dominate the whole composition, spreading out across the page in four directions like a compass rose made of wooden planks. Once the tower is in place and the sails are added, the windmill looks dramatic and full of character long before the windows, door, or grass come anywhere near it. Let's get drawing!

How to Draw a Windmill
What You Will Need
  • Pencil
  • Eraser
  • White paper
  • Black marker or fine-liner (optional)
  • Colored pencils, crayons, or markers
1

Draw the Roof Triangle

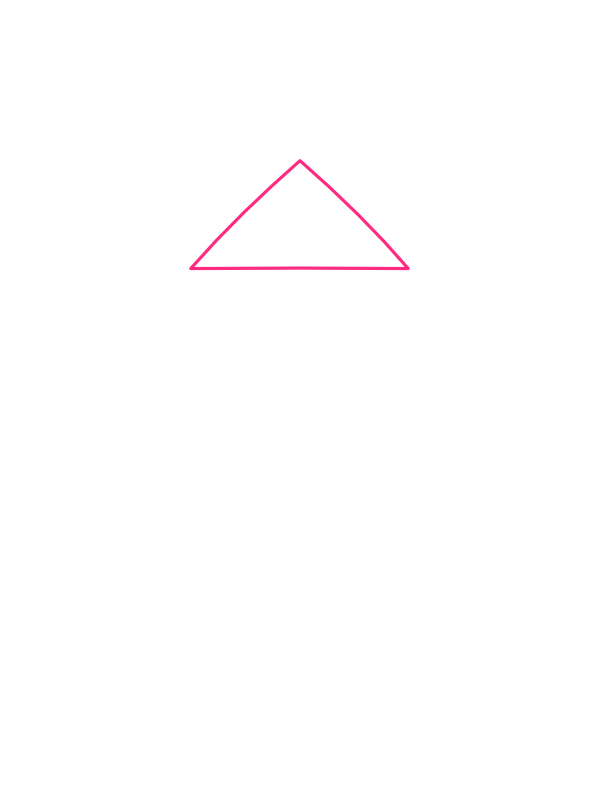
Step 1: Draw the Roof Triangle

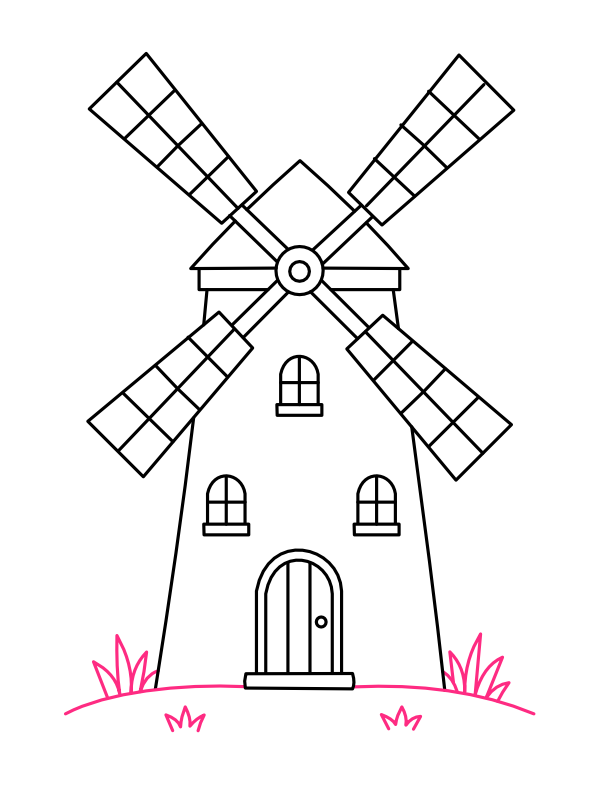
Near the upper-center of your page, draw a clean triangle for the windmill's pointed roof cap. Keep the triangle fairly compact — it should feel like a hat sitting on top of a building rather than taking up most of the page, since the tower below it and the sails spreading outward will need plenty of room. The two sloping sides should meet at a sharp point at the top, and the base of the triangle should be a clean horizontal line. This simple triangle sets the scale and the center point for everything that follows, so take a moment to make sure it feels balanced before moving on.

2

Add the Cap Band

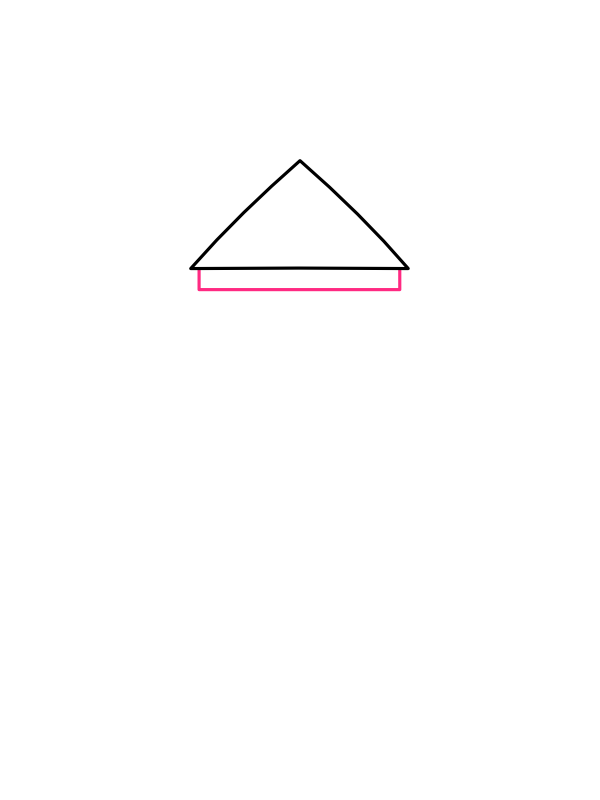
Step 2: Add the Cap Band

Directly below the triangle, draw a narrow horizontal rectangle that extends slightly wider than the base of the triangle on both sides. This flat band is the cap collar — the platform that sits between the pointed roof and the top of the tower, and the level where the sail axle is mounted. It should be noticeably wider than the triangle base but not dramatically so; just enough of an overhang on each side to give the roof that classic layered, structured look. This small detail is what separates a windmill from a plain building with a pointed roof.

3

Draw the Tower Body

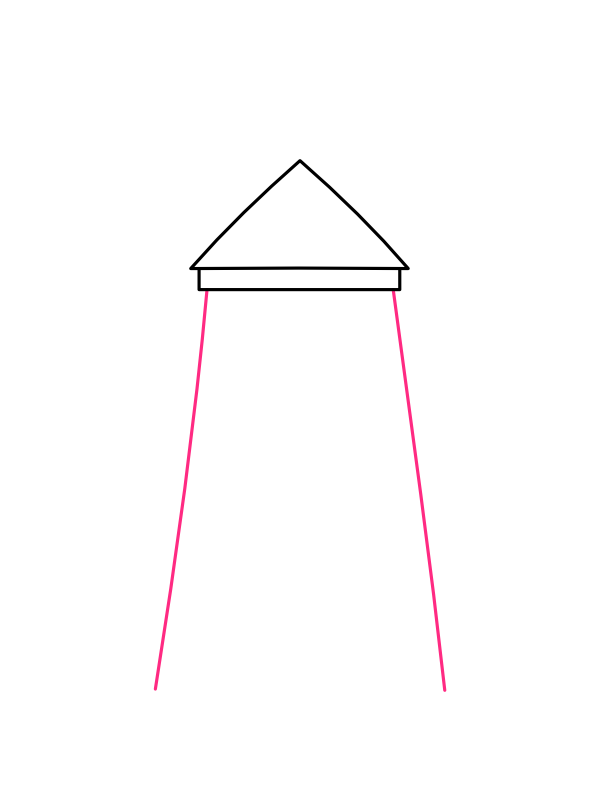
Step 3: Draw the Tower Body

From the two outer edges of the cap band, draw two straight lines that angle outward and downward toward the bottom of the page, stopping roughly two-thirds of the way down. The tower should be noticeably wider at the bottom than at the top, tapering like a truncated pyramid — this outward flare is what gives a traditional windmill its solid, grounded, planted-in-the-earth feeling. Don't close the bottom of the tower yet; the ground and grass will come in a later step to complete that edge naturally.

4

Draw the Hub

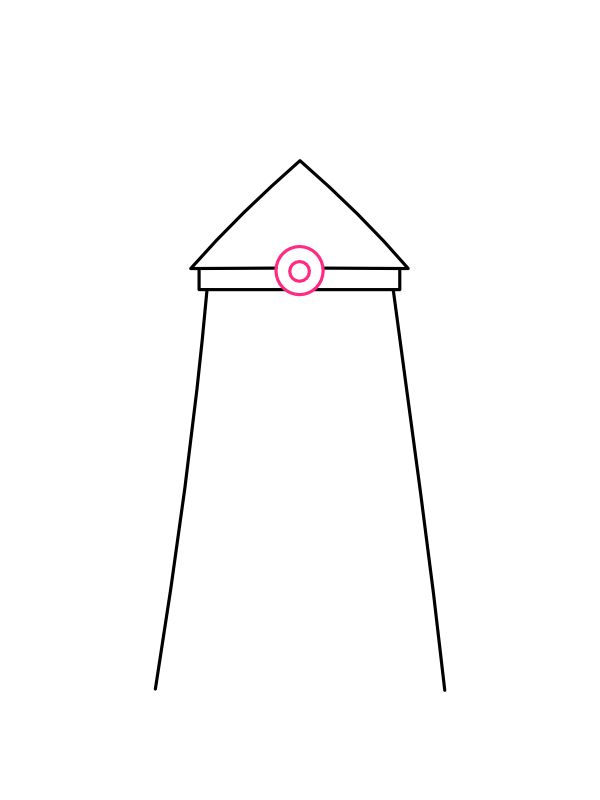
Step 4: Draw the Hub

At the center of the cap band — right where the triangle meets the rectangular collar — draw two small concentric circles, one inside the other. This double-circle hub is the axle point where all four sails will attach and rotate from. Keep it modest in size; the hub should look like a functional mechanical joint rather than a decorative feature, and a hub that's too large makes the sails look like they're growing from a dinner plate. This small circle is the single most important anchor point in the whole drawing — everything in the sail step will radiate outward from it.

5

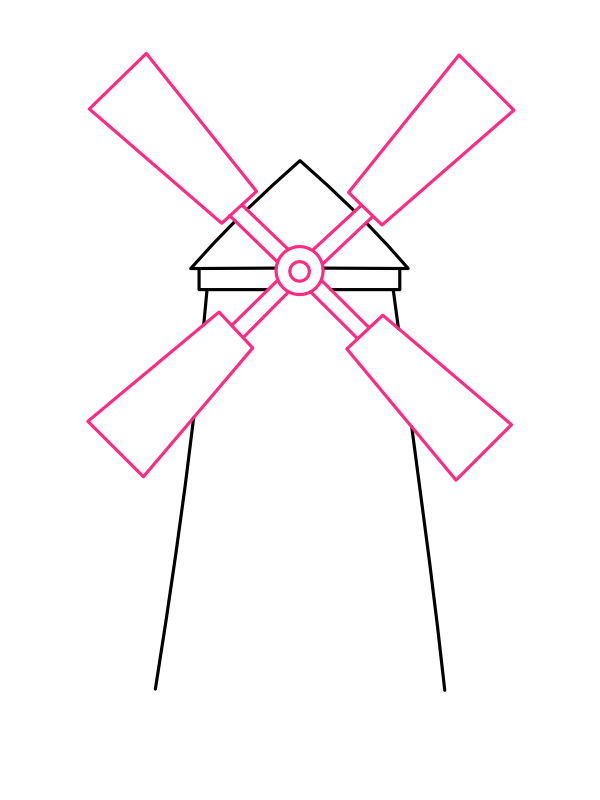
Draw the Four Sails

Step 5: Draw the Four Sails

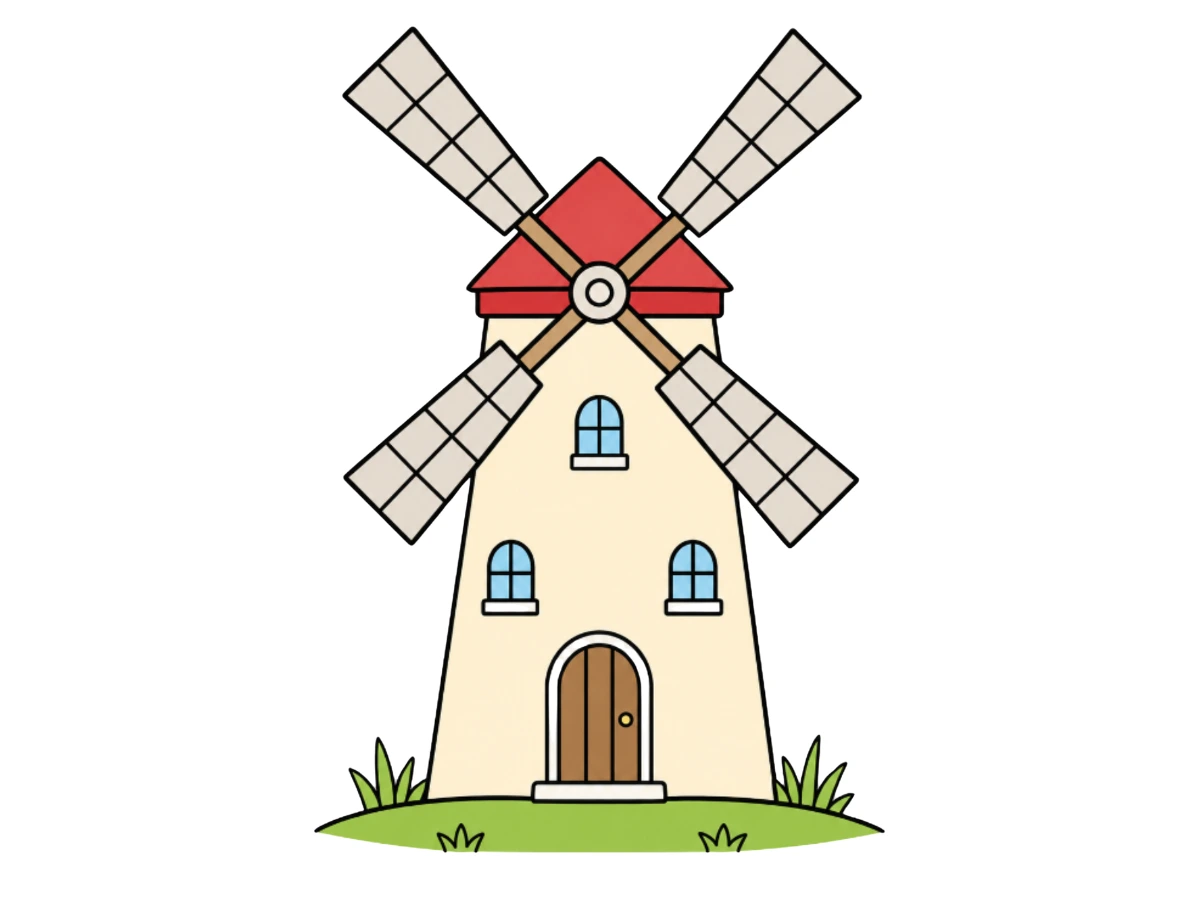
From the hub, draw four sail arms radiating outward in an X pattern — upper-left, upper-right, lower-left, and lower-right. Each arm starts as a narrow line from the hub and widens into a long rectangular panel at the end, like a paddle or a flat oar. The two upper sails should angle steeply upward and outward, while the two lower sails angle steeply downward and outward, giving the whole arrangement that classic spinning pinwheel look. Try to keep the four arms roughly equal in length and at roughly equal angles from each other — a windmill where the sails are evenly balanced looks purposeful and mechanical, while uneven sails look more like a mistake than a design.

6

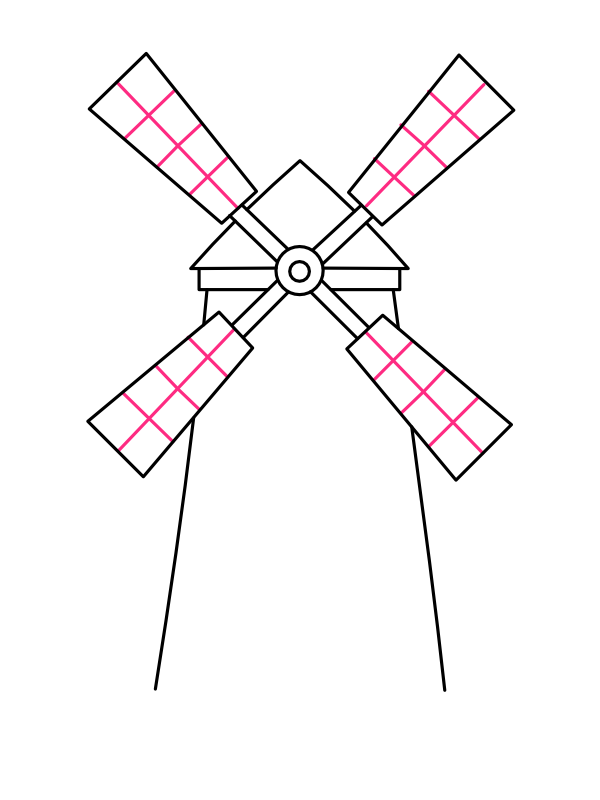
Add the Grid Pattern on the Sails

Step 6: Add the Grid Pattern on the Sails

Inside each of the four sail panels, draw a simple grid of two or three horizontal lines crossed by one or two vertical lines, dividing each sail into a neat grid of rectangular sections. This lattice pattern represents the wooden slats of real windmill sails, and it's the single detail that turns plain rectangular shapes into something that unmistakably reads as a windmill rather than a building with odd appendages. Work through all four sails one at a time, keeping the grid lines roughly parallel within each sail even if the sails themselves are at different angles.

7

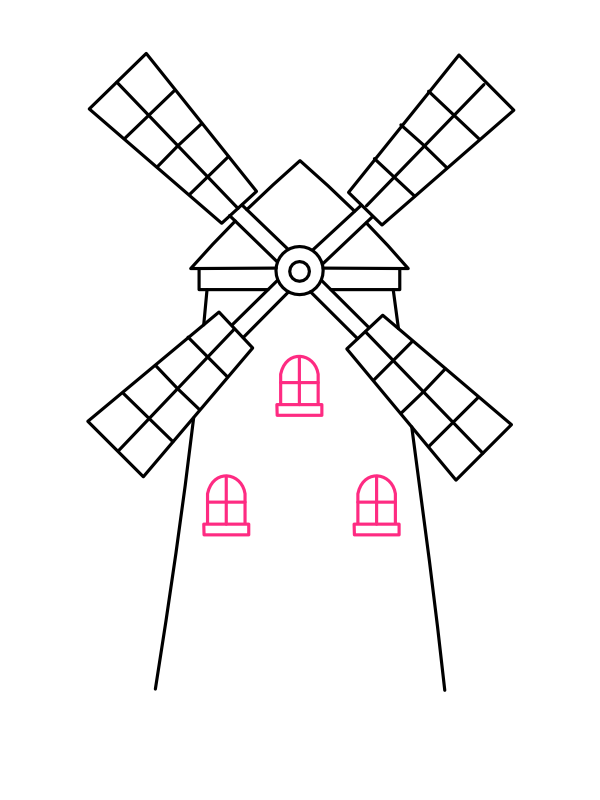
Add the Windows

Step 7: Add the Windows

On the front face of the tower body, draw three small arched windows — one centered near the top of the tower below the cap band, and two more side by side at a lower level, roughly in the middle height of the tower. Each window should have an arched top, a small rectangular sill at the bottom, and a simple cross dividing the window into four panes. The upper single window and the two lower windows create a natural visual hierarchy on the tower face, suggesting multiple floors inside and giving the whole building a sense of inhabited, lived-in scale.

8

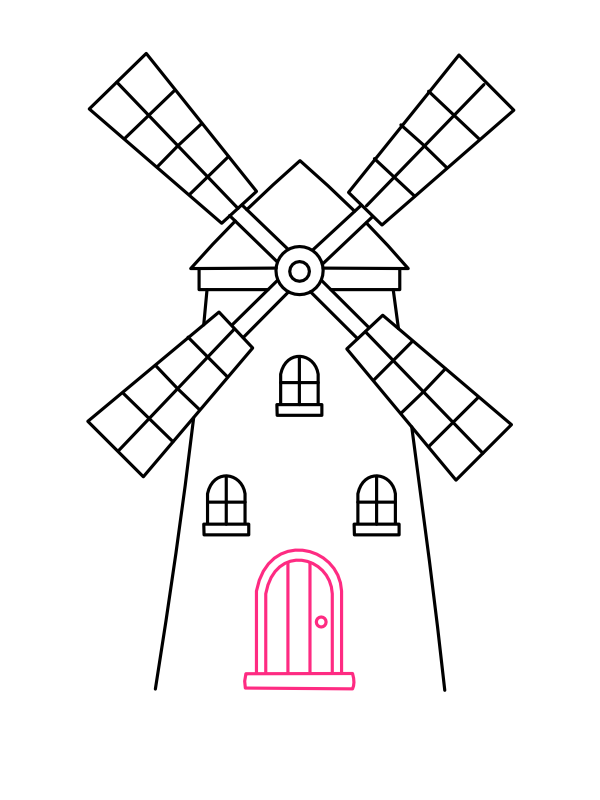
Draw the Door

Step 8: Draw the Door

At the very base of the tower, centered between the two angled sides, draw the front door — a tall arched shape with a flat rectangular threshold at the bottom. Inside the door arch, draw two or three vertical panel lines to suggest a traditional wooden door, and add a small round doorknob dot on one side. The arch of the door should echo the arched tops of the windows above it, tying all the architectural elements together into a consistent style. This door is what finally makes the windmill feel like a place someone could actually walk into, and it grounds the whole composition.

9

Add the Ground and Grass

Step 9: Add the Ground and Grass

At the bottom of the drawing, just below the tower base and the door threshold, draw a gently curved ground line that sweeps from one side of the page to the other, rising slightly at the edges to suggest a small grassy mound. On either side of the tower base, add a few simple grass tufts — short, upward-pointing lines gathered in small clusters, some taller and some shorter, like clumps of wild grass growing at the foot of the mill. In the center foreground, add one or two small grass shapes between the foot of the door and the curved ground line. This ground element is what plants the windmill firmly in a landscape and transforms the drawing from a floating architectural sketch into a charming countryside scene.

10

Color Your Windmill

Step 10: Color Your Windmill

Now for the most satisfying part!

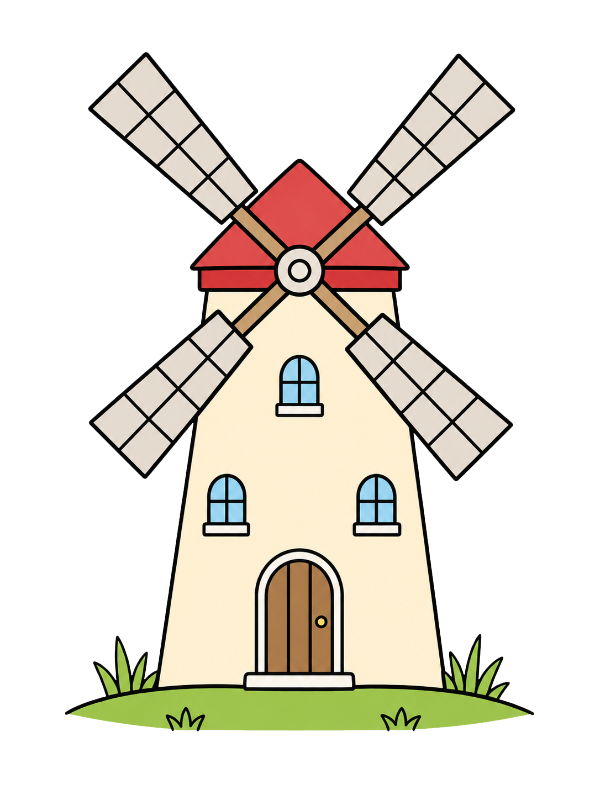
  • Roof triangle: Bold red — warm and vivid, making the roof pop against the lighter tower below
  • Cap band: Also red, matching the roof, with a slightly darker red along the lower edge for shadow
  • Hub circles: White or off-white on the outer ring, with dark grey or charcoal for the inner circle
  • Sail arms (the narrow connecting rods): Warm tan or light brown
  • Sail panels: Pale grey or warm off-white, with a slightly deeper grey between the grid sections to give each pane some depth
  • Tower body: Warm cream or pale yellow — the classic Dutch windmill palette
  • Window frames and sills: White, with light sky blue filling the pane areas inside each arch
  • Door: Warm medium brown, with slightly darker brown along the panel lines and a tiny gold or dark circle for the doorknob
  • Ground mound: Fresh, bright green
  • Grass tufts: The same green, with a slightly darker green for the tufts in shadow

Once the color goes on, that red roof and cream tower combination with blue window glass and the green ground below is exactly the cheerful, storybook palette that makes a windmill drawing feel like it belongs in a fairy tale countryside. 🏡

Final Thoughts

The most common place where this drawing goes sideways is Step 5 — the sails. It's easy to accidentally make one sail arm longer than the others, or to angle them unevenly so the whole X feels lopsided. The most reliable fix is to draw the hub first, then lightly mark where each of the four sail tips will sit before committing to the arm lines — four light dots arranged in an equal X around the hub gives you guides to aim for rather than having to judge the balance by eye alone.

Everything else in this drawing — the windows, the door, the grid lines, the grass — is remarkably forgiving, because small variations in those details actually make the windmill look more hand-built and charming rather than less.

Happy drawing! 🏡