
How to Draw a Lighthouse
A lighthouse standing tall against the waves is one of the most peaceful and satisfying things you can draw. Learn how to draw a beautiful lighthouse step-by-step!
14 Steps
Read

AR Drawing
Drawing Tutorials
A leaf is one of those shapes that seems almost too simple to bother drawing a guide for, and yet getting the curve, the veins, and the little stem to feel just right is what separates a flat, lifeless outline from something that genuinely looks like it was just picked off a branch. It's a wonderful shape to practice on precisely because it's so forgiving — there's no strict anatomy to get wrong, just a graceful curve, a central spine, and a handful of branching veins that give it life. Let's get drawing!


Starting near the bottom of your page, draw a long, gently curving line rising upward — this will become the leaf's central stem and, eventually, the midrib running through the middle of the whole leaf. Let it curve softly to one side rather than running perfectly straight, since real stems almost never grow in a dead-straight line, and that small curve will carry a nice organic feel through the rest of the drawing.

From near the top of the stem line, draw a long curved line sweeping outward to one side and back down toward the base of the stem, rounding out generously through the middle before narrowing again near the bottom. This curve defines one full side of the leaf's outline, and it should bulge out further than you might expect — a leaf that's too narrow tends to look more like a blade of grass than a proper leaf.
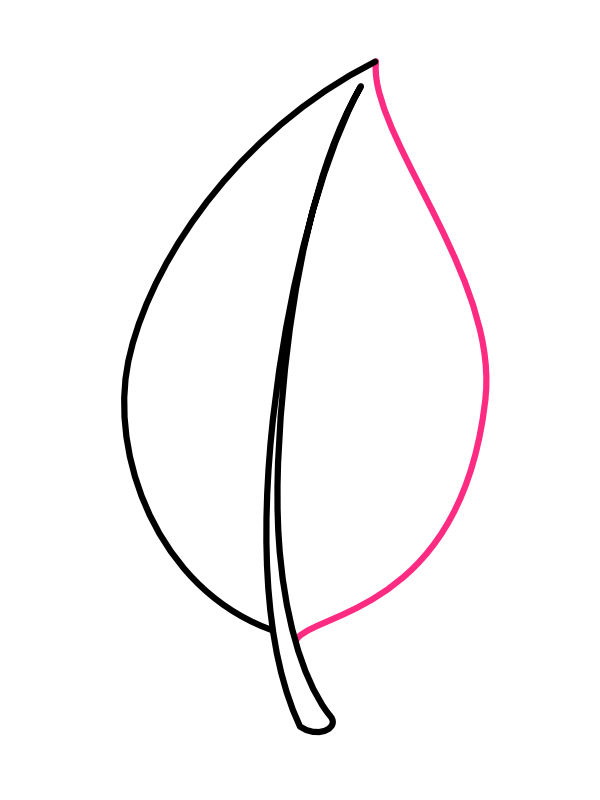
Mirror that same curve on the opposite side of the stem, sweeping outward and back down to meet the base, closing the leaf's outline into one complete rounded shape with a small pointed tip at the top. The two sides don't need to match perfectly — in fact, a little asymmetry between the left and right curves makes the finished leaf look more like something that grew naturally rather than something stamped out with a template.
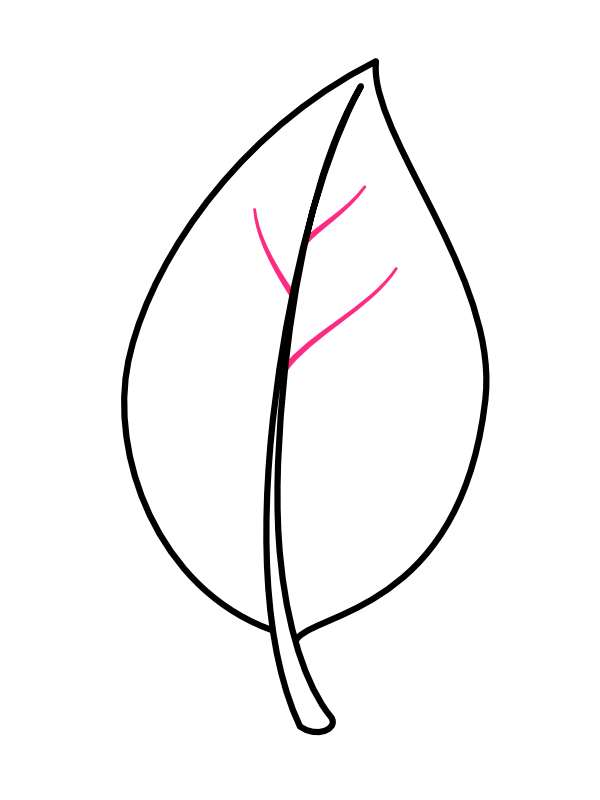
Branching off the central stem line, draw two or three short diagonal lines near the top of the leaf, angling outward and slightly upward toward the pointed tip. These are the beginnings of the leaf's vein pattern, and starting near the top first gives you a sense of the angle and spacing you'll want to continue as you work your way down the rest of the leaf.
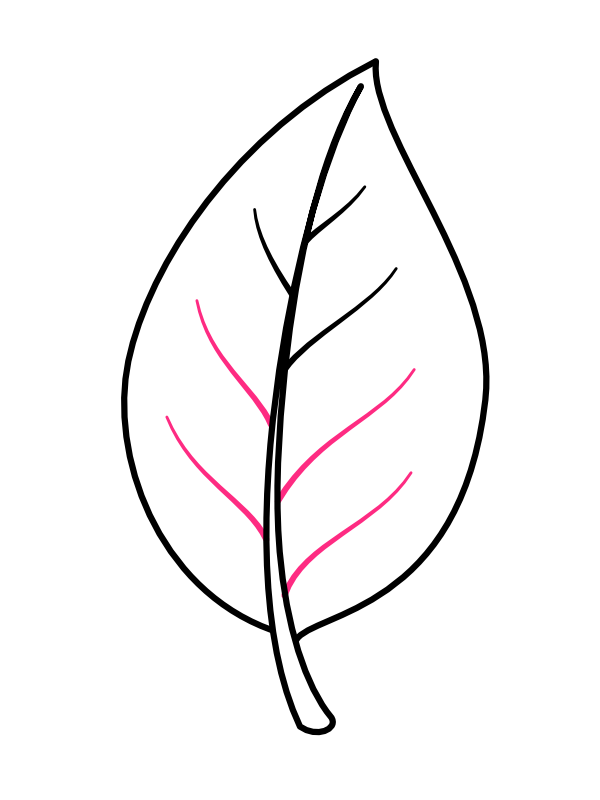
Continue adding pairs of branching veins down the length of the central stem, working your way toward the base of the leaf, with each pair angling outward at a slightly shallower angle than the ones above it. Keep the spacing between each pair roughly even, but don't worry about making every single vein identical in length or curve — small natural variation here is exactly what makes the finished leaf look convincing rather than diagrammatic.

Now for the most satisfying part!
Once the color and shading go in, that gentle gradient from light to dark across the surface is what gives the leaf real dimension, making it look like it's gently curving in space rather than lying perfectly flat on the page. 🍃
The part of this drawing people tend to slow down on is getting the two side curves in Step 2 and Step 3 to feel balanced without looking like exact mirror images of each other — real leaves are almost never perfectly symmetrical, and forcing that kind of precision usually makes the shape feel stiffer rather than more accurate. It helps to sketch both curves loosely at first and compare them side by side before deciding where to firm up your final lines. The vein pattern that follows in Steps 4 and 5 is much more forgiving, since a bit of unevenness there reads as natural texture rather than a mistake.
Once this basic leaf shape feels comfortable, try drawing a small cluster of two or three leaves overlapping at different angles, which is a great way to practice figuring out which lines to leave out where one leaf passes behind another.
A lighthouse standing tall against the waves is one of the most peaceful and satisfying things you can draw. Learn how to draw a beautiful lighthouse step-by-step!

The lotus flower is one of the most beautiful and peaceful flowers in the world. Learn how to draw a full lotus sitting on a lily pad with water ripples — easy enough for complete beginners!

There's something instantly storybook about a mushroom drawing — that round, domed cap sitting proudly on a plump little stem, dotted with pale spots like something straight out of a fairy tale forest.
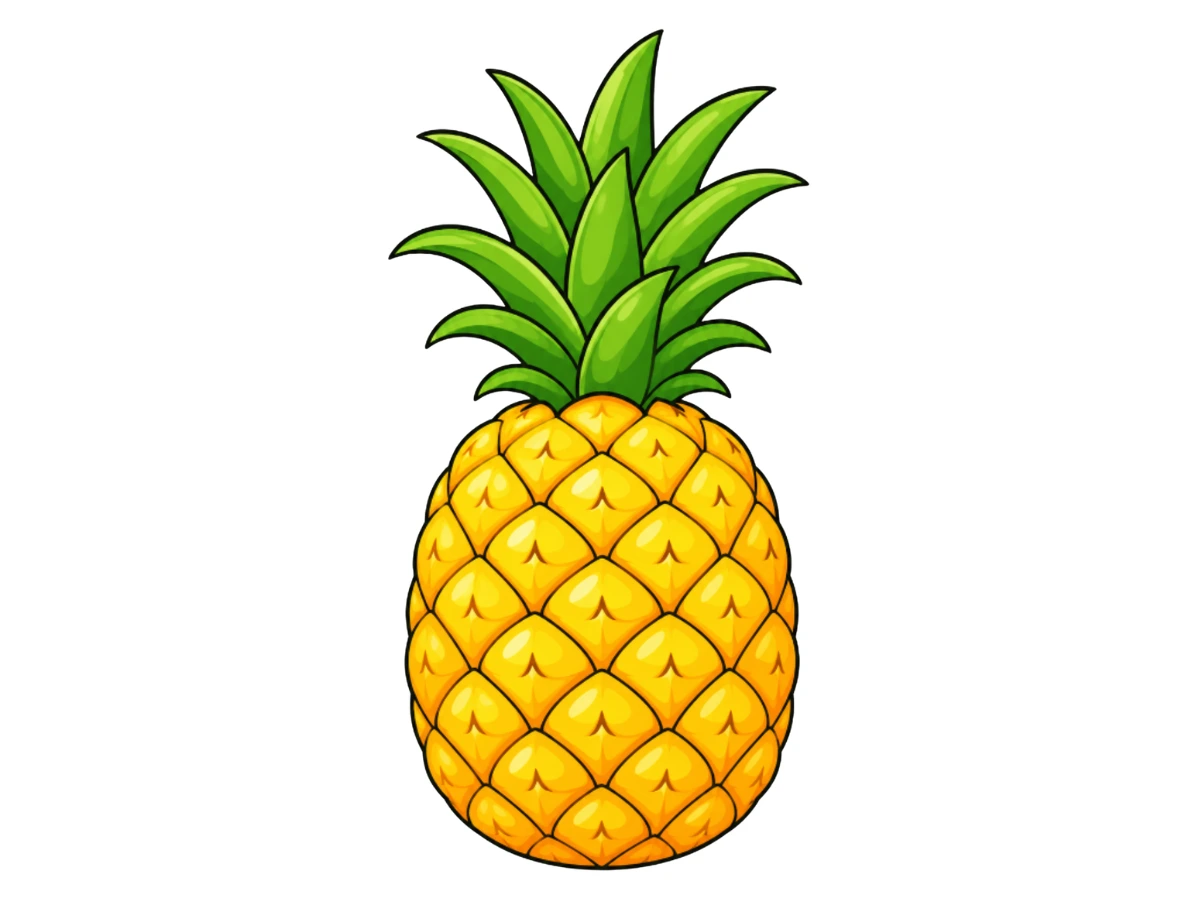
A pineapple looks complicated at first glance — all spiky leaves and crisscrossing texture — but it actually comes together from just a bumpy oval, a bunch of curved leaves, and a simple repeating diamond pattern. Follow this easy step-by-step tutorial and draw a tropical, summery pineapple!