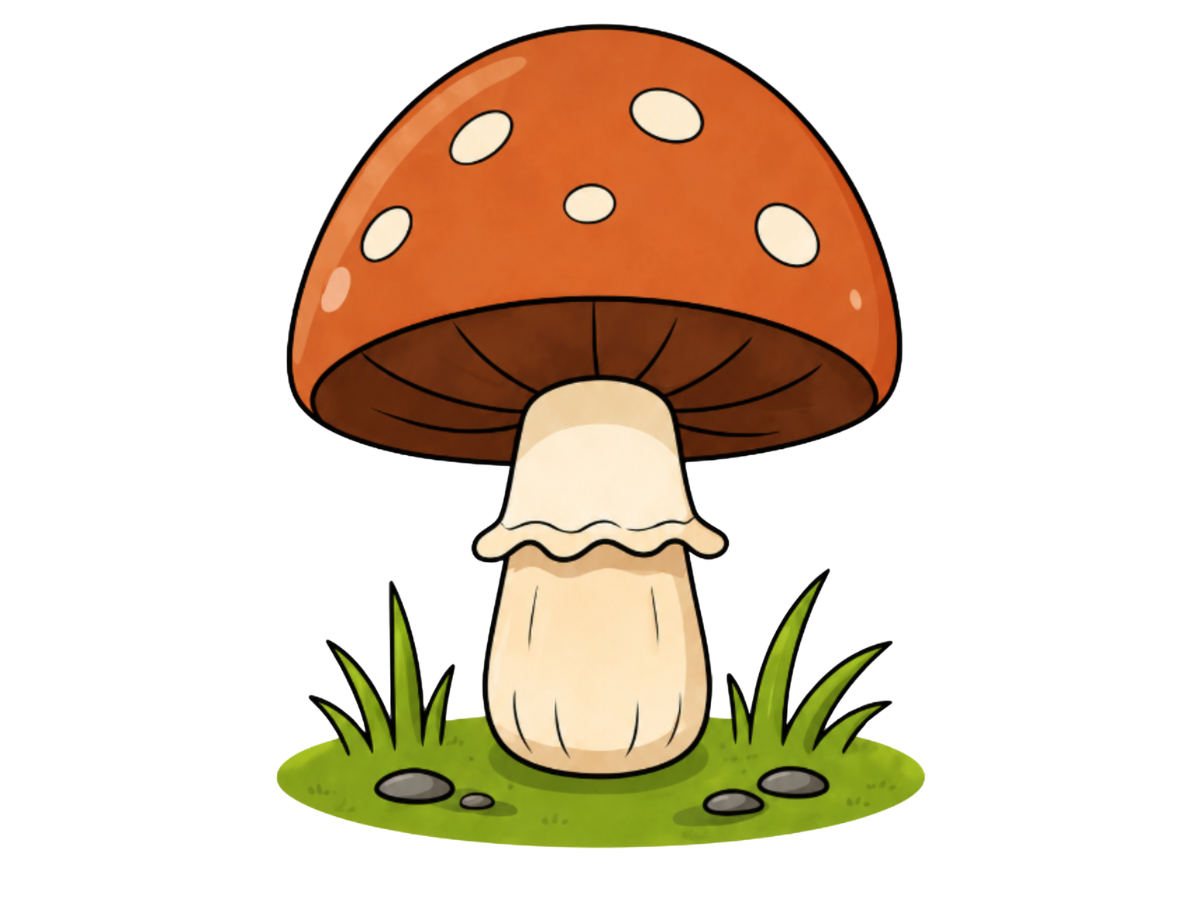
How to Draw a Mushroom
There's something instantly storybook about a mushroom drawing — that round, domed cap sitting proudly on a plump little stem, dotted with pale spots like something straight out of a fairy tale forest.
9 Steps
Read

AR Drawing
Drawing Tutorials
A ladybug is one of the cutest little creatures you can put on paper — that round, plump body, the bright red color, the neat black spots, and those tiny legs peeking out from the sides all come together to make it one of the happiest bugs in the garden. The best part is that drawing one is just as easy as it looks charming. The whole thing comes together from two simple rounded shapes, one straight line, a bunch of round spots, two little antennae, and six small legs. It starts with the head and by the time the color goes on, it looks like it just flew in from a garden and landed right on your page. Let's get drawing!
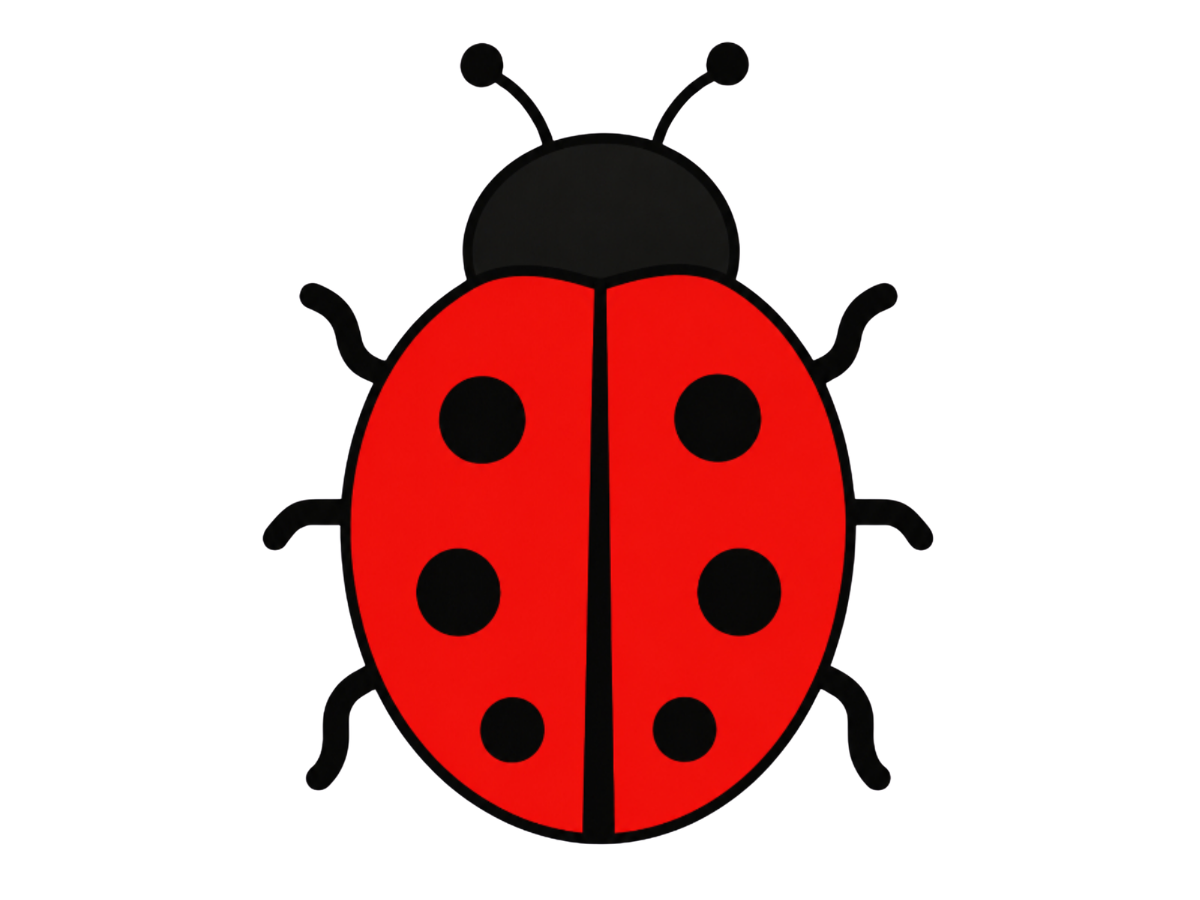

Near the upper-center of your paper, draw a small curved arch, like the top half of a dome. Keep it small and simple, since the whole body and every other part of the ladybug will be built below and around it. Draw it lightly so there's enough room underneath for the full head shape to fit in comfortably. This little arch is also where the antennae will branch out from later, so try to keep it centered.
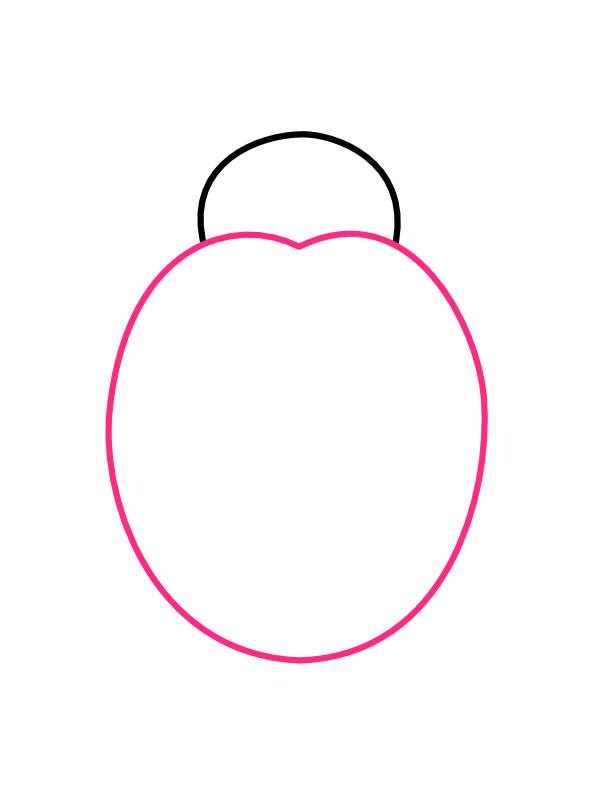
Turn that first arch into a full rounded shape to complete the head. Right below it, start the top edge of the body — this is a soft, heart-shaped curve that dips down gently in the middle and rises up on both sides. This small dip is where the two halves of the body will eventually meet, so don't skip that little "V" shape in the middle, since it's what makes the wings look like two separate pieces later on.
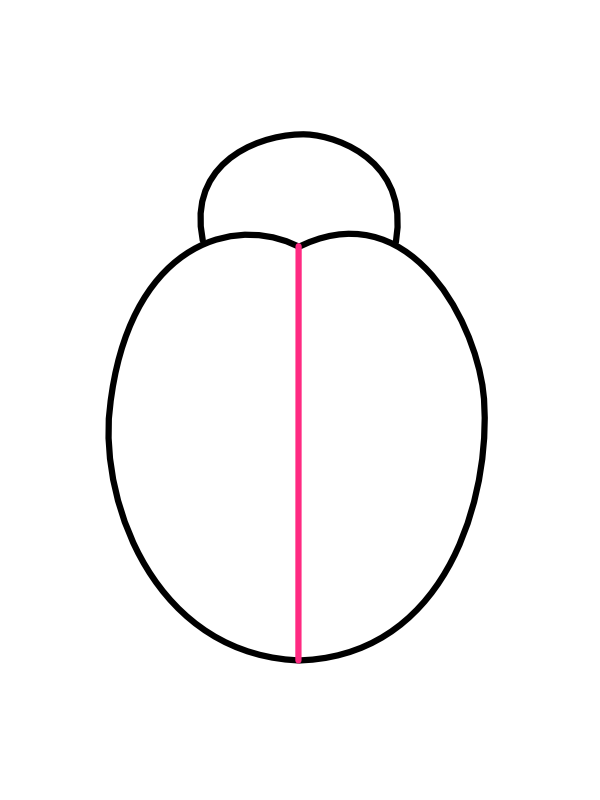
Just below the head, draw one large rounded oval shape for the ladybug's body — this covers the whole back and both wings. Keep it a little wider near the top and nicely rounded toward the bottom, so it looks plump and full rather than flat. Now draw a straight line right down the middle of this oval, from top to bottom. This center line splits the body into two even halves and is what makes it instantly read as a ladybug's two wing covers instead of just a plain oval.
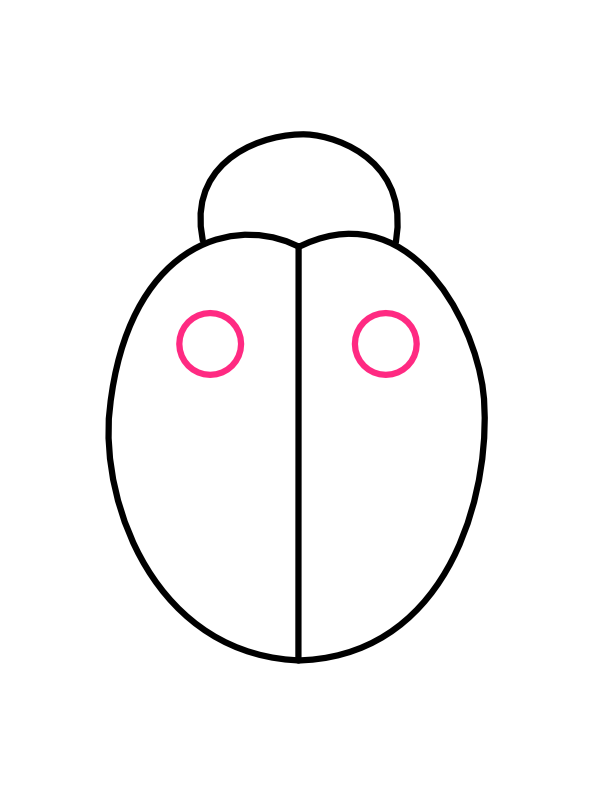
In the upper part of the body, draw one small circle on each side of the center line. Keep both circles the same size and at the same height, so they look like mirror images of each other. This is the beginning of the ladybug's famous black spots, and it's a good idea to leave them a little open and spaced out for now, since more spots are coming below.
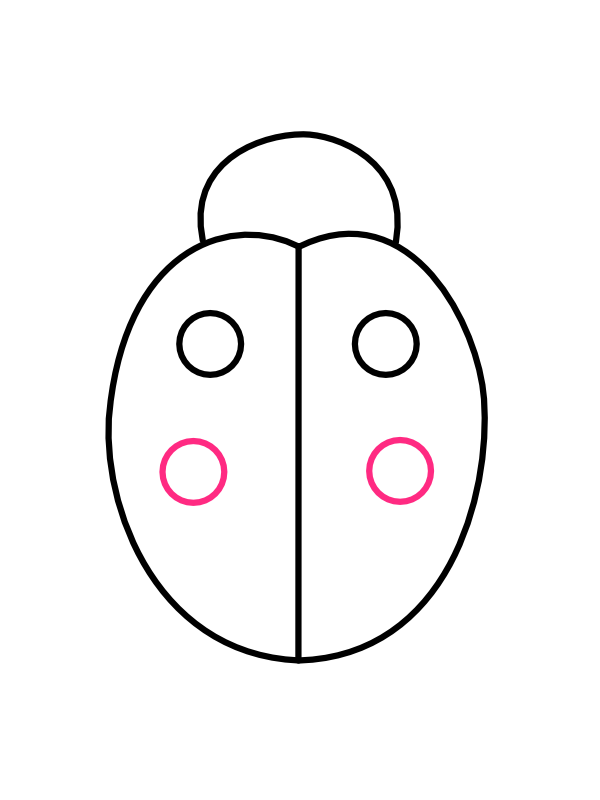
Just below the first pair, leaving a little gap, draw two more circles — again one on each side of the center line. Try to keep this pair matching the size and spacing of the first one. As the spots stack up, the body starts to look fuller and more balanced, just like a real ladybug's back.
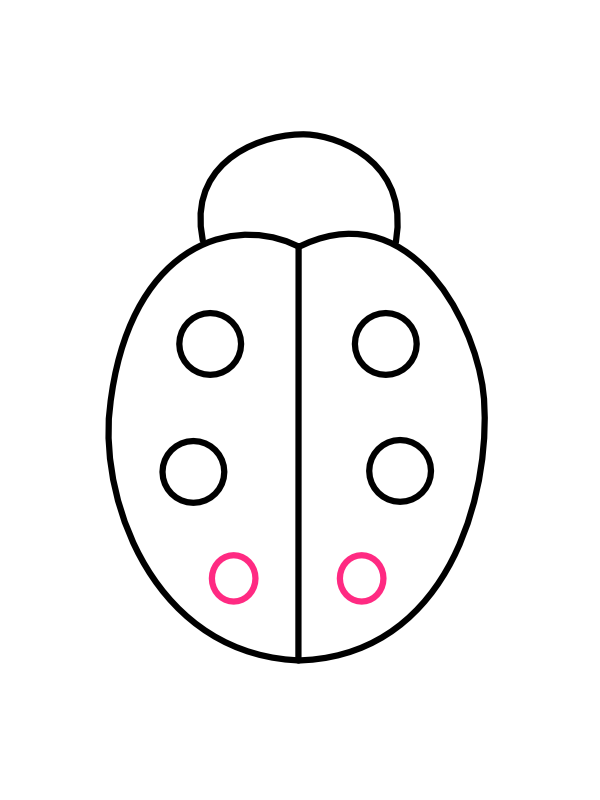
Toward the lower part of the body, add one final pair of circles below the second pair. You should now have three spots on each side, six in total, running in a neat line from top to bottom. This is the moment the drawing suddenly clicks into place and looks exactly like a ladybug — those rows of round black spots are its most recognizable feature.
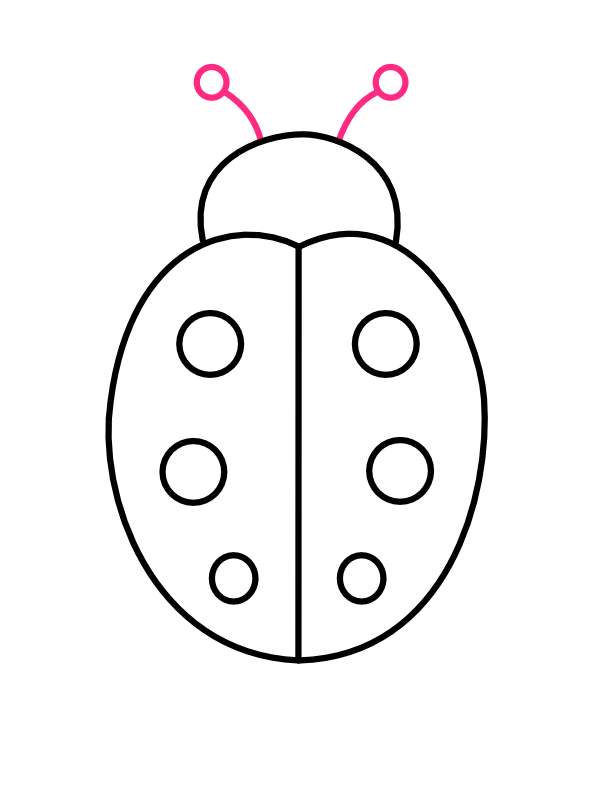
From the top of the head, draw two thin, slightly curved lines reaching upward — these are the antennae. Let them curve outward a little at the top and add a small circle at the very tip of each one. This small detail instantly gives the ladybug a bit of personality, as if it's sensing something in the air around it.
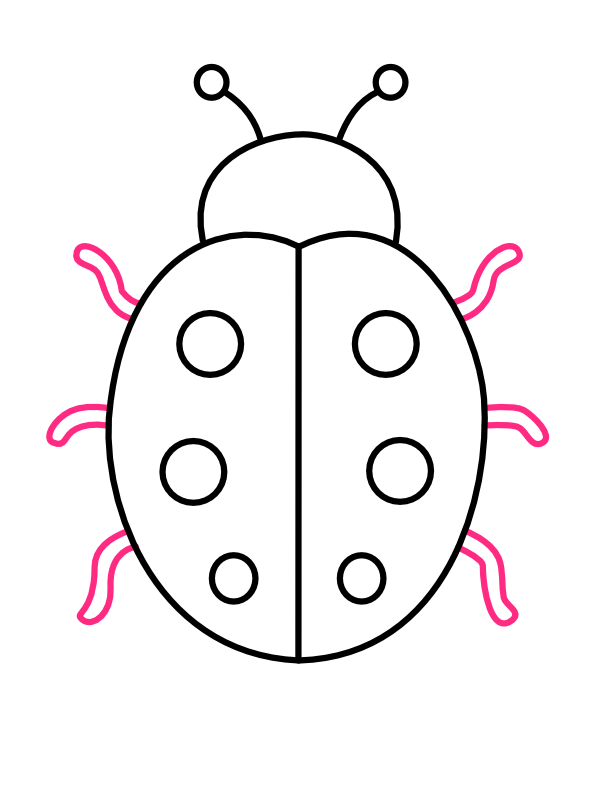
Along both sides of the body, draw three small wavy legs on each side — one near the top, one in the middle, and one lower down, making six legs total. Instead of drawing them as perfectly straight lines, give each one a gentle wiggle or curve, like the ladybug just took a little step. That small wave is what makes the legs look alive rather than like stiff little sticks.
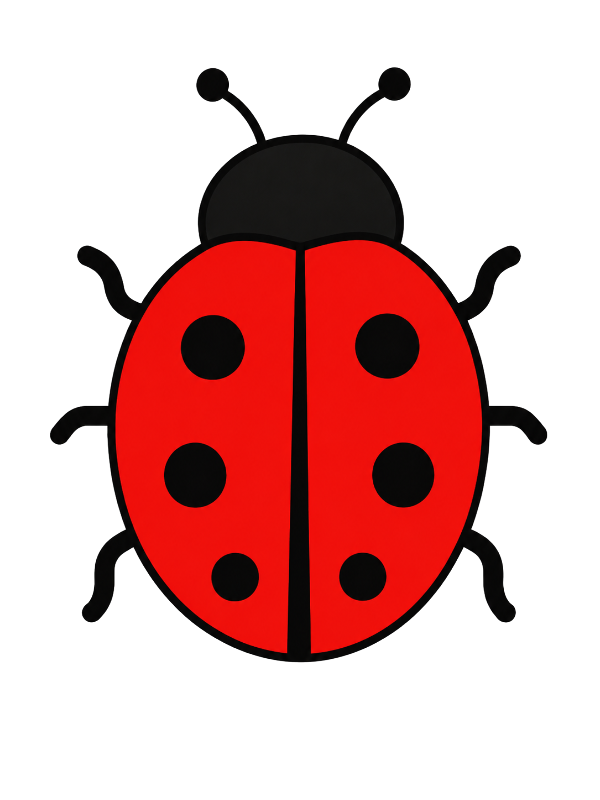
Now for the most satisfying part!
Once the color goes on, that classic red-and-black combination makes your ladybug instantly recognized — like it just landed on your page straight from a garden leaf. 🐞
The most fun part of this drawing is adding the spots, since the ladybug starts looking more real with every pair you add. Don't worry if the circles aren't perfectly identical — a little variation is completely natural, and it's actually what gives the drawing a hand-drawn, lively feel instead of looking too stiff or mechanical.
Once you're comfortable with this straight-on view, try drawing the ladybug sitting on a leaf or from a slight side angle — it adds more depth and makes the whole picture feel a little more real. 🐞
There's something instantly storybook about a mushroom drawing — that round, domed cap sitting proudly on a plump little stem, dotted with pale spots like something straight out of a fairy tale forest.
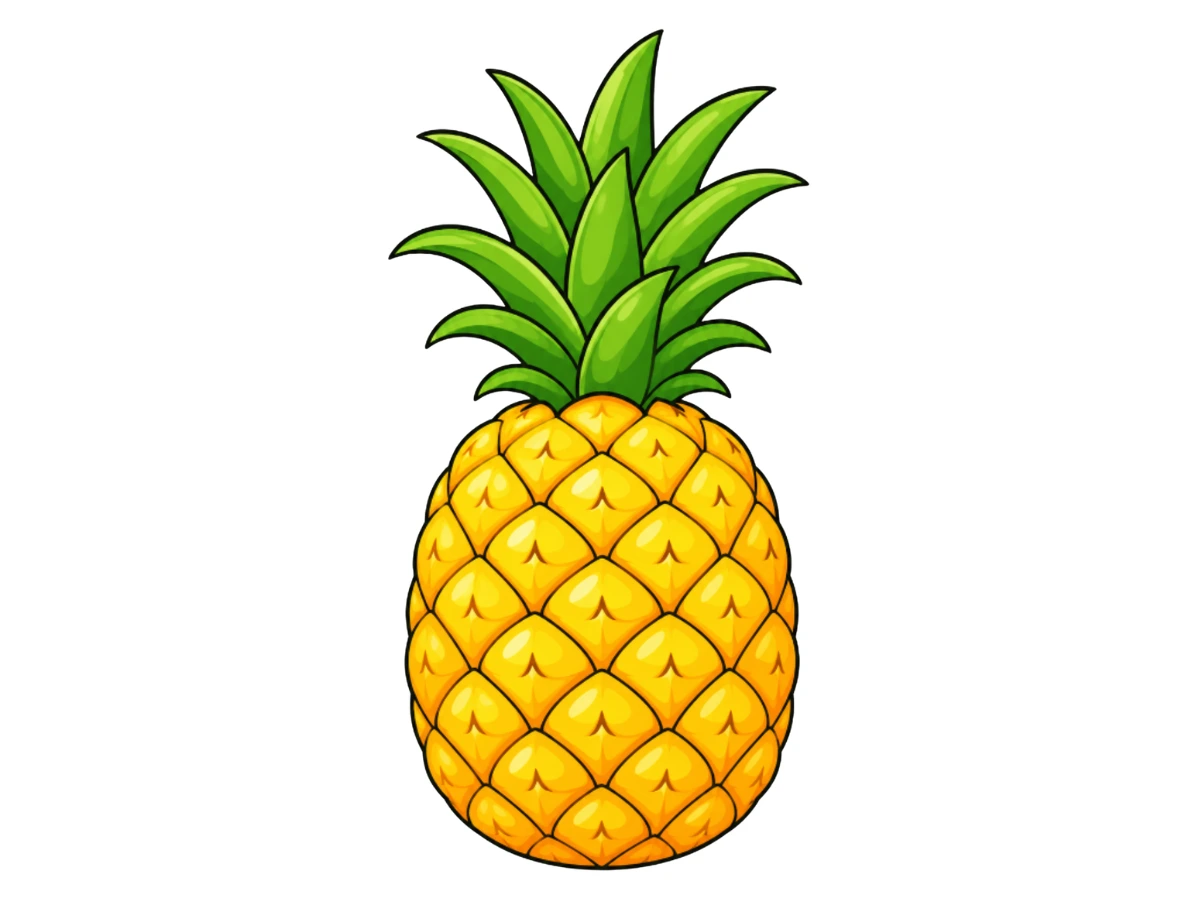
A pineapple looks complicated at first glance — all spiky leaves and crisscrossing texture — but it actually comes together from just a bumpy oval, a bunch of curved leaves, and a simple repeating diamond pattern. Follow this easy step-by-step tutorial and draw a tropical, summery pineapple!

There's something endlessly exciting about drawing a rocket — that sleek body angled toward the sky, the porthole window hinting at adventures inside, and those bold flames blasting out the back like the rocket is already halfway to the moon. What makes it even better is that the whole thing is essentially one big rounded body with a few satisfying details added on top.
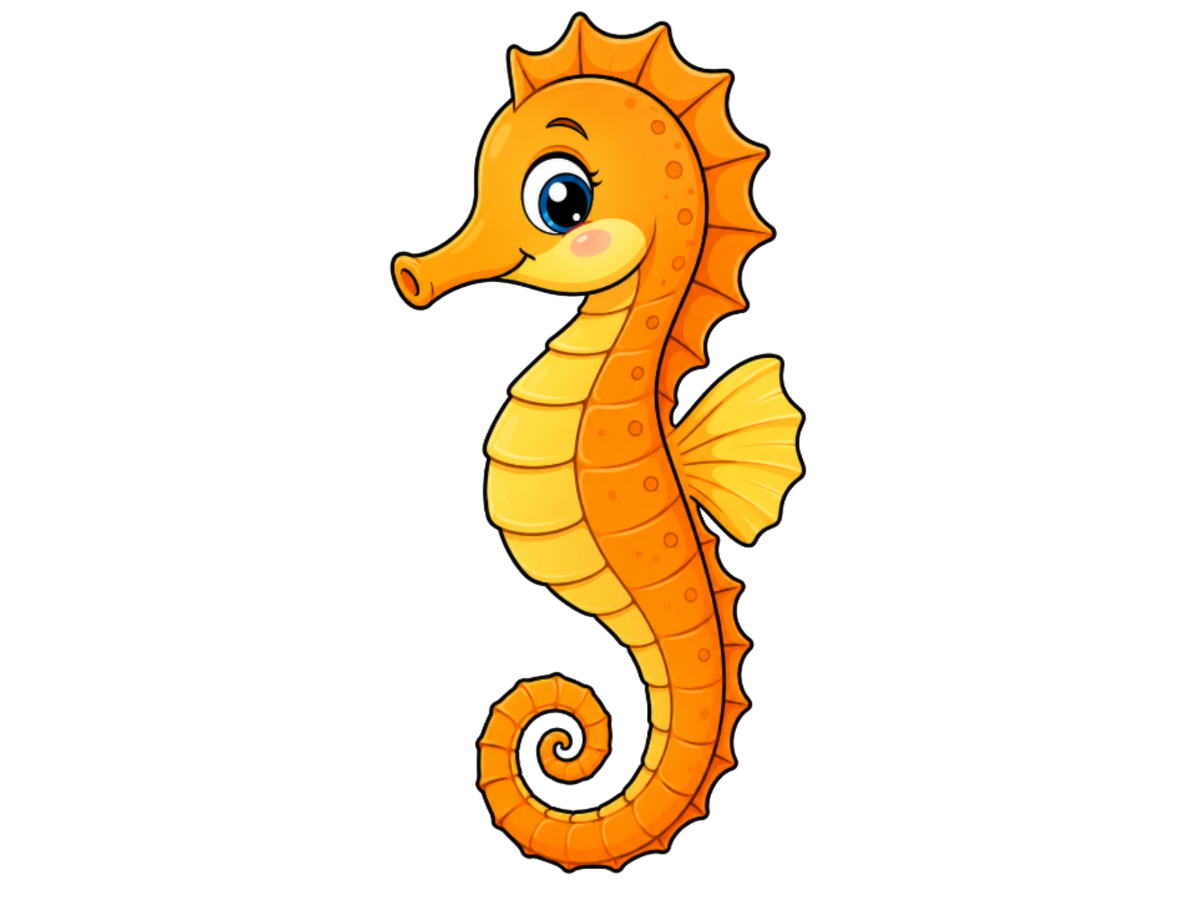
A seahorse might be one of the strangest-looking creatures in the ocean, but on paper it turns into one of the most graceful things you can draw — that curling S-shaped body, the delicate spiky crown running down its head, and a tail that coils into a neat little spiral at the end.