How to Draw a Burger

July 6, 2026
8 Steps
AR Drawing Logo

AR Drawing

Drawing Tutorials

A burger is basically a stack of the most satisfying shapes you can possibly draw — a big fluffy dome on top, a few layers of ingredients peeking out in the middle, and a wide sturdy bun holding everything together at the bottom. Every layer is a different texture and a different silhouette, which means that even before the color goes on, the finished drawing already looks mouthwatering just from the outlines alone. The lettuce is ruffled, the tomato has those little curved sections, the cheese has that perfect drape, and the sesame seeds scattered across the top bun are genuinely one of the most enjoyable things to draw on the entire page. Let's get drawing!

How to Draw a Burger
What You Will Need
  • Pencil
  • Eraser
  • White paper
  • Black marker or fine-liner (optional)
  • Colored pencils, crayons, or markers
1

Draw the Top Bun

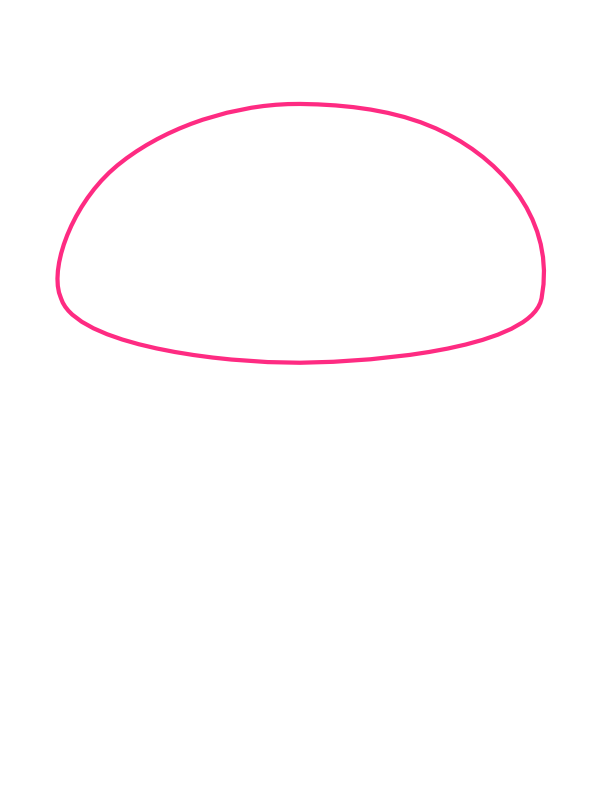
Step 1: Draw the Top Bun

Near the upper portion of your page, draw the top bun — a large, smooth dome shape that's noticeably wider than it is tall, like a soft hill or an upside-down bowl. The top arc should be gently rounded without coming to a sharp point, and the bottom edge should be a nearly flat, very slightly curved line to suggest the cut face of the bun where it sits on the fillings below. Give the dome some real width — a top bun that's too narrow tends to make the whole burger look pinched, while a generous, wide dome gives the whole drawing that satisfying, full look right from the very first line.

2

Add the Lettuce

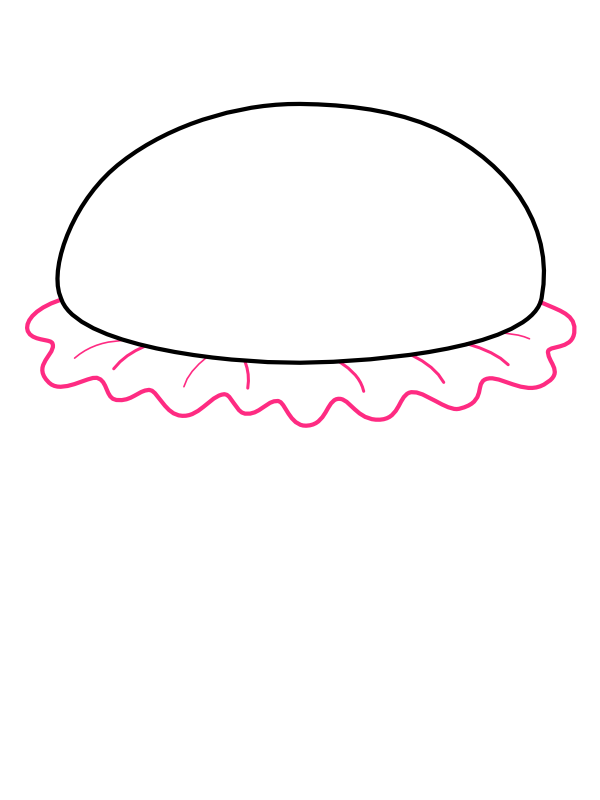
Step 2: Add the Lettuce

Just below the flat base of the top bun, draw the lettuce layer — a wavy, ruffled line that runs all the way from one side of the bun to the other and extends a little wider than the bun on both sides, like the lettuce is escaping from the edges. The top edge of the lettuce should follow the flat base of the bun, while the bottom edge is a series of loose, uneven waves or curls that ripple across the page. Add a few short curved lines inside the lettuce to suggest its leafy texture and give it some visual life. The messier and more irregular the ruffled edge, the more convincingly it reads as a real pile of crisp lettuce.

3

Draw the Tomato Slices

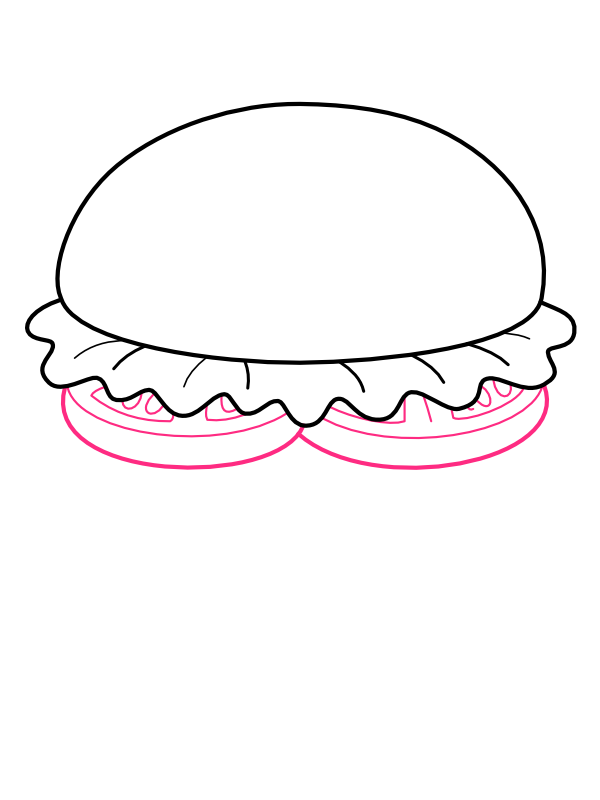
Step 3: Draw the Tomato Slices

Below the lettuce, draw one or two round tomato slices visible from the front — each one a slightly flattened oval with a faint curved line down the center suggesting the seed sections inside. Let the tomatoes sit right up against the bottom edge of the lettuce, almost as if the lettuce is resting directly on top of them. A few short curved lines within each tomato section, radiating from the center out toward the edge, add just enough interior detail to make them look like real tomato slices rather than plain ovals.

4

Add the Cheese Slice

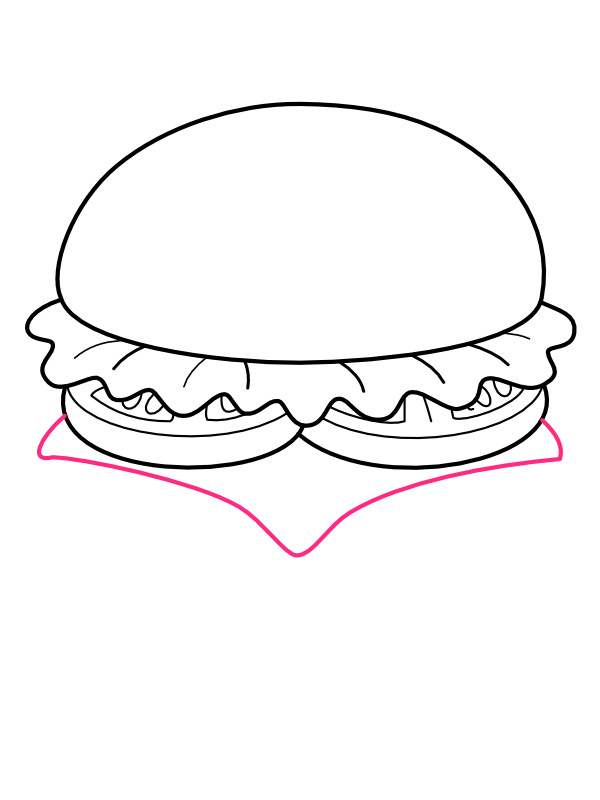
Step 4: Add the Cheese Slice

Below the tomatoes, draw the cheese — a square or slightly irregular shape that's slightly wider than the tomatoes above it, with the corners draping down and the center dipping to a soft point, like a real cheese slice melting slightly over the edge of a warm patty. That drooping center point is the single most important detail in this step; a flat-bottomed cheese slice looks like a piece of cardboard, while one with even a small sag at the bottom immediately looks like something warm and melty you'd actually want to eat.

5

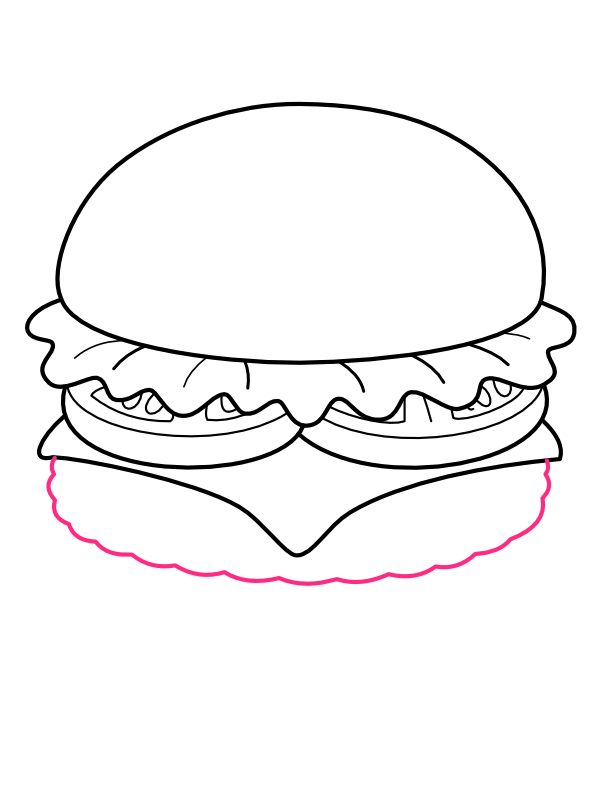
Draw the Meat Patty

Step 5: Draw the Meat Patty

Below the cheese, draw the burger patty — a thick, rectangular shape with slightly rounded corners and a bottom edge that is more textured and uneven than the layers above it, since a cooked burger patty always has a bit of rough edge from the grill. Make it significantly thicker than the cheese or tomato layers; since the patty is the centerpiece of the stack, giving it generous height is what makes the entire burger look satisfyingly loaded. The cheese from Step 4 should appear to be draped directly over the top of the patty.

6

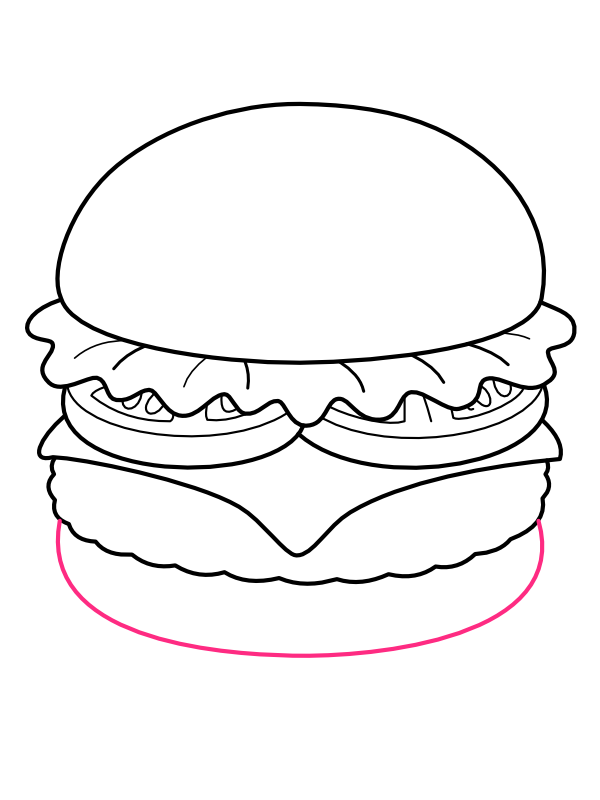
Add the Bottom Bun

Step 6: Add the Bottom Bun

At the very base of the drawing, beneath the patty, draw the bottom bun — a wide, low, slightly flattened oval shape that extends out beyond the width of everything stacked above it. Unlike the dome of the top bun, the bottom bun is much shallower and more disc-like, just a gentle curve above and a matching gentle curve below, with a small flat section visible on the left and right where it extends past the burger stack. This wider footprint is what gives the whole drawing its visual stability, like the burger is properly grounded rather than teetering on a narrow base.

7

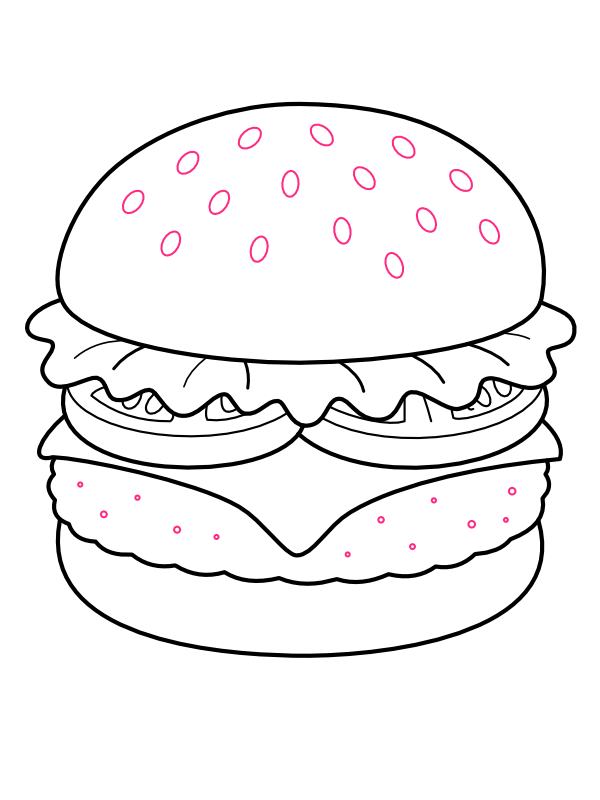
Add the Sesame Seeds and Patty Texture

Step 7: Add the Sesame Seeds and Patty Texture

Scatter a collection of small oval shapes across the top bun to represent sesame seeds — vary their size and angle slightly and distribute them somewhat randomly across the dome rather than lining them up in neat rows. Real sesame seeds on a bun don't follow a grid pattern, and the slightly scattered placement is what makes them look natural rather than printed on. Then add a few small dots or dimples across the surface of the patty to suggest the texture of cooked ground beef. These two texture steps take only a minute each, but they're the final details that transform what was still a fairly plain drawing into something that genuinely looks like food.

8

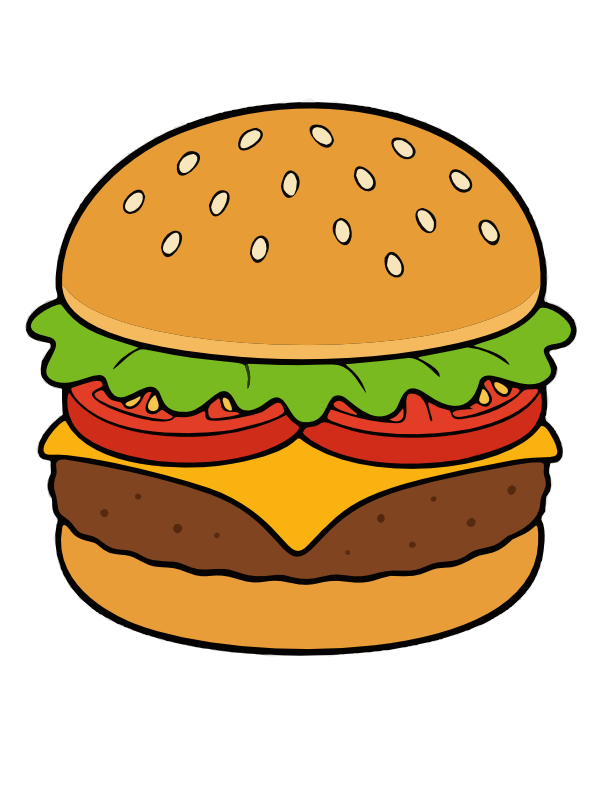
Color Your Burger

Step 8: Color Your Burger

Now for the most satisfying part!

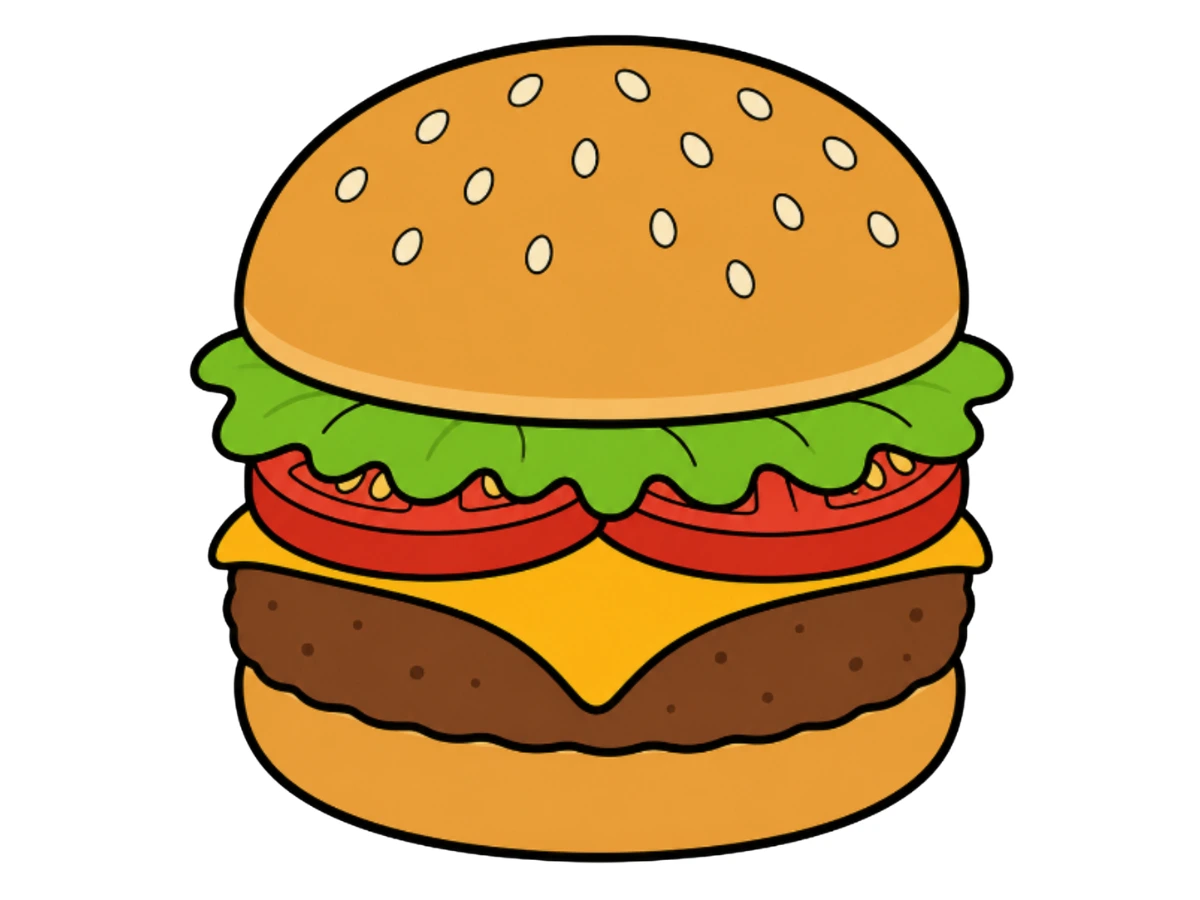
  • Top and bottom buns: Warm golden-orange, with a slightly darker tan along the base of the top bun where it sits in shadow, and a similar darker edge along the bottom bun's rim
  • Sesame seeds: Pale cream or off-white, with a very light golden tint
  • Lettuce: Bright, fresh green — slightly darker where the folds overlap and lighter at the raised, ruffled tips
  • Tomato slices: Vivid red, with a slightly more saturated red along the edges of each section and a pale strip down the center of each one where light catches the surface
  • Cheese: Warm golden-yellow, a shade brighter and more saturated than the bun color
  • Patty: Deep warm brown, with slightly darker brown spots scattered across the surface where the texture dots sit, suggesting grill marks or browning

Once all the color layers are in, that combination of golden bun, green lettuce, red tomato, yellow cheese, and dark brown patty stacked on top of each other is exactly what makes a burger drawing look instantly appetizing — your burger looks ready to be served with a side of fries. 🍔

Final Thoughts

The real secret to a great burger drawing is the way each layer is slightly wider or slightly more irregular than the one above it — the lettuce escapes past the bun edges, the cheese droops past the tomato, the bottom bun flares out wider than the patty. That slight overflow at every layer is what creates the sense that this is a generously loaded burger rather than a neat, sparse one. If the drawing ever starts looking too tidy and uniform, let a layer hang out just a little further on one side, and it will immediately feel more like the real thing.

Once you're happy with this front-facing view, try drawing the burger from a slight side angle so you can see more of its height, or stack it even taller by adding a second patty layer or some extra fillings between the cheese and the tomato.