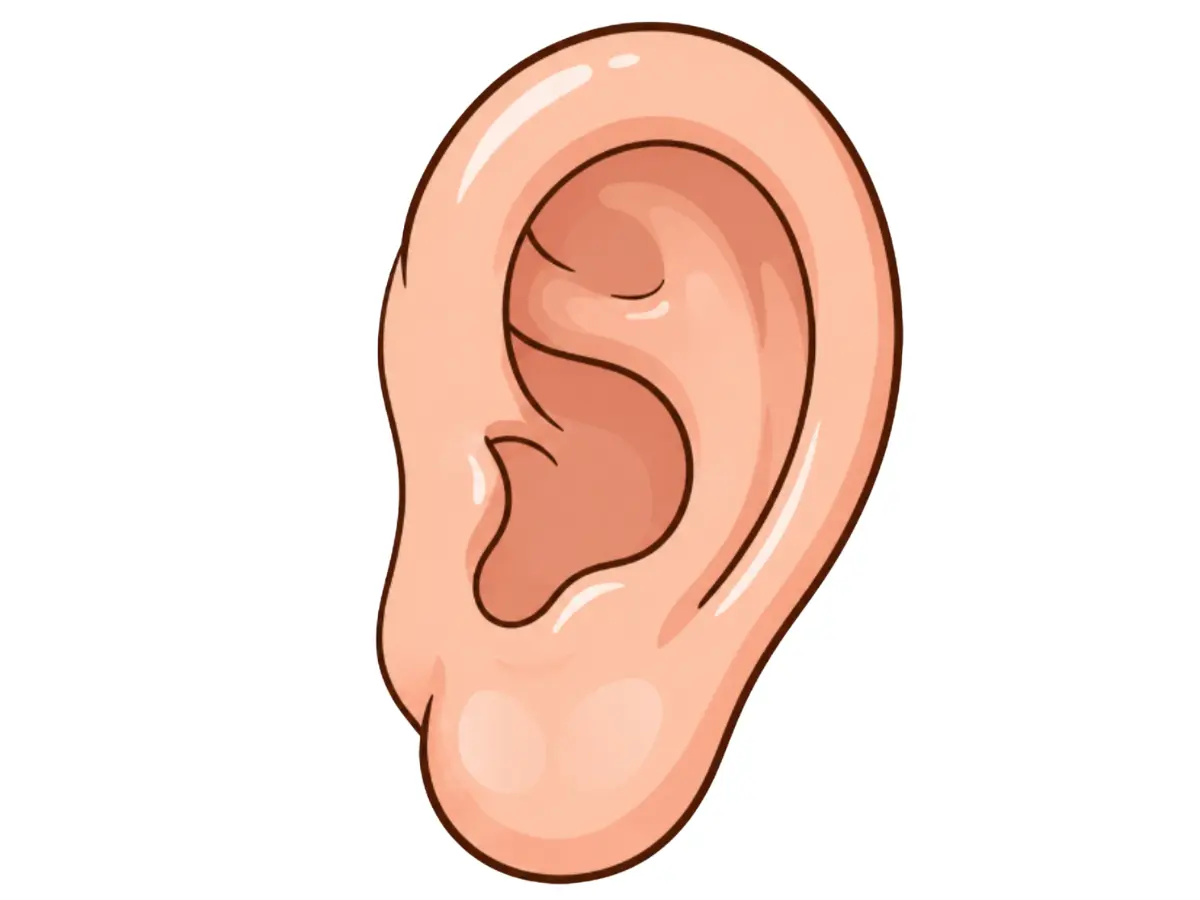
How to Draw a Ear
Ears have a bit of a reputation for being one of the trickier facial features to draw. Learn how to draw a realistic ear with this easy, step-by-step tutorial!
7 Steps
Read

AR Drawing
Drawing Tutorials
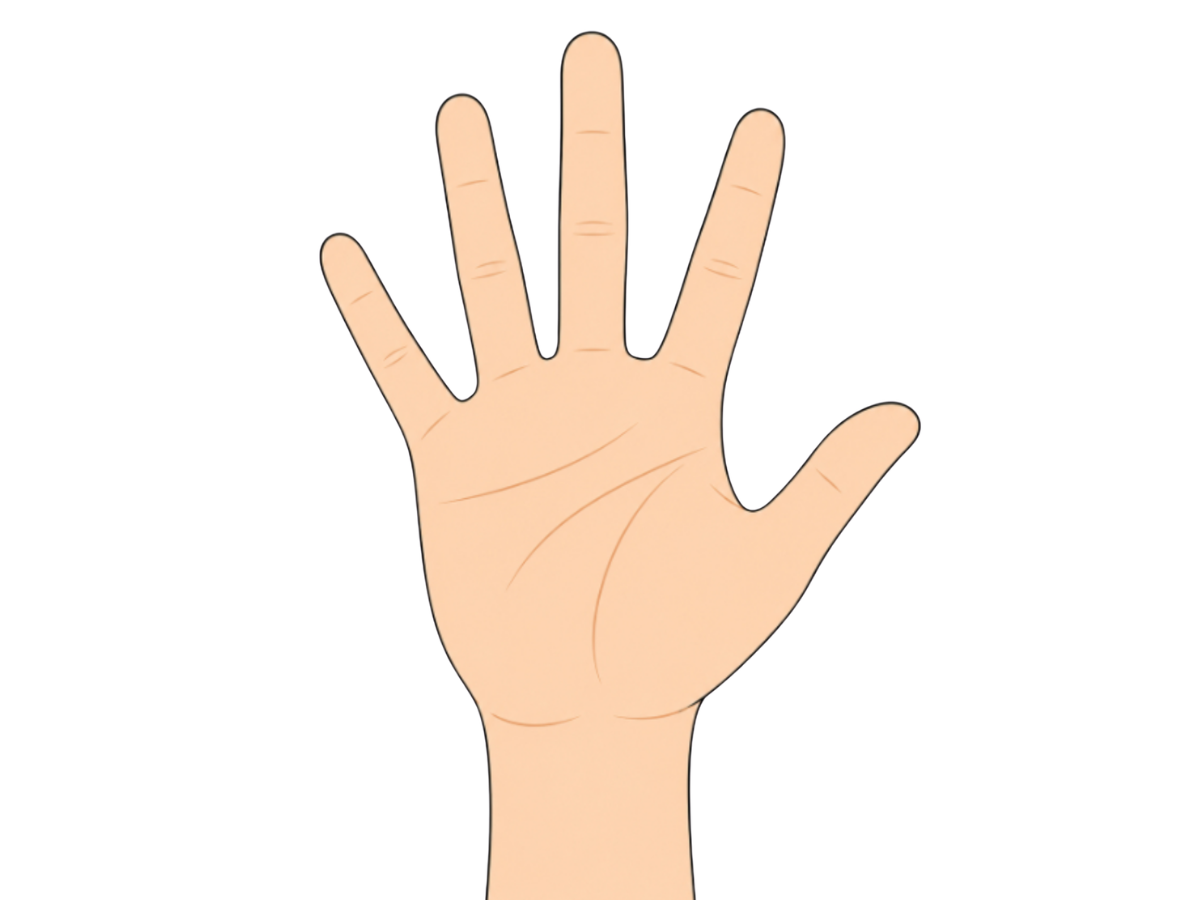
Hands have a reputation for being one of the trickier things to draw, and it's not entirely undeserved — there's a lot going on in a small space, with five fingers all bending and angling in slightly different directions. But broken down piece by piece, it's actually a very manageable drawing, because you're really just repeating one basic shape — a long rounded finger — five times with small variations, built on top of a simple palm outline. Once you see it that way, a hand stops feeling intimidating and starts feeling like a rhythm. Let's get drawing!
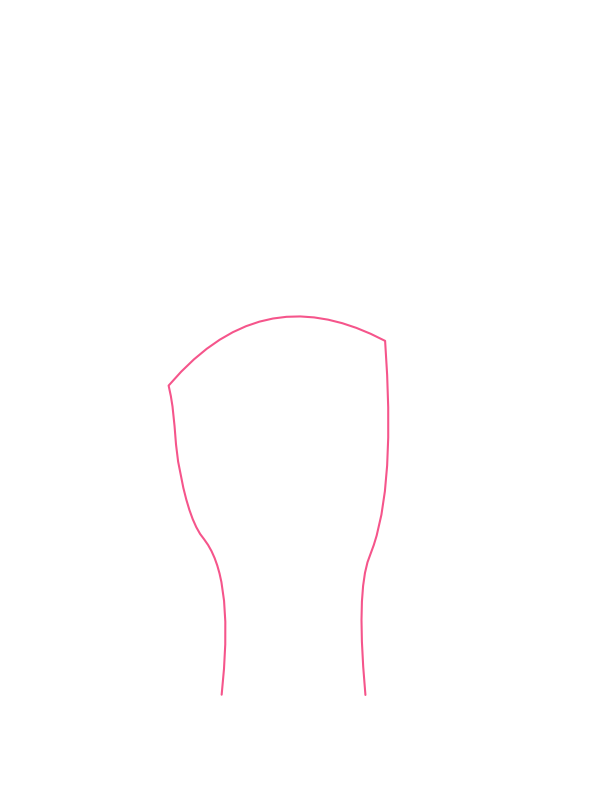
Near the center of your page, draw the outline of the palm — a rounded shape, wider through the middle and narrowing slightly toward the top where the fingers will attach. Let two lines trail downward from the base to form the wrist, curving very gently rather than running perfectly straight. Keep the top edge of the palm loose and open for now, since that's where all five fingers will branch off in the steps ahead, and it's much easier to fit them in naturally if you haven't closed off that edge too tightly.
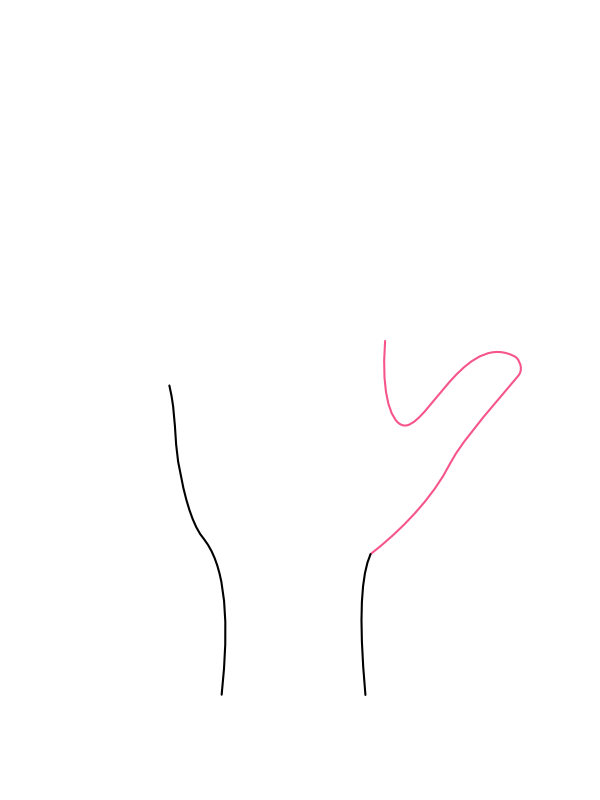
On the side of the palm, draw the thumb branching outward and downward at an angle noticeably different from where the other fingers will sit — it should look like it's reaching out to the side rather than standing straight up. Give it two gently curving sides and a rounded tip, and keep it shorter and thicker-looking than the fingers you're about to draw, since the thumb has its own distinct shape and doesn't taper as sharply as the rest of the hand.
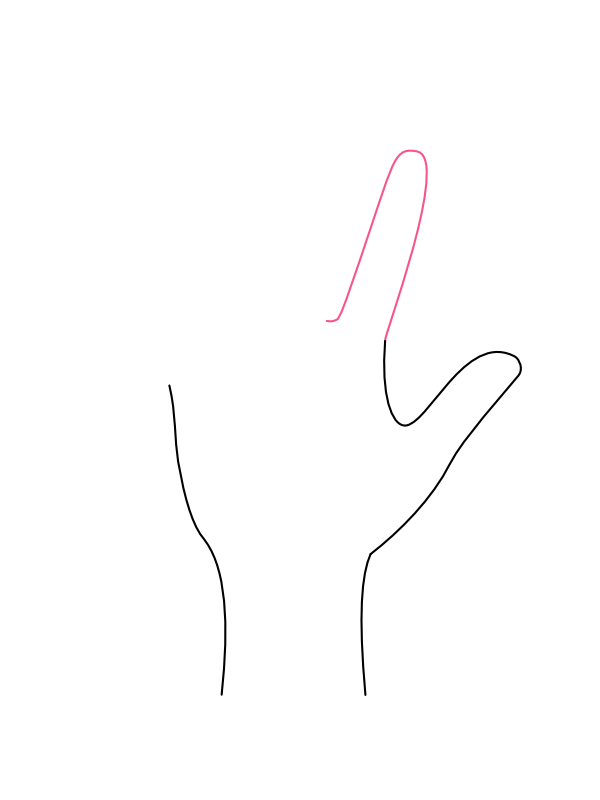
Next to the thumb, draw the index finger rising up from the top of the palm — a long, narrow shape with two roughly parallel sides that taper very slightly toward a gently rounded tip. Add a small dip or notch where the finger meets the hand, rather than a sharp right angle, since that little curve is what makes the joint look natural rather than mechanical.
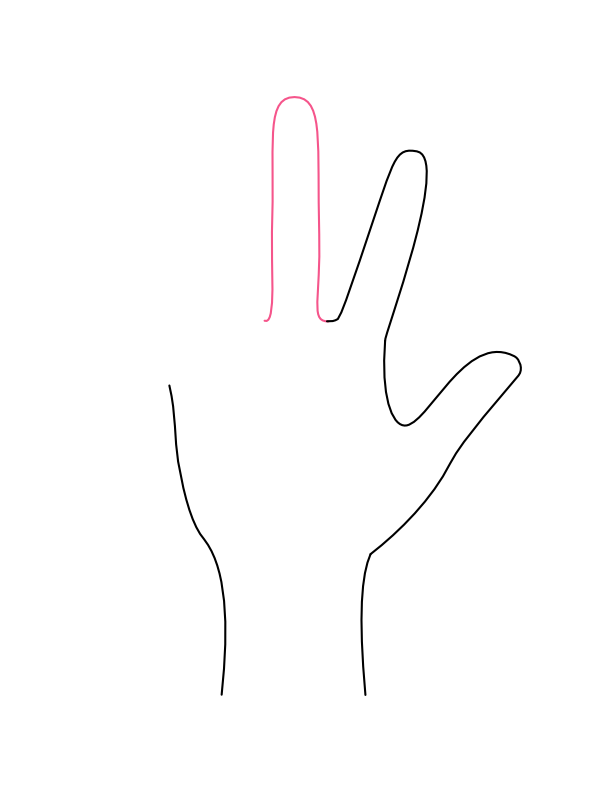
Beside the index finger, draw the middle finger reaching up a little taller than its neighbor, since this is typically the longest finger on the hand. Use the same long, slightly tapering shape as before, with a similar small notch where it connects to the palm. Having one finger clearly taller than the rest at this stage already starts giving the hand a natural, staggered silhouette instead of five identical sticks lined up in a row.
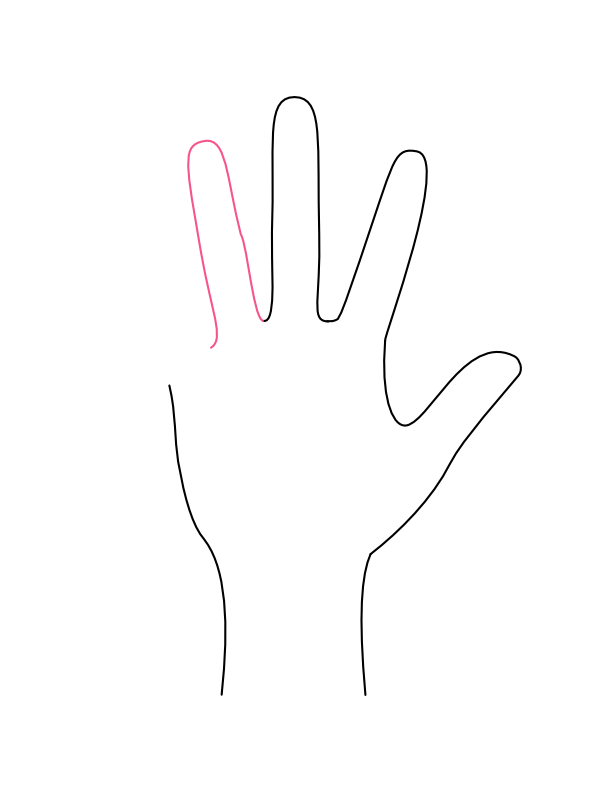
Next to the middle finger, draw the ring finger at a height between the index and middle fingers — slightly shorter than the middle finger, but usually close in length to the index finger, sometimes a touch taller. Keep the same tapering shape and gentle joint notch you've used for the previous two fingers, so all three read as part of the same consistent hand rather than being drawn in slightly different styles.
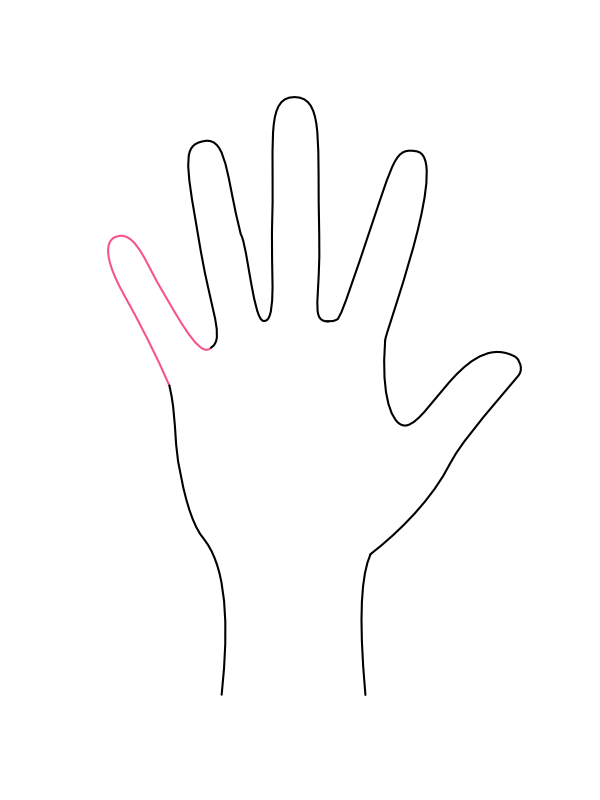
On the far side of the palm from the thumb, draw the pinky finger — noticeably shorter and thinner than the other three fingers, tapering to a smaller, more delicate tip. This size difference is one of the details people often get wrong by making the pinky too close in size to its neighbors, so don't be shy about drawing it clearly smaller; that contrast is what makes the whole hand feel proportionate and correct.
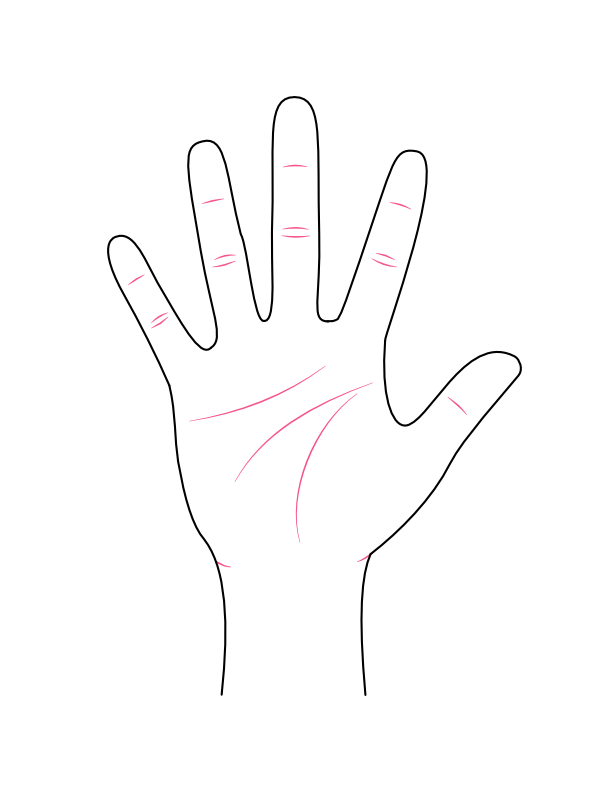
Across the palm, draw a few curved lines representing the major palm creases — one running roughly horizontal beneath the fingers, and one or two more curving diagonally down toward the wrist. On each finger, add one or two short curved lines at the knuckle joints to suggest where the finger bends. These small details are what transform a flat, cartoon-like outline into something that reads as a real, three-dimensional hand with actual structure underneath the skin.
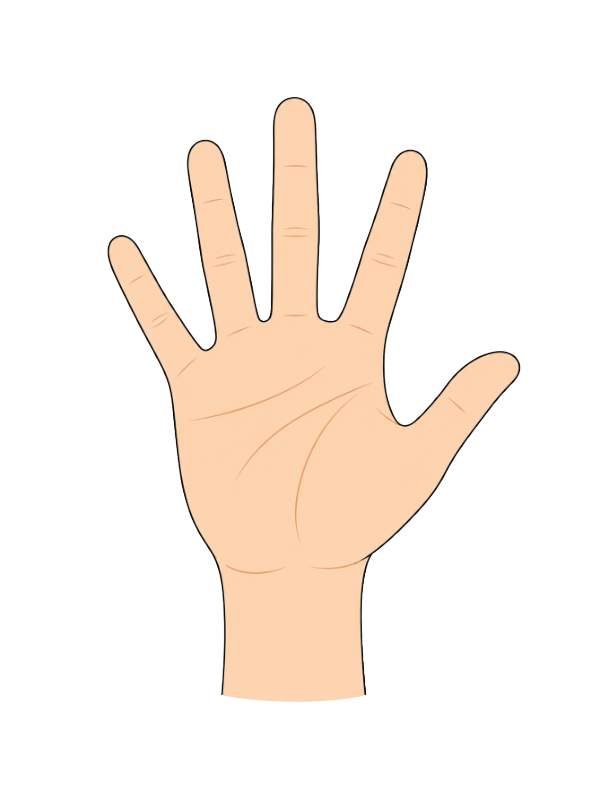
Now for the most satisfying part!
Once the color and shading go in, those simple palm creases and knuckle lines suddenly give the hand real weight and dimension — it stops looking like a flat cutout and starts looking like it could actually reach out and grab something. ✋
The part of this drawing most people find themselves adjusting the most is getting the relative lengths of the five fingers to feel natural — it's an easy trap to draw them all roughly the same height, which flattens out the whole hand and makes it look stiff. Keeping the simple size relationship in mind as you go — index and ring fingers close in length, middle finger the tallest, thumb and pinky both clearly shorter than the rest — solves most of that problem before it starts. Everything else, from the palm creases to the shading, is far more forgiving and mostly comes down to a light touch and a bit of patience.
Once this version feels comfortable, try drawing the hand in a different pose — fingers loosely curled, or the hand turned slightly to a three-quarter angle instead of facing flat toward the viewer — since those small changes in perspective are a great next challenge once the basic proportions feel solid.
Ears have a bit of a reputation for being one of the trickier facial features to draw. Learn how to draw a realistic ear with this easy, step-by-step tutorial!
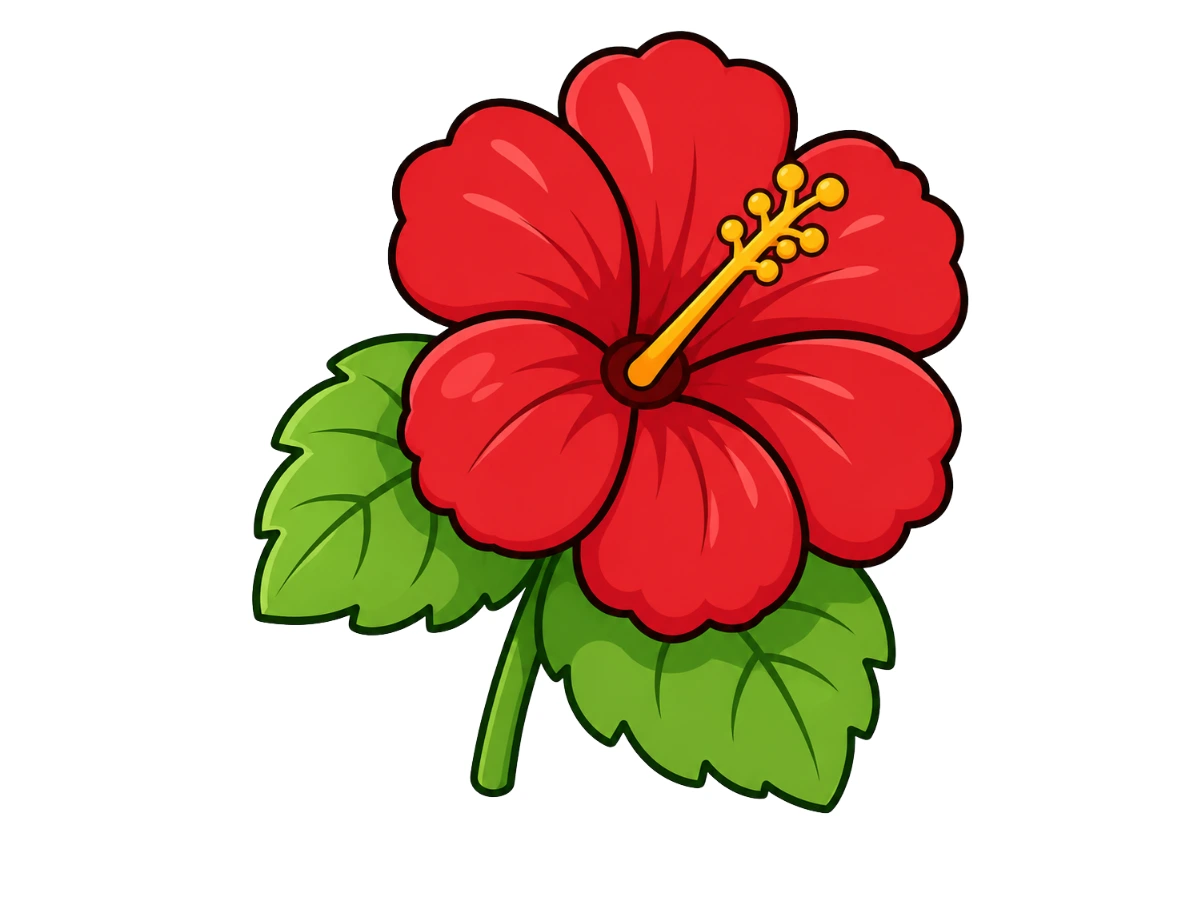
A hibiscus is one of those flowers that immediately feels like summer — big, open petals fanned out around a long graceful stamen. It looks impressive, but the secret is that every single petal follows almost the same shape, just rotated slightly around the center. Follow this easy step-by-step tutorial!
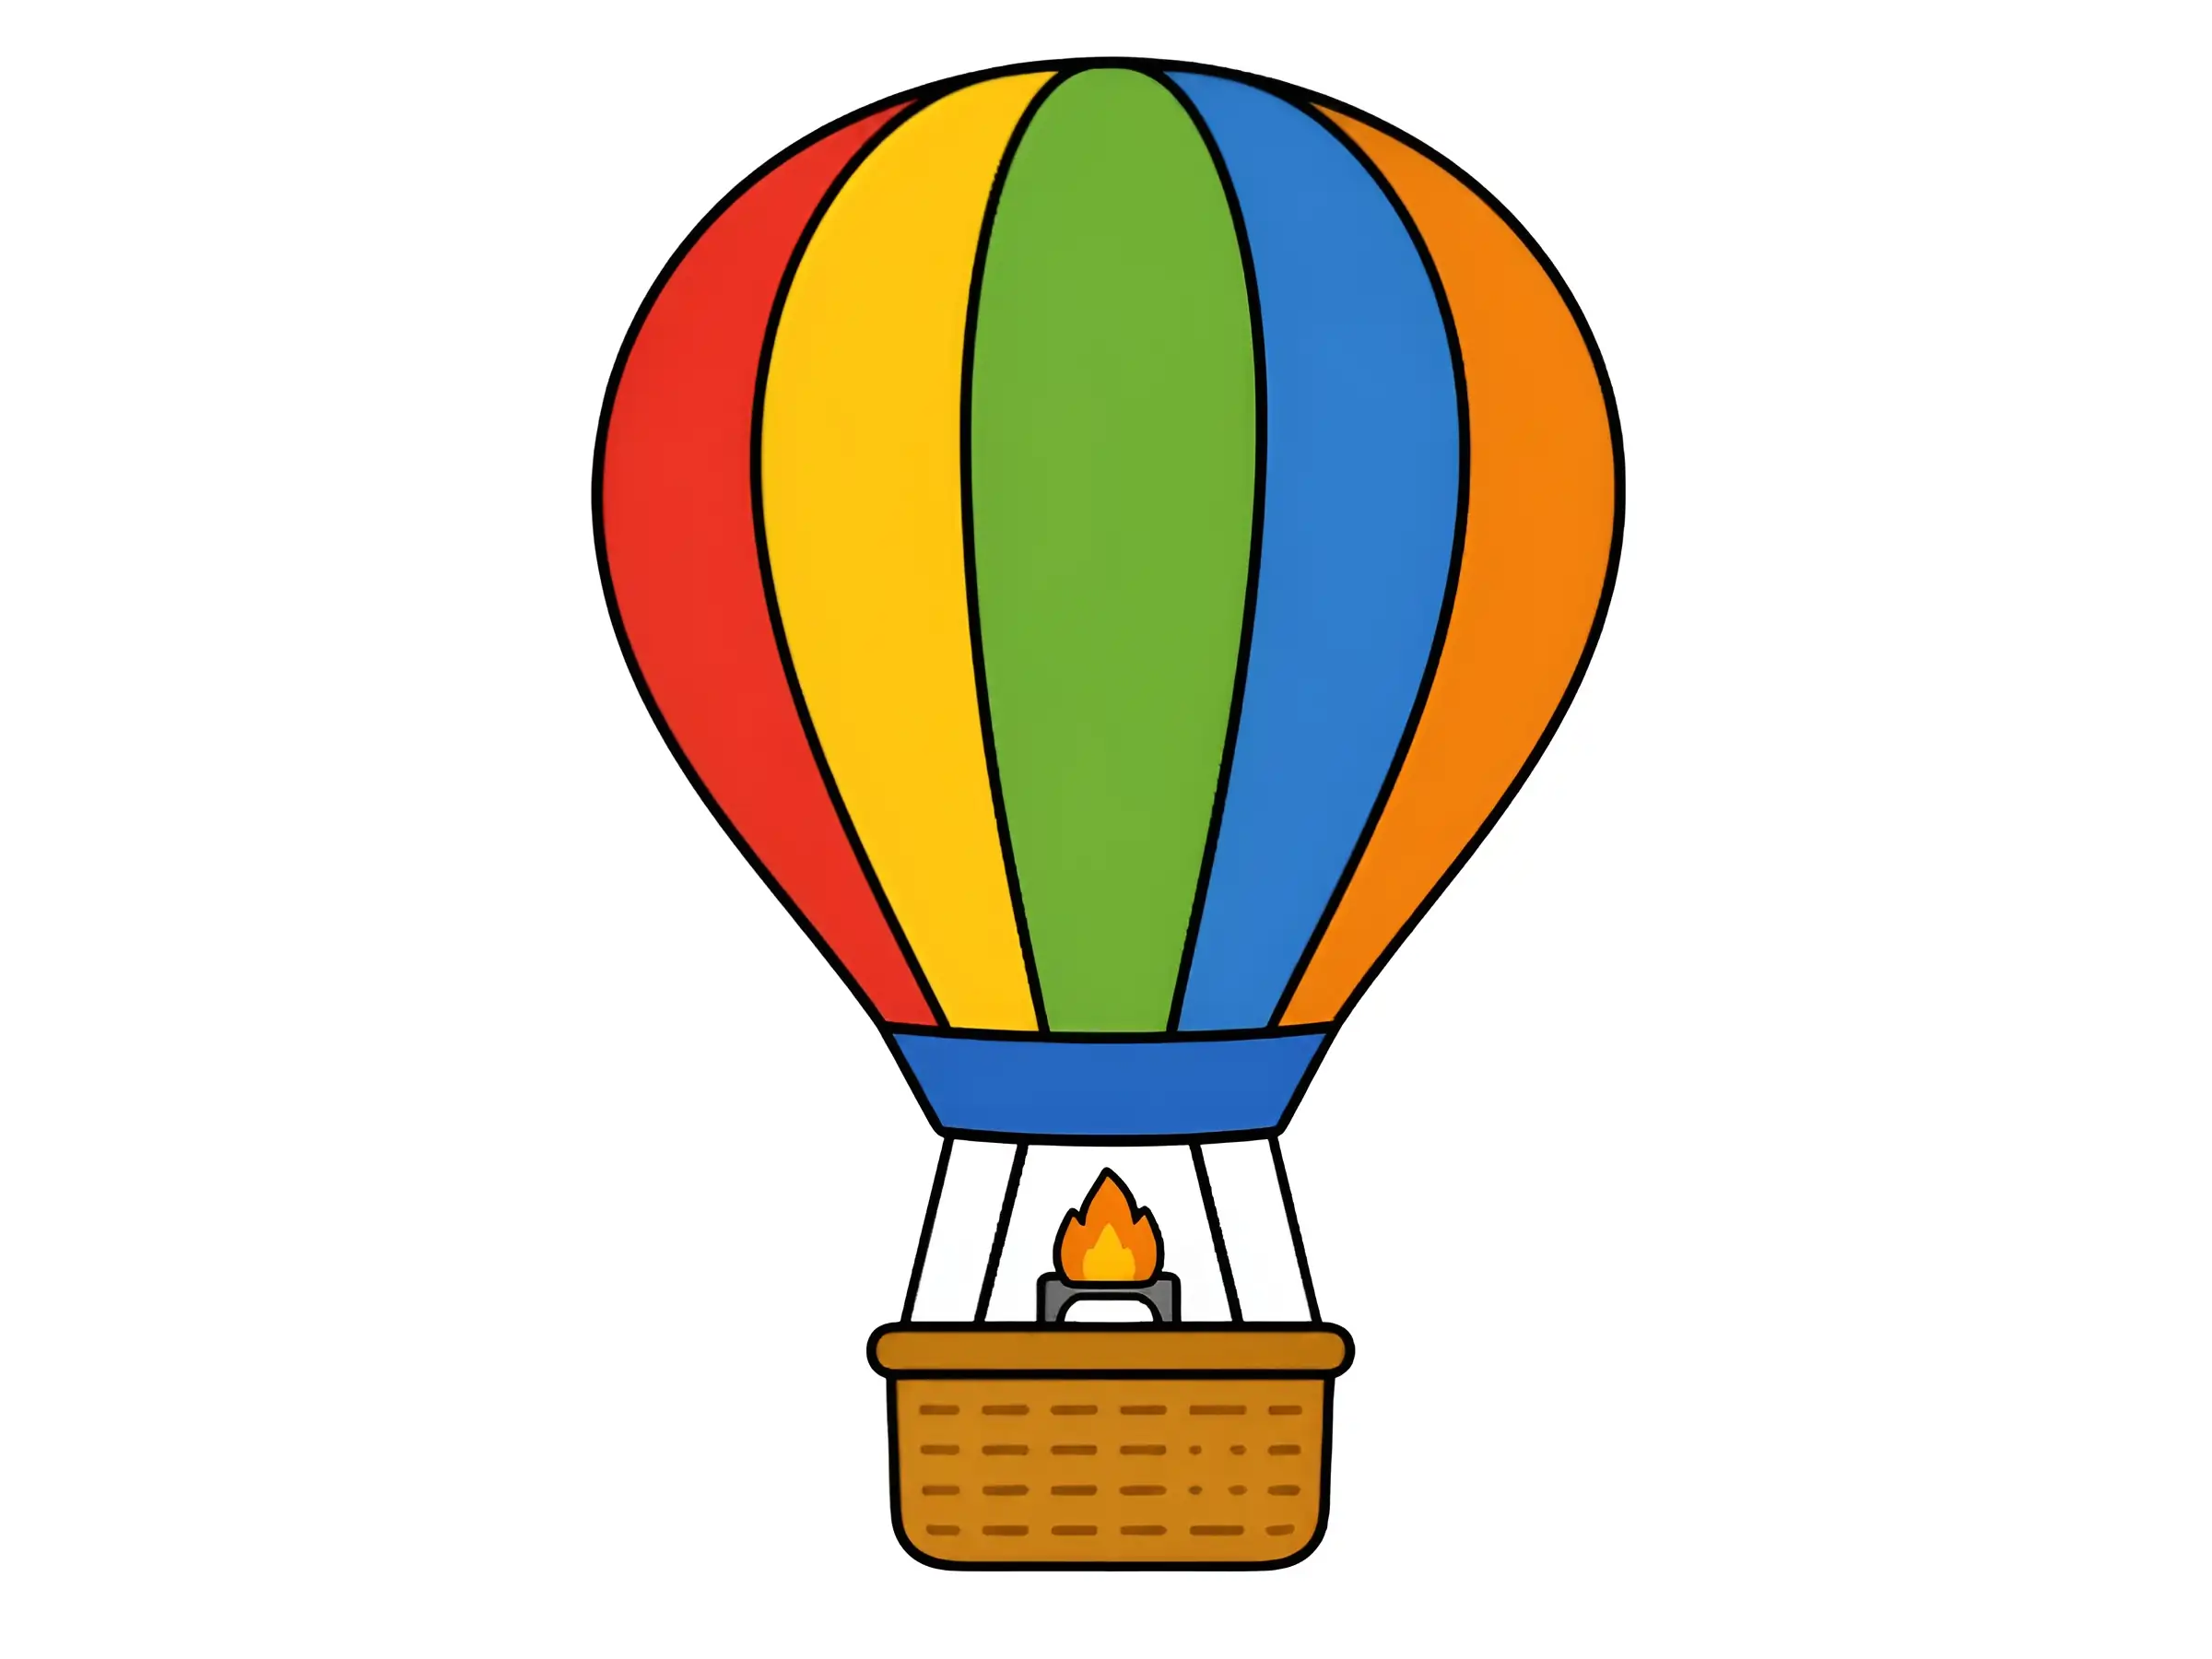
There is something magical about a hot air balloon floating across a clear blue sky. Those bold, colorful stripes and the little wicker basket hanging below make it one of the most satisfying things to draw — perfect for beginners of all ages!
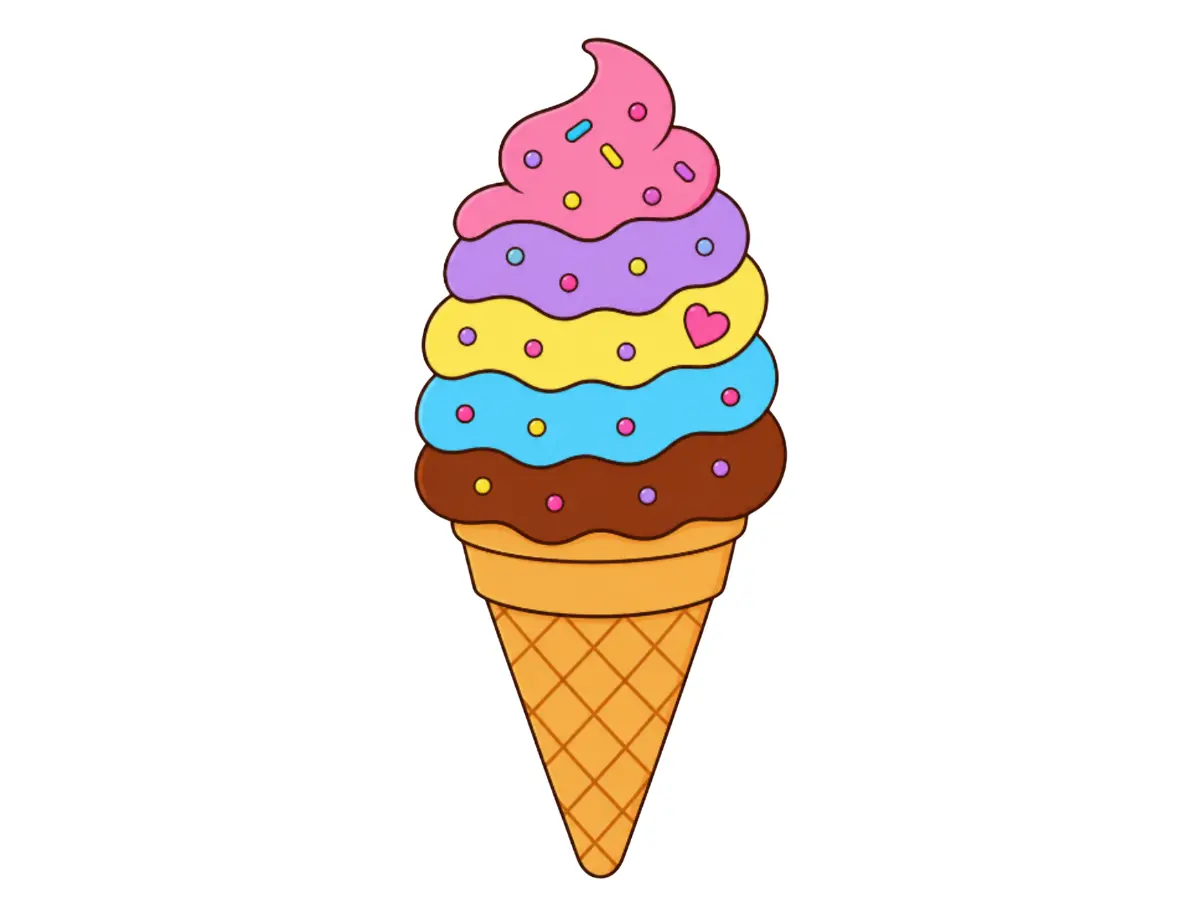
There is nothing quite as fun and colorful to draw as a big swirly ice cream cone. With its soft, wavy layers and the option to fill it with every color of the rainbow, this is one of those drawings that looks impressive but is actually built from just a few repeating curved shapes. Perfect for a relaxing afternoon of drawing, this tutorial will have you creating a delicious-looking treat in no time.