How to Draw a Cute Duck for Beginners

June 30, 2026
7 Steps
AR Drawing Logo

AR Drawing

Drawing Tutorials

There is something endlessly likable about a little duck — that round body, the curved neck, and a bill that always looks like it is mid-quack. It is also one of the friendliest animals to draw, since the whole shape comes together from one flowing neck line and a couple of soft, rounded blobs. Perfect for anyone who wants a satisfying result without needing to fuss over tricky proportions. Let's get drawing!

How to Draw a Cute Duck for Beginners
What You Will Need
  • Pencil
  • Eraser
  • White paper
  • Black marker or fine-liner (optional)
  • Colored pencils, crayons, or markers
1

Draw the Head and Neck

Step 1: Draw the Head and Neck

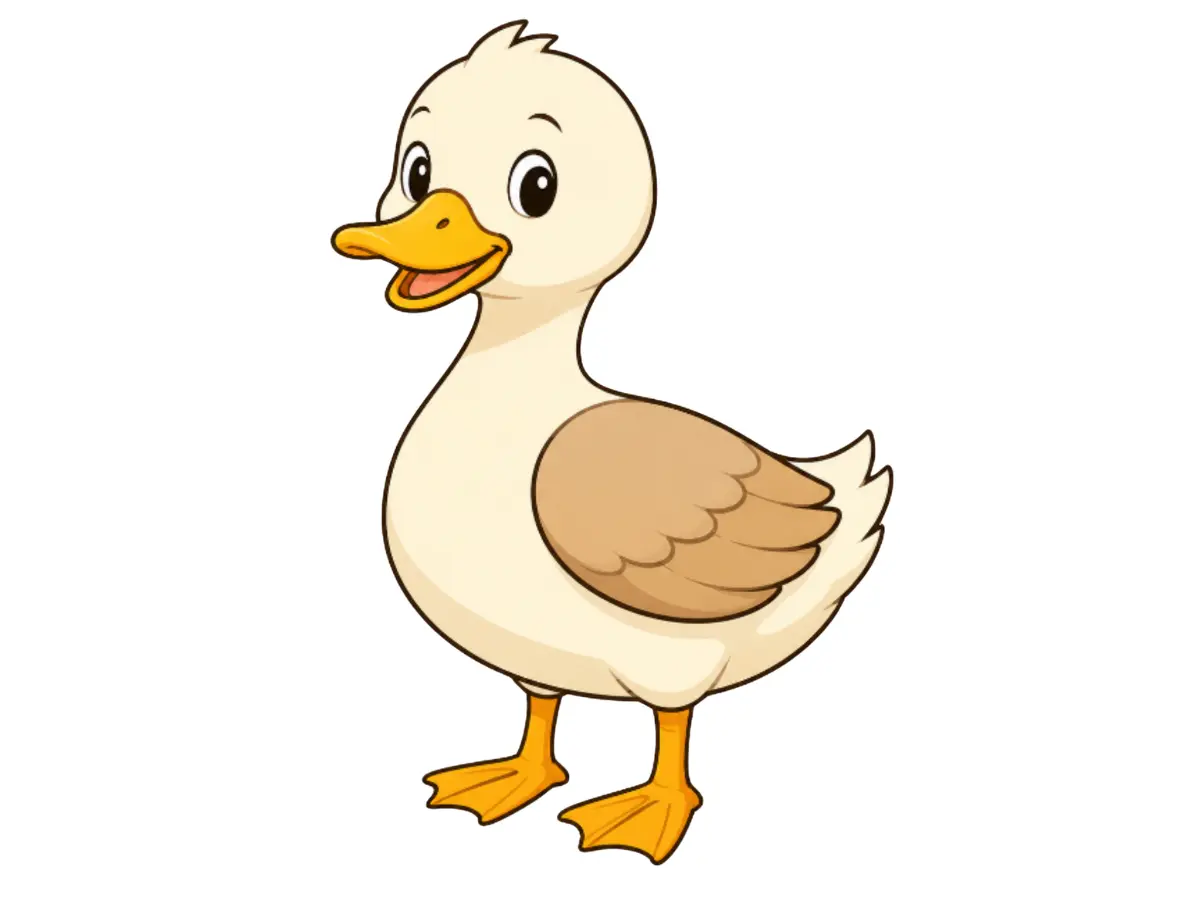
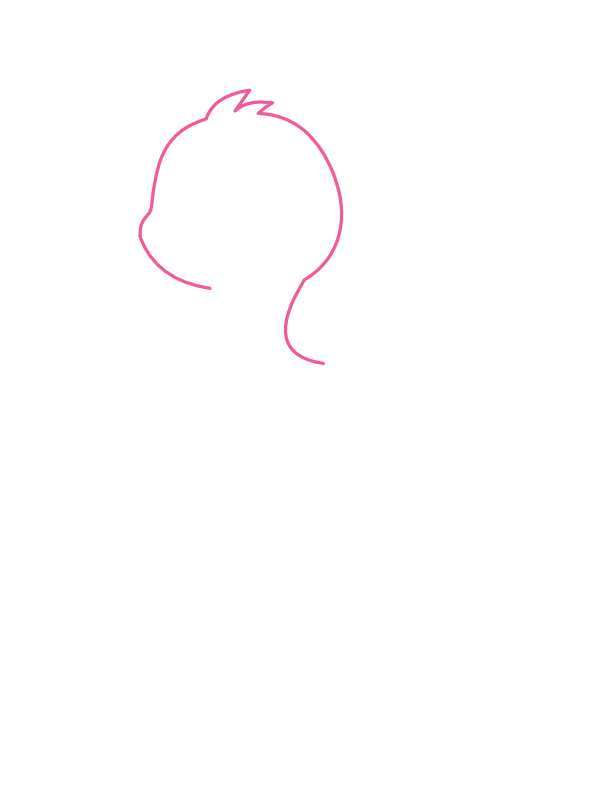
In the upper portion of your paper, draw a rounded head shape with three small pointed zigzag lines at the top to form a little tuft of feathers. From the bottom of the head, let one continuous line curve downward, looping gently inward near the bottom like a soft hook. This single flowing line becomes the duck's long, curved neck and sets the pose for the rest of the drawing.

2

Add the Face and Bill

Step 2: Add the Face and Bill

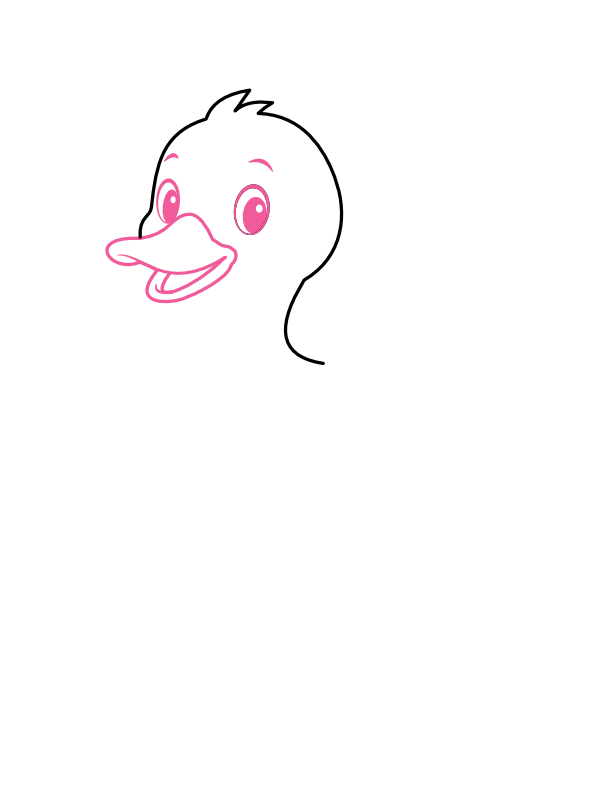
Just above the center of the face, draw two small curved lines for the eyebrows. Beneath them, add two almond-shaped eyes, each with a dark pupil and a tiny white highlight dot for some sparkle. At the front of the face, draw a flattened oval for the bill, with a curved line underneath to suggest the open mouth and a small peek of color inside.

3

Draw the Body Outline

Step 3: Draw the Body Outline

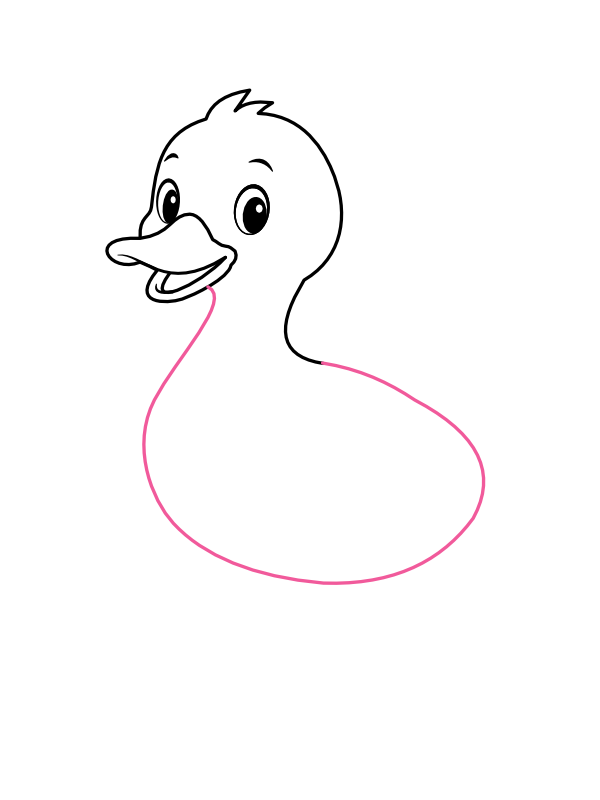
Below the neck, draw one large, rounded shape that flows outward into a big oval — this becomes the duck's plump little body. Let the bottom of the neck blend smoothly into the top of this body shape so the whole silhouette reads as one connected character instead of a head glued onto a separate blob.

4

Add the Wing

Step 4: Add the Wing

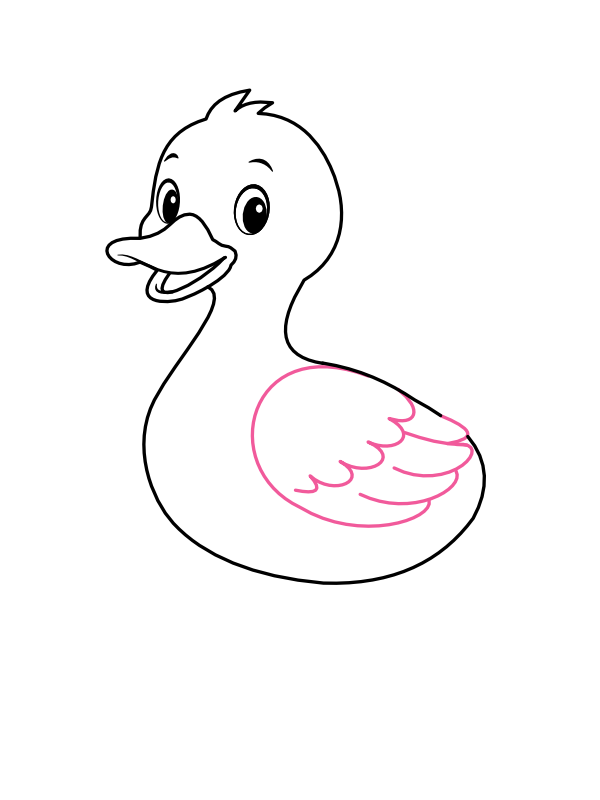
On the side of the body, draw a rounded wing shape, then layer a few overlapping scalloped lines inside it to suggest individual feathers. This little patch of texture is what breaks up the otherwise plain body and gives the duck some real visual interest.

5

Add the Tail Feathers

Step 5: Add the Tail Feathers

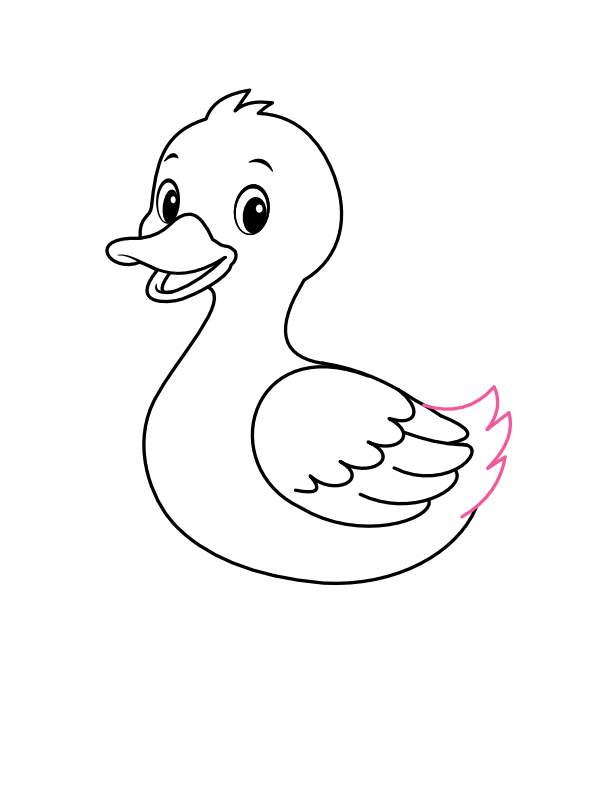
At the back of the body, just behind the wing, draw a few small, pointed, slightly overlapping shapes to form the tail feathers. Keep them layered rather than drawing one flat triangle — the slight stacking is what makes them look feathery instead of paper-thin.

6

Add the Legs and Feet

Step 6: Add the Legs and Feet

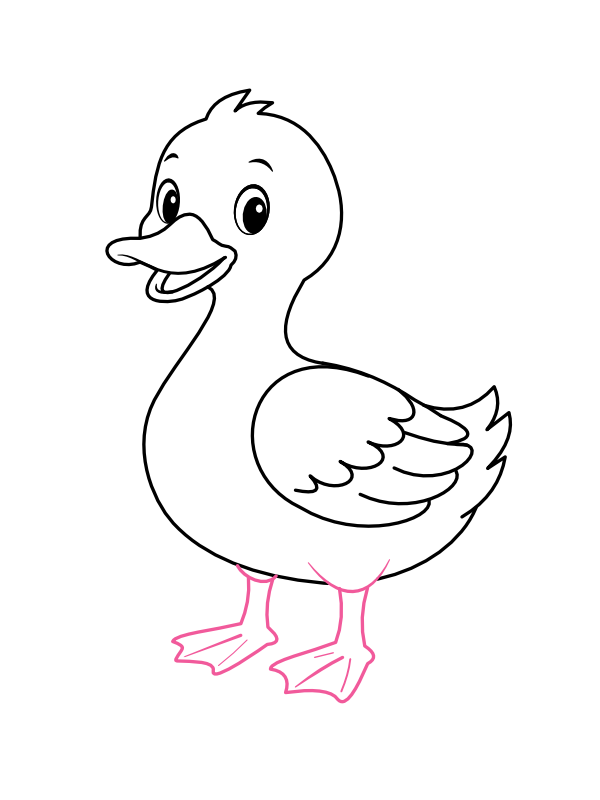
Beneath the body, draw two short legs, each ending in a webbed foot with a few short lines separating the little "toes." Those webbed feet are really what seals the deal — without them, this could just as easily pass for a goose or a swan.

7

Color Your Duck

Step 7: Color Your Duck

Now for the most satisfying part!

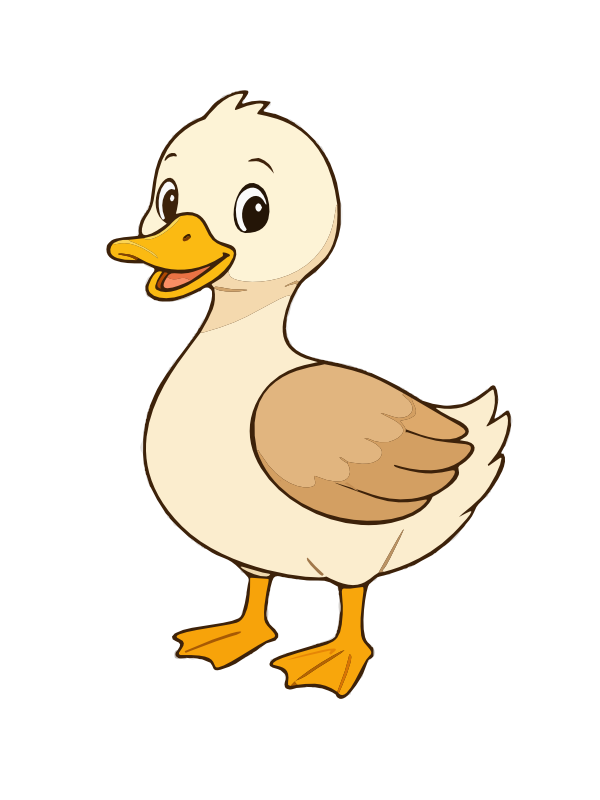
  • Body and head: Warm cream or soft white
  • Wing patch: Light tan or brown, with deeper brown shading between the feather layers and a lighter highlight line on top
  • Bill: Bright orange or yellow
  • Inside of the mouth: Soft pink
  • Legs and feet: Matching orange or yellow
  • Eyes: Black, with a small white highlight dot left uncolored for sparkle

Once the color is in, your little duck looks ready to waddle straight off the page and into a pond.

Final Thoughts

What makes this duck come together so easily is that single flowing neck line from Step 1 — once that curve feels right, the head and body almost place themselves on either end of it. The wing and tail feathers are the only spots that take a little patience, since the layered, scalloped lines need a bit of practice to look natural rather than choppy.

Once you are comfortable with this pose, try drawing the duck facing the other direction, or have it swimming with just its head and the top of its back poking out above a few wavy water lines.