
How to Draw a Cupcake

June 21, 2026
9 Steps
AR Drawing Logo

AR Drawing

Drawing Tutorials

A cupcake topped with swirly frosting and colorful sprinkles is one of the most delightful things you can draw. It is sweet, cheerful, and surprisingly simple once you break it down into a few basic shapes. Whether you are drawing it for fun, for a card, or just to practice your skills, this tutorial will guide you through every step to create a beautifully detailed cupcake. Let us get baking — with a pencil instead of an oven!

How to Draw a Cupcake
What You Will Need
  • Pencil
  • Eraser
  • White paper
  • Black marker or fine-liner (optional)
  • Colored pencils, crayons, or markers
1

Draw the Wrapper Base

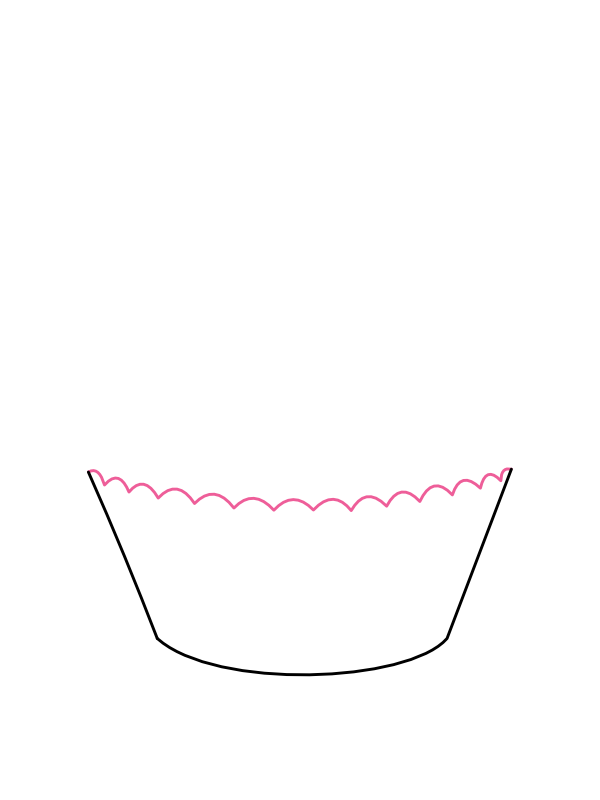
Step 1: Draw the Wrapper Base

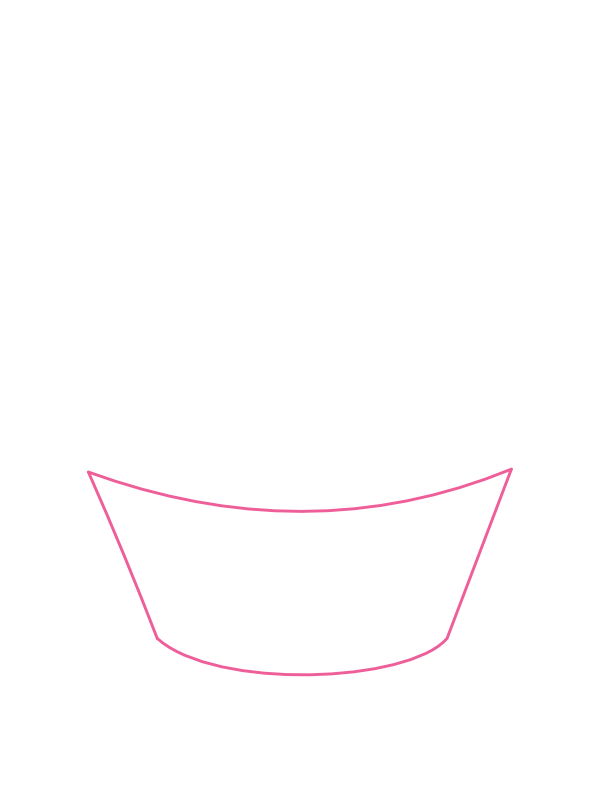
Start by drawing a simple trapezoid shape — wider at the top and narrower at the bottom, with the top and bottom edges slightly curved instead of perfectly straight. This basic outline will become the cupcake wrapper, so make sure it has a nice, gentle curve along the bottom and a wider stance up top.

2

Add the Scalloped Top Edge

Step 2: Add the Scalloped Top Edge

Along the top edge of your wrapper shape, redraw the line as a series of small, even waves rather than a flat line. This scalloped texture is what gives a cupcake wrapper its classic crimped paper look, so keep the waves small and consistent across the entire top.

3

Add the Wrapper Pleats

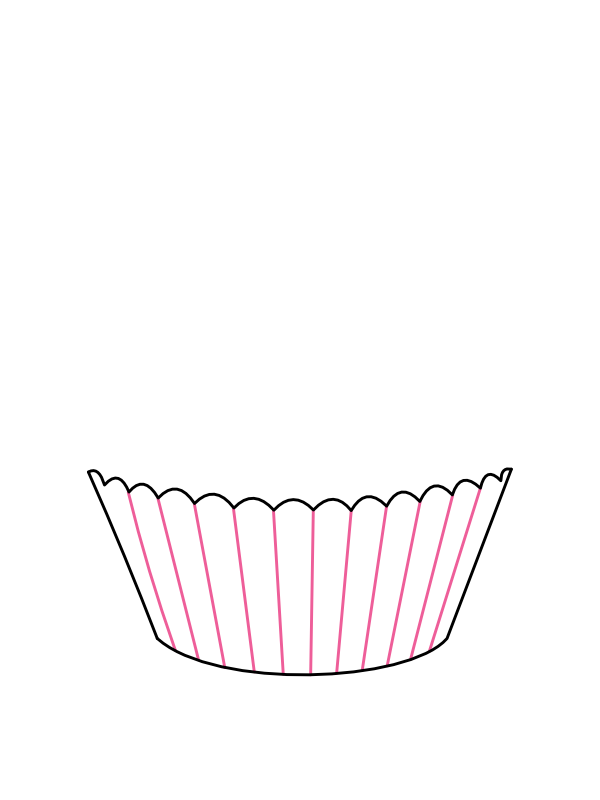
Step 3: Add the Wrapper Pleats

Inside the wrapper, draw several vertical lines running from the top edge down to the bottom curve. These lines should fan out slightly, being closer together near the bottom and slightly more spread out near the top, just like the natural pleats of a paper cupcake liner.

4

Draw the First Frosting Layer

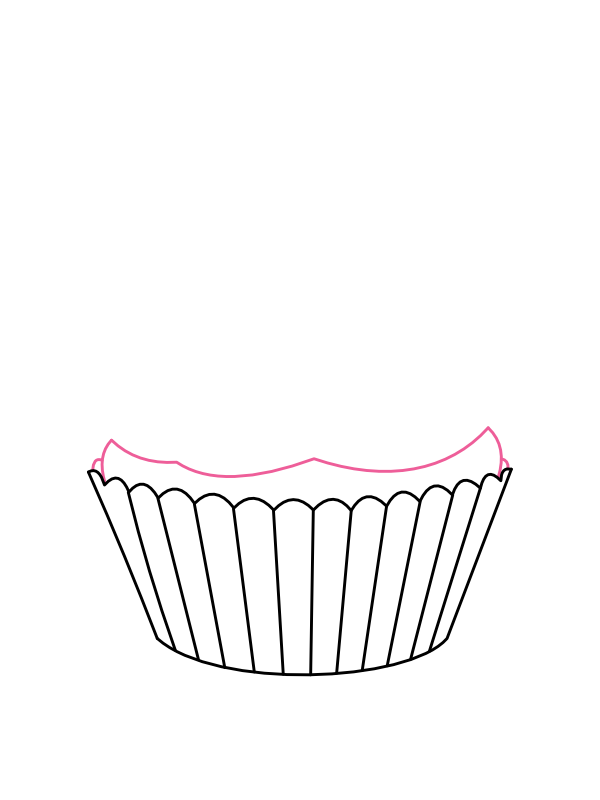
Step 4: Draw the First Frosting Layer

Just above the wrapper, draw a wavy horizontal line that dips and rises gently across its length, similar to the scalloped edge from Step 2 but a little larger. This wavy line sits directly on top of the wrapper opening and forms the very first layer of frosting peeking out.

5

Add the Second Frosting Swirl

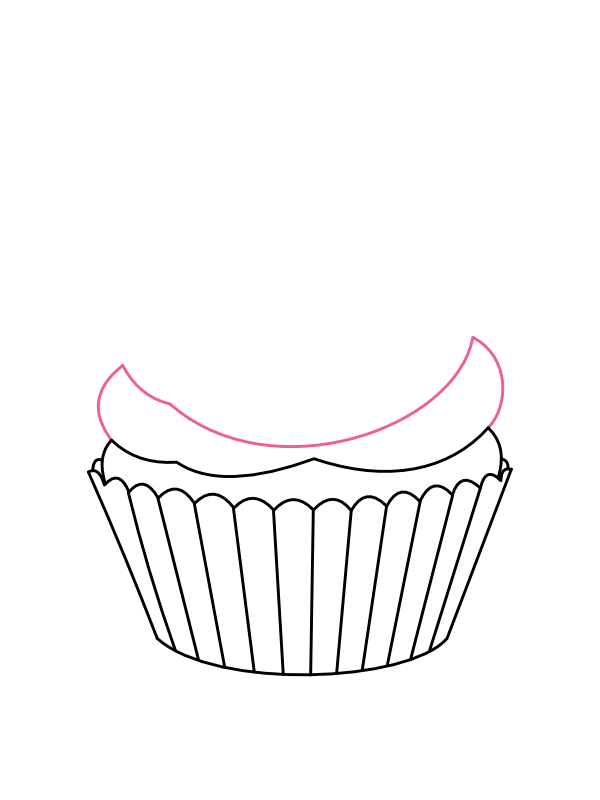
Step 5: Add the Second Frosting Swirl

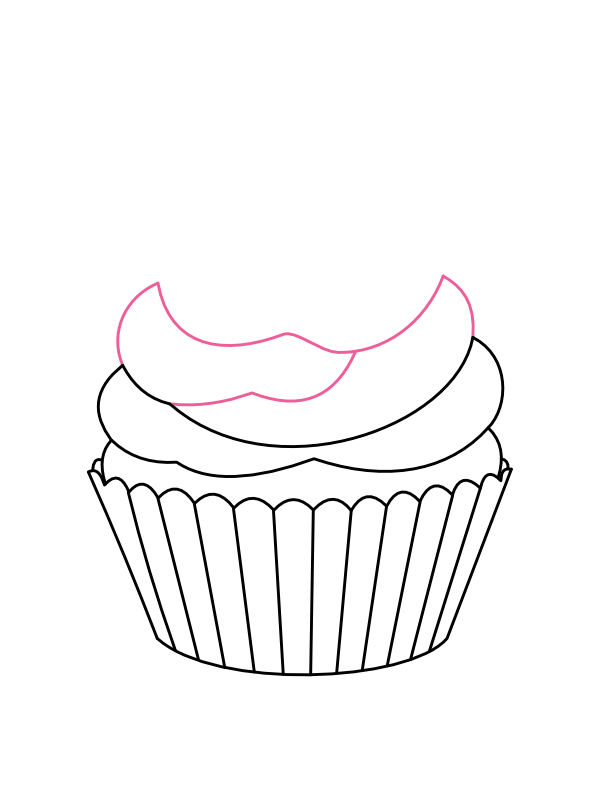
Above the first frosting layer, draw another curved swirl shape — this one should look like a soft crescent or wave, slightly overlapping the layer below it. Frosting swirls are never perfectly symmetrical, so let this layer lean a little to one side for a natural, hand-piped look.

6

Add the Third Frosting Swirl

Step 6: Add the Third Frosting Swirl

Continue building upward by drawing one more swirling frosting layer above the second. This layer should overlap the one below it and curve in the opposite direction, creating that classic back-and-forth swirl pattern you see on real piped frosting.

7

Draw the Top Frosting Peak

Step 7: Draw the Top Frosting Peak

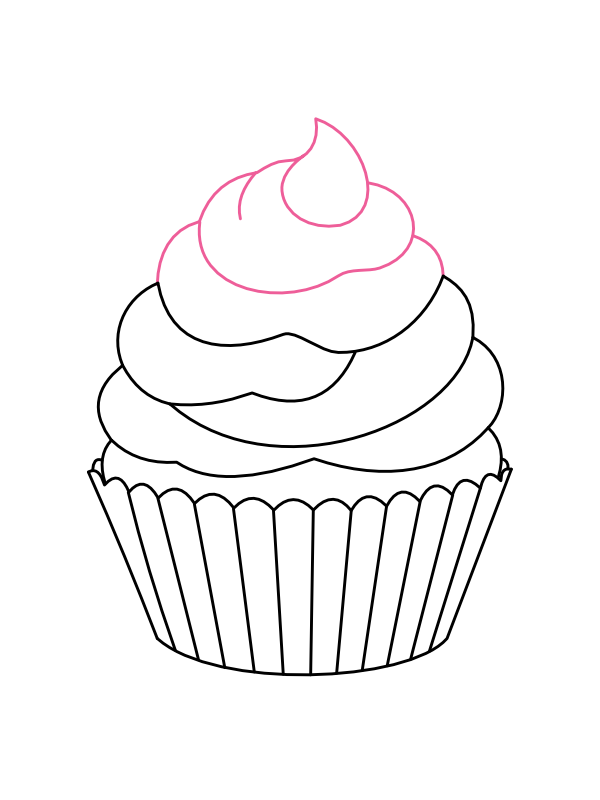
At the very top, draw a smaller curled peak — like a soft, rounded flame or a small dollop curling to one side. This little peak is the finishing touch on top of the frosting swirl, giving the cupcake its iconic pointed tip.

8

Add Sprinkles to the Frosting and Wrapper

Step 8: Add Sprinkles to the Frosting and Wrapper

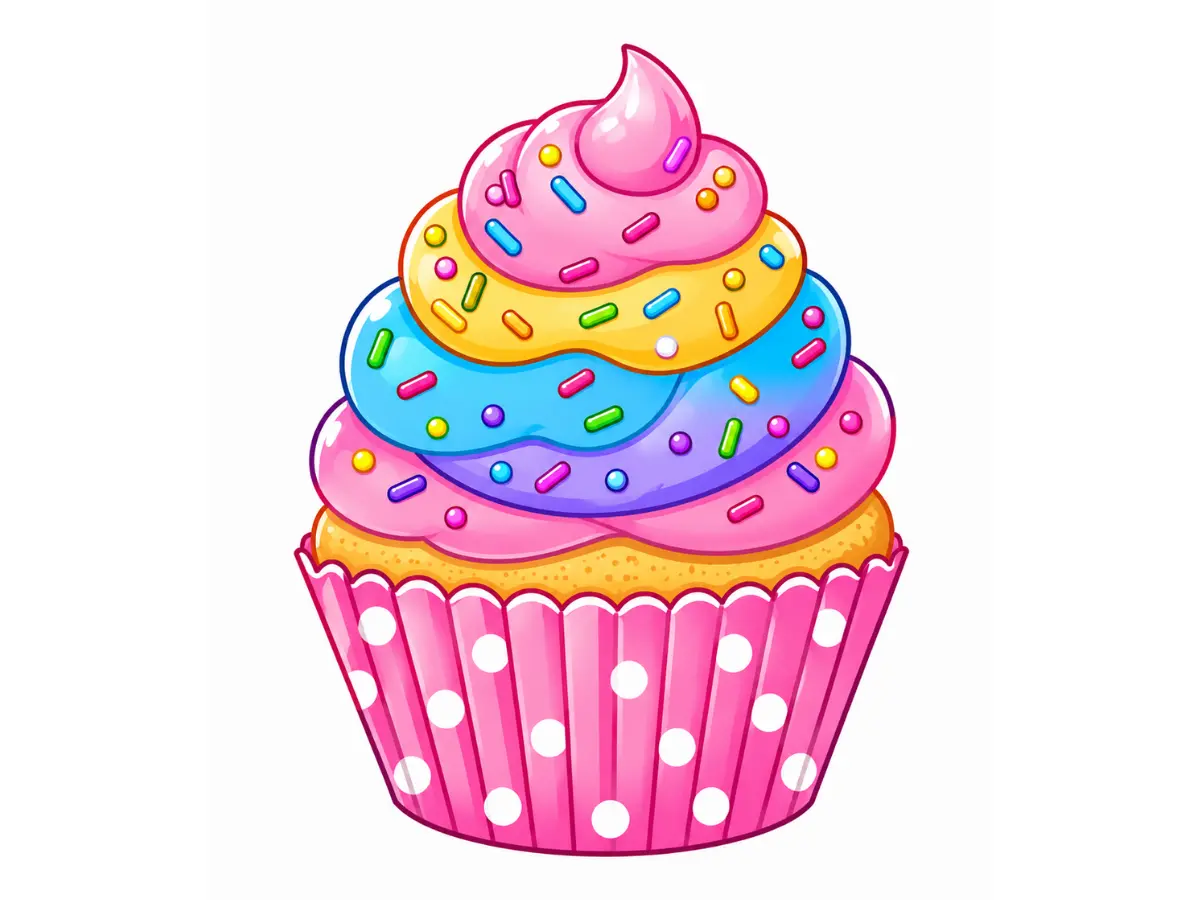
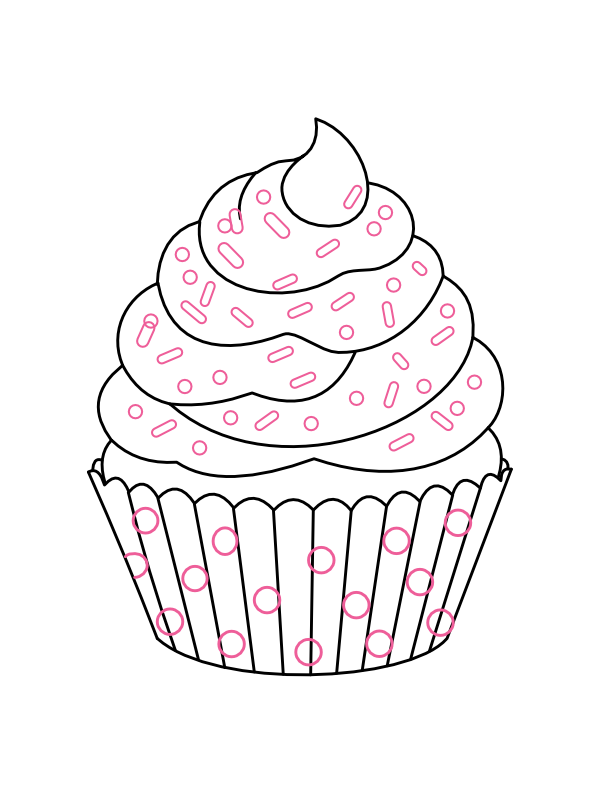
Across all the frosting layers, scatter small circles and short rectangular shapes to create colorful sprinkles. Space them out unevenly for a natural look rather than lining them up in neat rows. On the wrapper itself, add a few small circles scattered across the pleats for a fun polka dot pattern.

9

Color Your Cupcake

Step 9: Color Your Cupcake

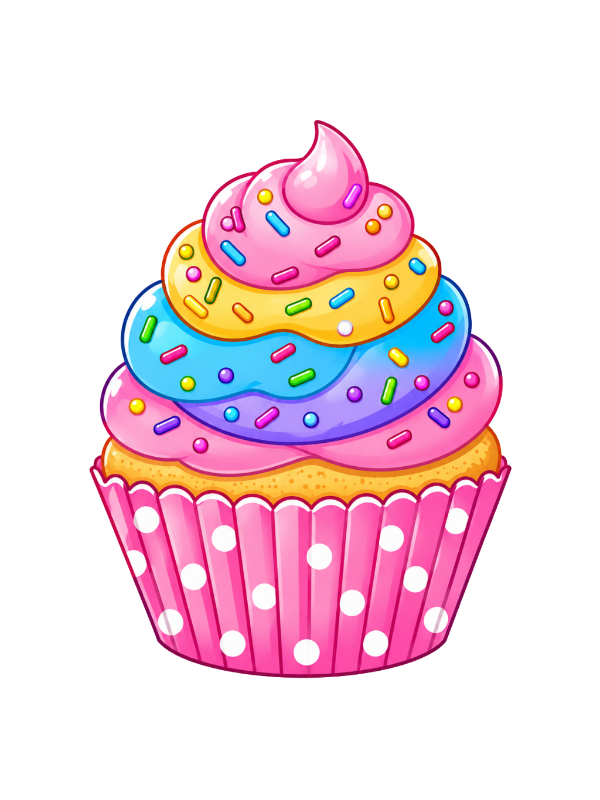
Now comes the best part — coloring your cupcake to make it look as delicious as possible!

  • Top frosting peak: Bright pink
  • Second layer: Golden yellow
  • Third layer: Sky blue
  • Fourth layer (near wrapper): Soft purple and pink blend
  • Cupcake base (just above wrapper): Warm golden tan
  • Sprinkles: A mix of red, yellow, blue, green, and purple dots and short lines
  • Wrapper: Bright pink with white polka dots

Your colorful sprinkle cupcake is complete and ready to make anyone smile! 🧁

Final Thoughts

Drawing a cupcake is a great lesson in layering and overlapping shapes — each frosting swirl builds on top of the one before it, slowly creating that soft, fluffy texture we all love. The sprinkles and bright color choices are really what bring this drawing to life, so do not be afraid to go bold with your colors.

Try drawing a few different versions with different frosting colors and sprinkle patterns. Every cupcake can be its own little masterpiece!

More Drawing Tutorials

How to Draw a Boat

How to Draw a Boat

There's something instantly comforting about a small cartoon boat — that round, bobbing hull, the boxy little cabin perched on top, and a tiny flag fluttering off the back like it's just been out on the water all morning. It's one of those drawings that looks like it belongs on a nursery wall or the cover of a kid's storybook, and the best part is that it comes together from nothing more complicated than a curved bowl shape, a box, and a handful of circles.

9 Steps
Read
How to Draw a Bonsai Tree

How to Draw a Bonsai Tree

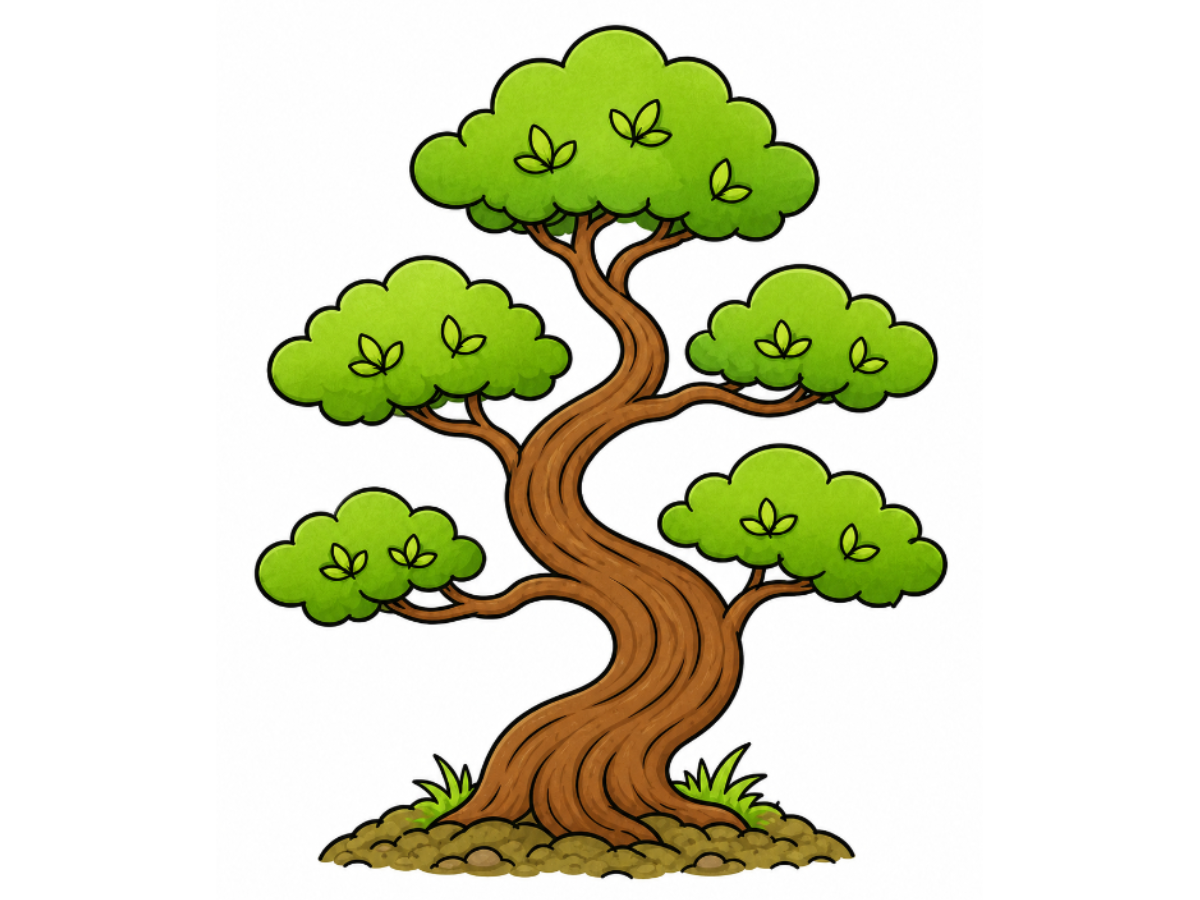
A bonsai tree has a quiet kind of drama to it — that gnarled, winding trunk that bends and curves like it's telling a story, topped with soft clusters of foliage spreading out at different heights. It looks like the kind of drawing that takes serious skill, but the secret is that the whole thing comes together from one flowing double-line trunk and a handful of cloud-shaped canopies repeated at different sizes.

11 Steps
Read
How to Draw a Burger

How to Draw a Burger

A burger is basically a stack of the most satisfying shapes you can possibly draw — a big fluffy dome on top, a few layers of ingredients peeking out in the middle, and a wide sturdy bun holding everything together at the bottom. Every layer is a different texture and a different silhouette, which means that even before the color goes on, the finished drawing already looks mouthwatering just from the outlines alone.

8 Steps
Read
How to Draw a Crown for Beginners

How to Draw a Crown for Beginners

A crown looks like it belongs in a museum case, all gold and gemstones, but it's really just a band with a few decorative shapes layered on top. Learn how to draw a crown step-by-step!

8 Steps
Read