
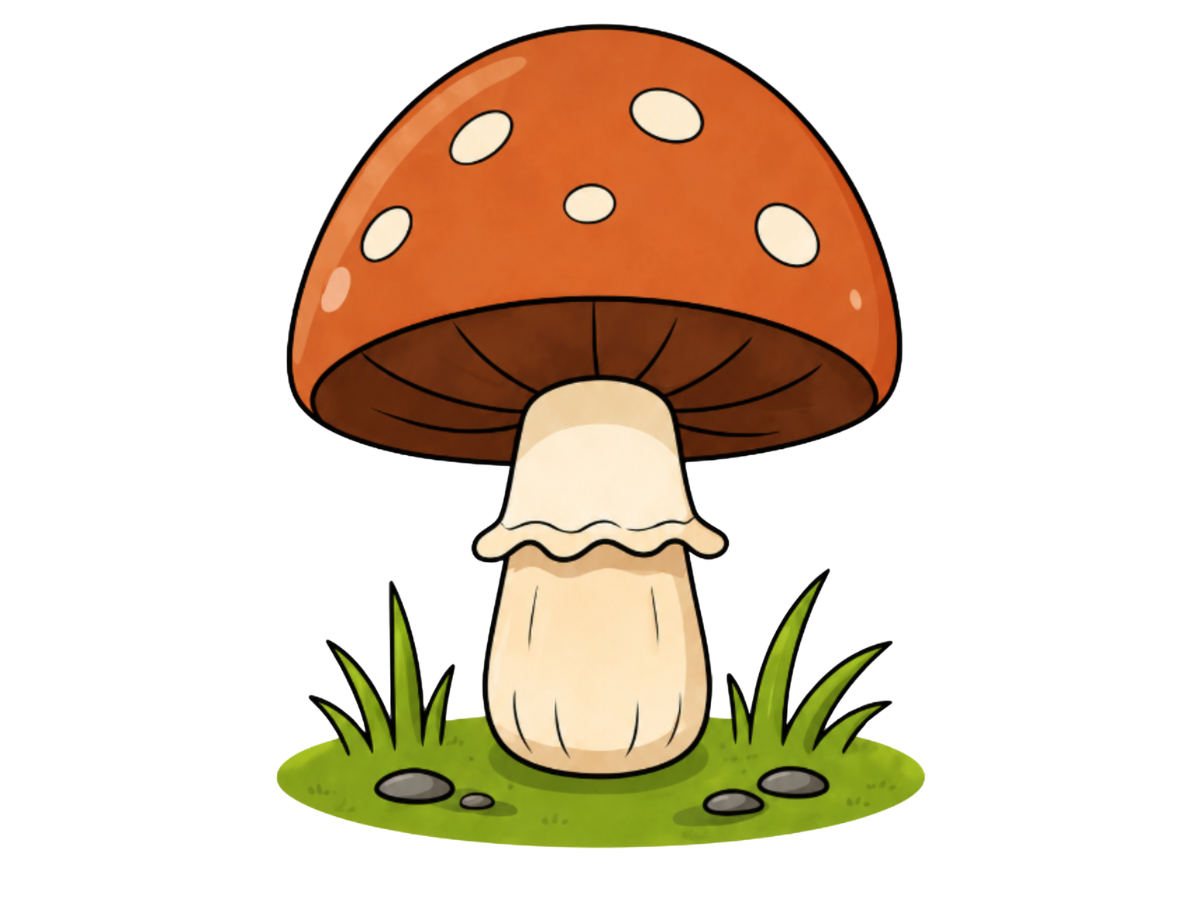
How to Draw a Mushroom
There's something instantly storybook about a mushroom drawing — that round, domed cap sitting proudly on a plump little stem, dotted with pale spots like something straight out of a fairy tale forest.
9 Steps
Read
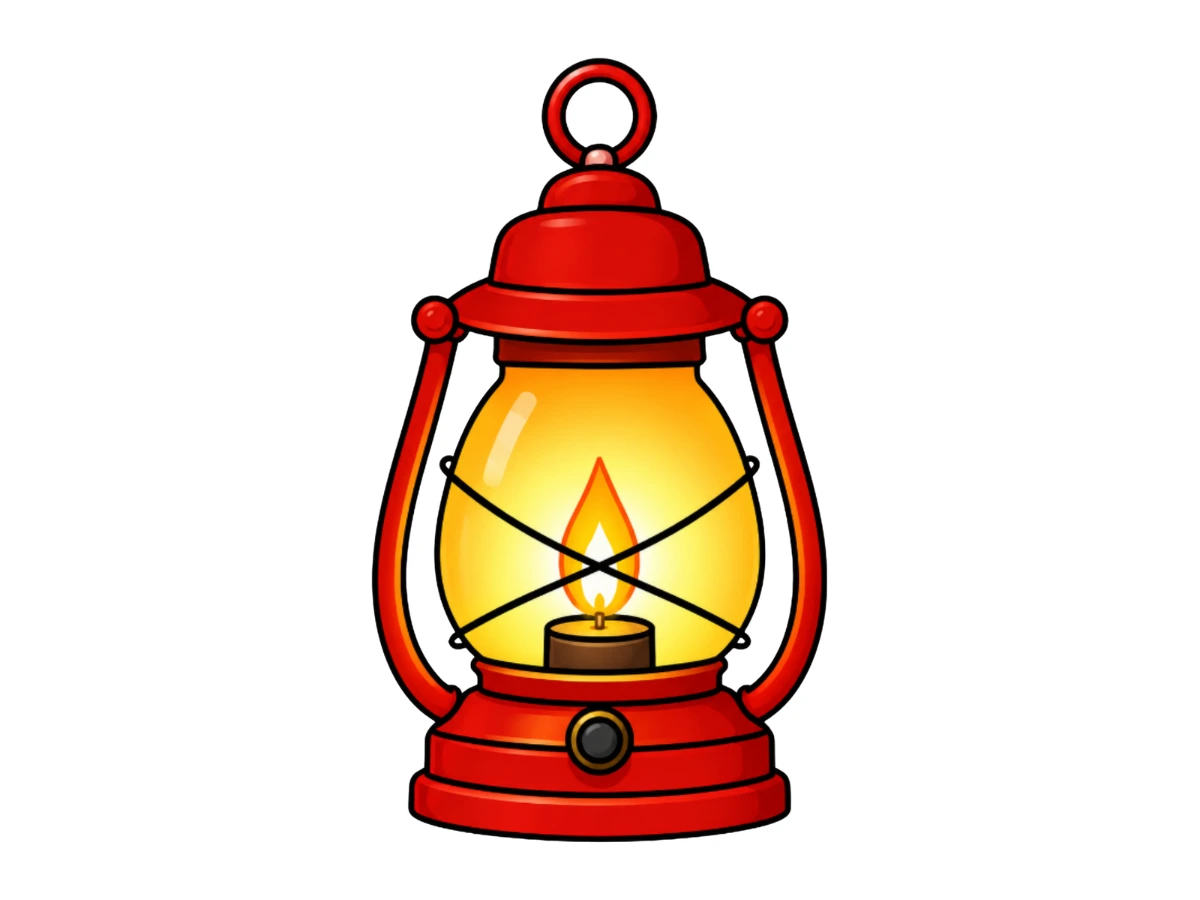
There's something wonderfully cozy about an old oil lantern — that round glass globe, the little flame flickering inside, and all those satisfying hardware details like the dome cap, the curved side arms, and the hanging ring at the top. It looks like a complicated object to draw, but the whole thing is really just a stack of simple shapes built from the top down. Once that hanging ring and dome cap are in place, the rest of the lantern almost guides itself onto the page. Let's get drawing!

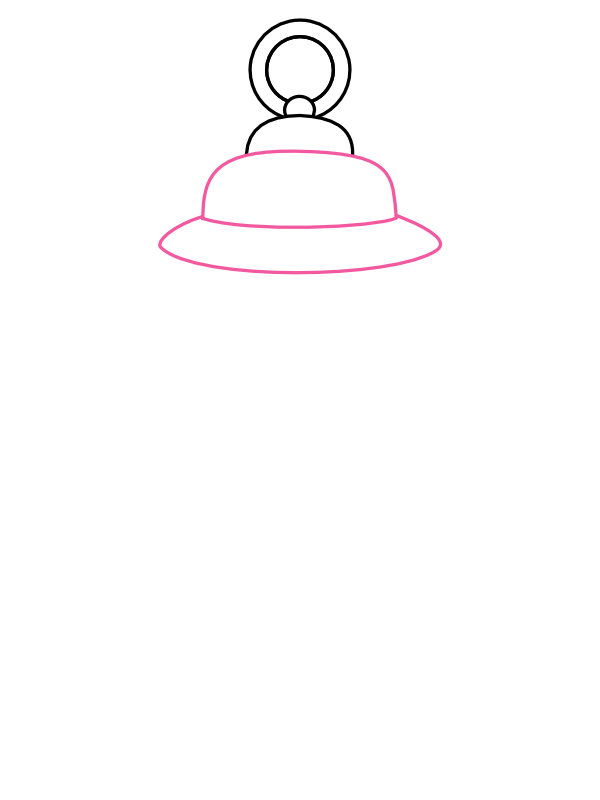
Near the top of your paper, draw two concentric circles sitting one inside the other — a smaller circle nested inside a slightly larger one. This double ring is the hanging loop at the very top of the lantern, the part you'd hook over a nail or a peg on the wall. Keep both circles centered and fairly round, since this small detail sits right at the tip of the whole drawing and catches the eye immediately.

Just below the inner circle, draw a small oval to act as the connector knob that links the ring to the cap below it. From the bottom of this knob, sweep a gentle curved arc outward to each side, like a soft dome beginning to take shape. This arc is the very top of the lantern's cap — it anchors the ring above and the rest of the cap below, so keeping it symmetrical on both sides will make the whole lantern feel balanced right from the start.
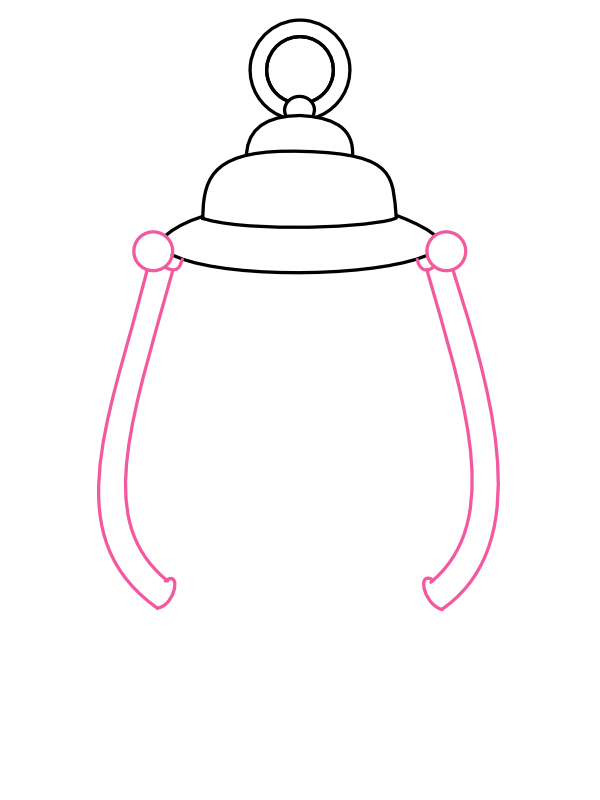
Below that arc, fill in the rest of the dome with a wider rounded shape, giving the cap some real height and weight. Then, beneath the dome, draw a broad flat oval extending out to both sides to form the cap's brim — think of it like a small hat with a wide flat rim. This brim is wider than the dome above it, which gives the cap that classic layered, tiered look that makes old lanterns so recognizable.
At each outer edge of the brim, draw a small circle to mark the pivot points where the side arms attach. From each of these circles, sweep one long curved arm downward and inward, bending gently so both arms curve toward each other like a pair of parentheses. Leave the tips of the arms slightly open at the bottom for now — they'll connect to the base in a later step. These arms are what give the lantern its sturdy, framed look, and getting their curves to roughly mirror each other is what keeps the whole drawing from leaning to one side.
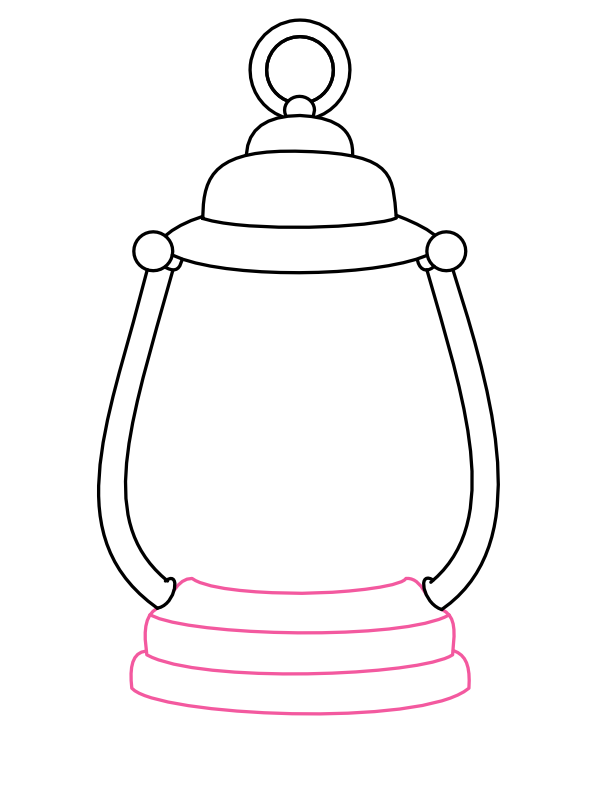
Between the two arms, draw the lantern's main body — a large, rounded shape that's wider in the middle and gently tapers toward both the top and the bottom. Think of it as a softly inflated oval, or a slightly pinched balloon. The globe should just touch the inner edges of both arms so the frame hugs the glass snugly.
At the very bottom, draw the lantern's base — two or three stacked horizontal rings of decreasing width, like a small layered platform. The widest ring sits at the very bottom, and each ring above it is slightly narrower, giving the base that compact, sturdy look that keeps the whole lantern grounded.
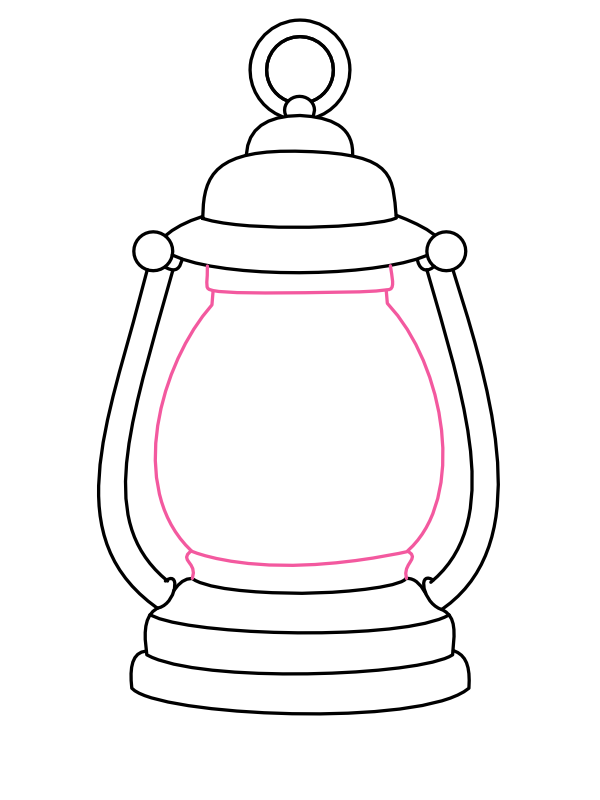
Inside the globe, draw a slightly smaller version of the same rounded shape, leaving a gap between the inner panel and the outer edge of the glass all the way around. This inner outline is what suggests the glass thickness and gives the lantern that sense of depth — it's a small detail, but it's the one that separates a drawing that looks like a cartoon blob from one that actually reads as a glass globe with some dimension to it.
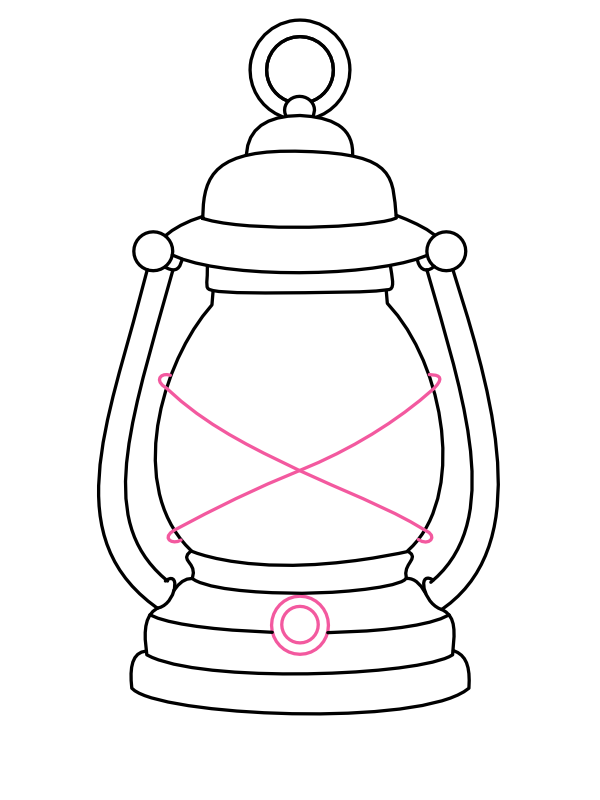
Across the glass, draw two diagonal lines crossing each other in an X pattern, connecting the corners of the inner panel. These wire lines are the metal supports that hold the glass panes in place, and they're the most instantly recognizable detail of a classic oil lantern — one quick X is all it takes to make the whole drawing click into place. Then, on the front face of the base, draw a small circle with a slightly smaller circle inside it to form the little fuel-adjustment knob.
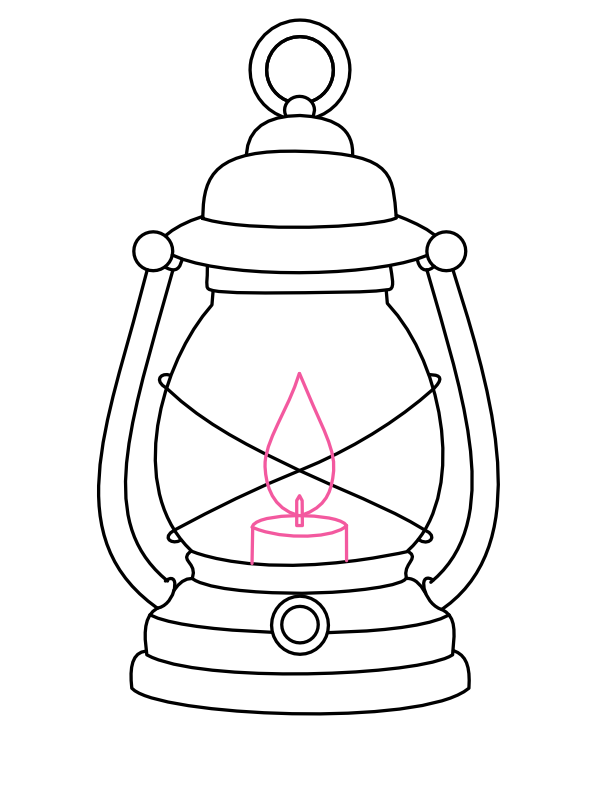
Right at the center of the X, where the two wires cross, draw a short, wide rectangle for the candle holder or wick base. On top of it, add a small upright cylinder for the candle itself, then draw a teardrop-shaped flame rising from the top — pointed at the tip and slightly wider near the base, with a small inner teardrop of a lighter color to suggest the bright core of the flame. The candle sits right at the heart of the lantern, and it's the detail that brings the whole drawing to life.
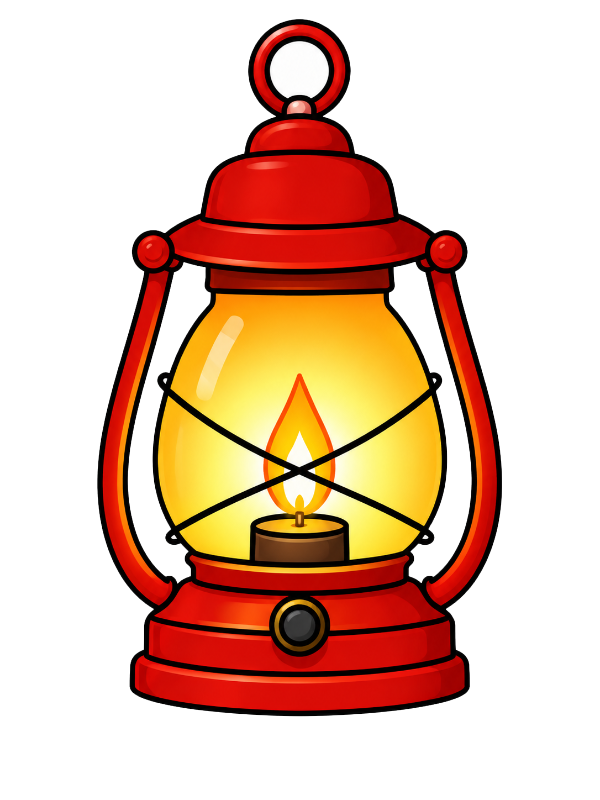
Now for the most satisfying part!
Once the color goes on, that glowing yellow globe against the bold red frame is what really makes the lantern look warm and alive — like it's actually lit from the inside. 🏮
The thing that makes this lantern come together so naturally is how each part builds directly on the one above it — the ring leads to the knob, the knob leads to the cap, the cap leads to the arms, and the arms frame the globe. As long as each piece is roughly centered under the last, the whole lantern stacks up neatly without needing much correction. The X wires and candle are the two smallest details, but they're also the two most satisfying ones to add, since they're what make the finished drawing look unmistakably like a lantern rather than just a decorated oval.
Once you're comfortable with this shape, try tilting the whole lantern slightly to one side for a more dynamic pose, or draw it hanging from a chain with a dark background to really make that warm glow pop. Happy drawing! 🏮
There's something instantly storybook about a mushroom drawing — that round, domed cap sitting proudly on a plump little stem, dotted with pale spots like something straight out of a fairy tale forest.
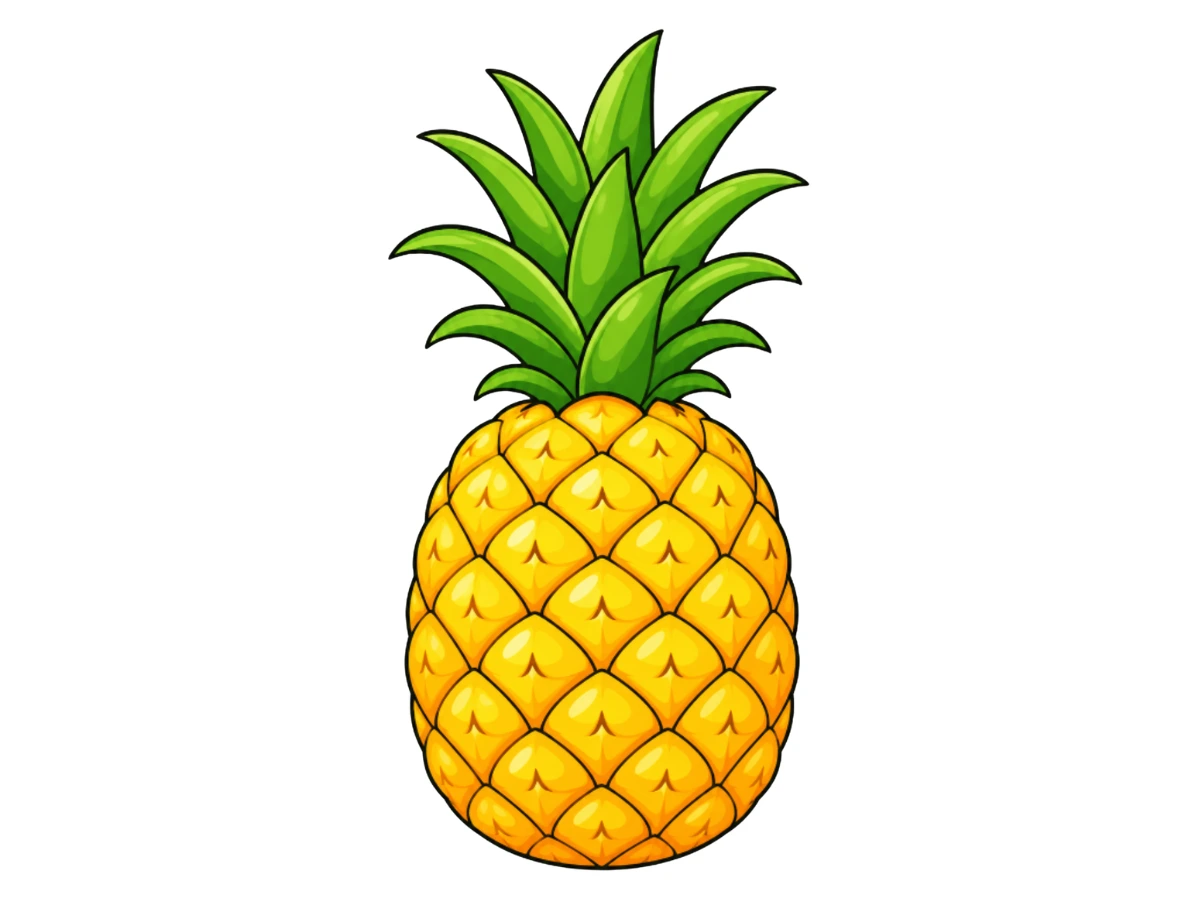
A pineapple looks complicated at first glance — all spiky leaves and crisscrossing texture — but it actually comes together from just a bumpy oval, a bunch of curved leaves, and a simple repeating diamond pattern. Follow this easy step-by-step tutorial and draw a tropical, summery pineapple!

There's something endlessly exciting about drawing a rocket — that sleek body angled toward the sky, the porthole window hinting at adventures inside, and those bold flames blasting out the back like the rocket is already halfway to the moon. What makes it even better is that the whole thing is essentially one big rounded body with a few satisfying details added on top.
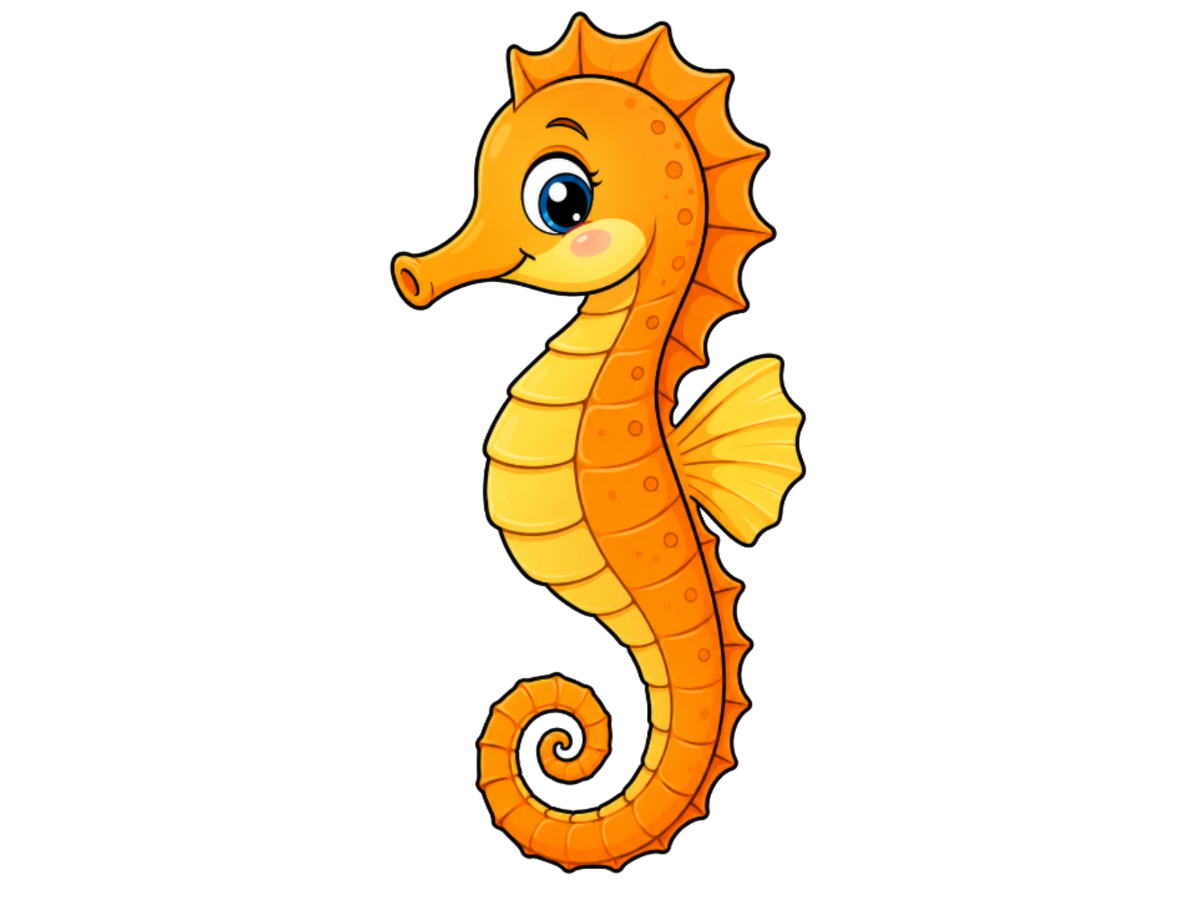
A seahorse might be one of the strangest-looking creatures in the ocean, but on paper it turns into one of the most graceful things you can draw — that curling S-shaped body, the delicate spiky crown running down its head, and a tail that coils into a neat little spiral at the end.