

How to Draw a Lighthouse
A lighthouse standing tall against the waves is one of the most peaceful and satisfying things you can draw. Learn how to draw a beautiful lighthouse step-by-step!
14 Steps
Read
Few things look as instantly cheerful on paper as a donut dripping with icing and scattered with colorful sprinkles. It's one of those drawings that feels like a treat in itself — round, glossy, a little messy in the best way, with icing that drips unevenly down the sides just like the real thing. And despite how fun and detailed the finished version looks, the whole thing is built from just two circles and a wavy drip line, with the sprinkles and shading doing all the heavy lifting at the end. Let's get drawing!
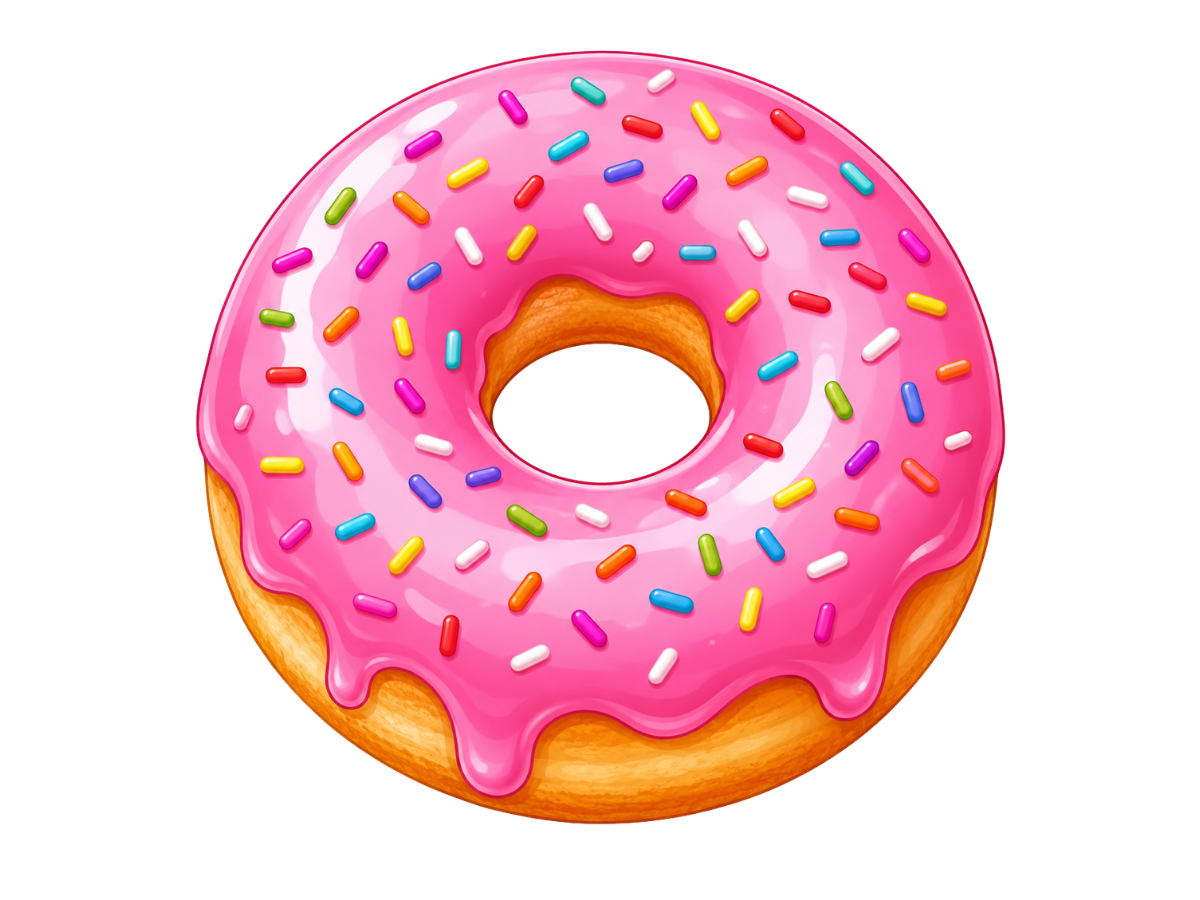

In the center of your page, draw one large, even circle. This outer edge sets the overall size of your donut, so give yourself plenty of room around it for the drips and sprinkles that will spread out later, especially near the bottom where the icing is about to run down past this line. A slightly imperfect circle is totally fine here — real donuts are rarely perfectly round either.
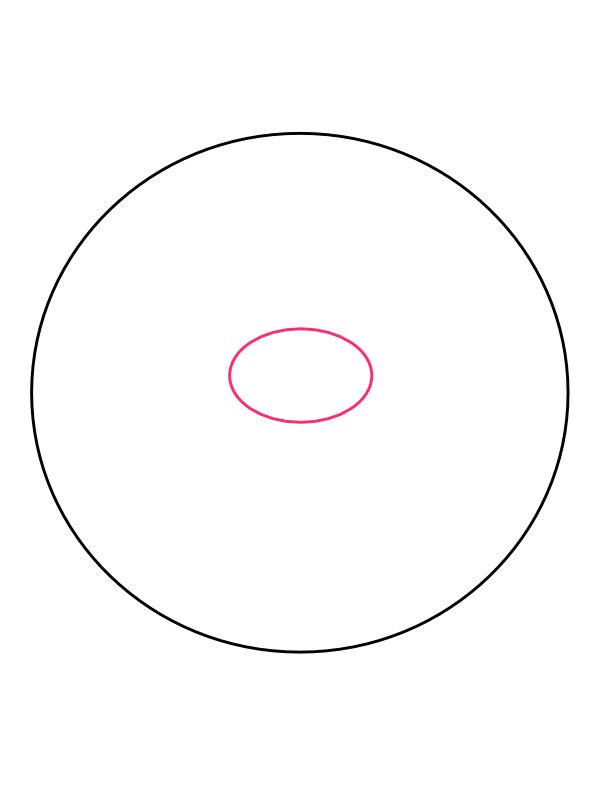
In the middle of the large circle, draw a smaller oval to form the donut's signature hole. Keep it noticeably smaller than the outer circle and positioned right in the center, since this hole is what instantly tells the eye "donut" rather than "cookie" or "bagel" before a single other detail goes in. A slightly squashed, oval shape rather than a perfect little circle actually looks more natural here too.
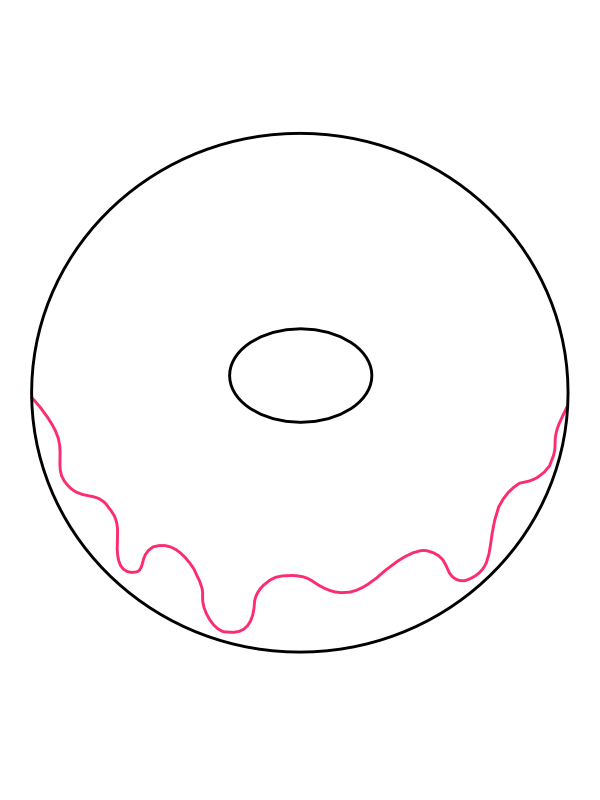
Along the lower portion of the outer circle, draw a wavy, uneven line that dips down below the original circle in a few places, like icing that's melted and slid partway down the side before setting. Let some drips hang lower than others rather than keeping them all the same length, since that irregularity is exactly what makes melted icing look convincing instead of scalloped and decorative. This drippy edge is the detail that gives the donut its glossy, freshly-glazed feel.
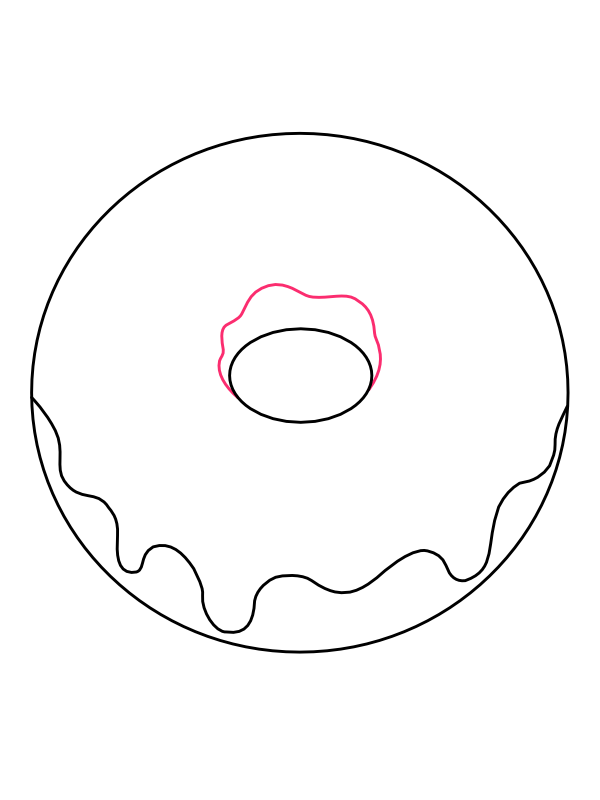
Around the small oval hole in the center, draw a second wavy line tracing just outside the original hole shape, echoing the same drippy, uneven quality as the icing edge you drew in the previous step. This shows the icing pooling and dripping slightly into the hole itself, just like it does around the outer edge. Together, these two wavy lines are what separate the plain donut shape from a donut that actually looks glazed.
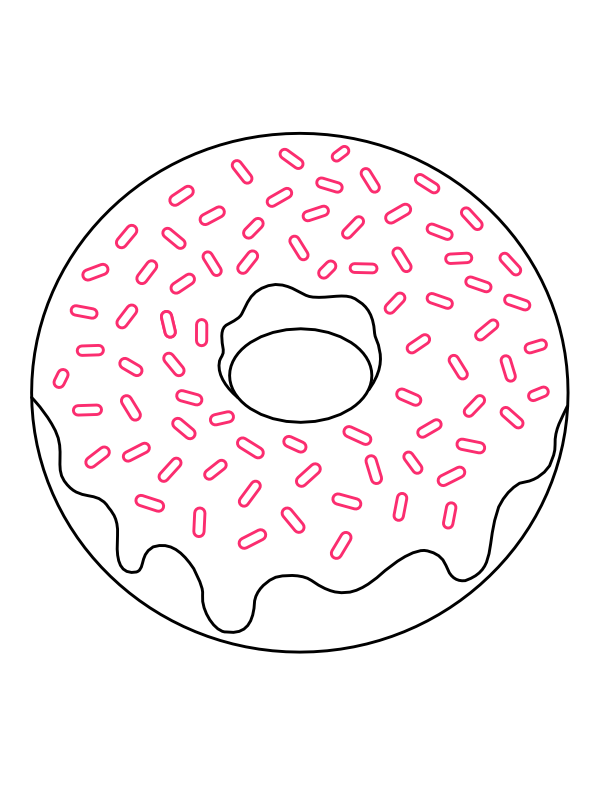
Across the icing-covered top of the donut, scatter small rectangular and oval shapes in random directions and at random angles — these are the sprinkles. Vary their length and angle from one another rather than lining them up neatly, and spread them fairly evenly across the surface while leaving a little breathing room here and there so the donut doesn't feel overcrowded. This step takes a bit of patience since there are a lot of small shapes to place, but it's also the single detail that makes the donut look genuinely festive and bakery-fresh.
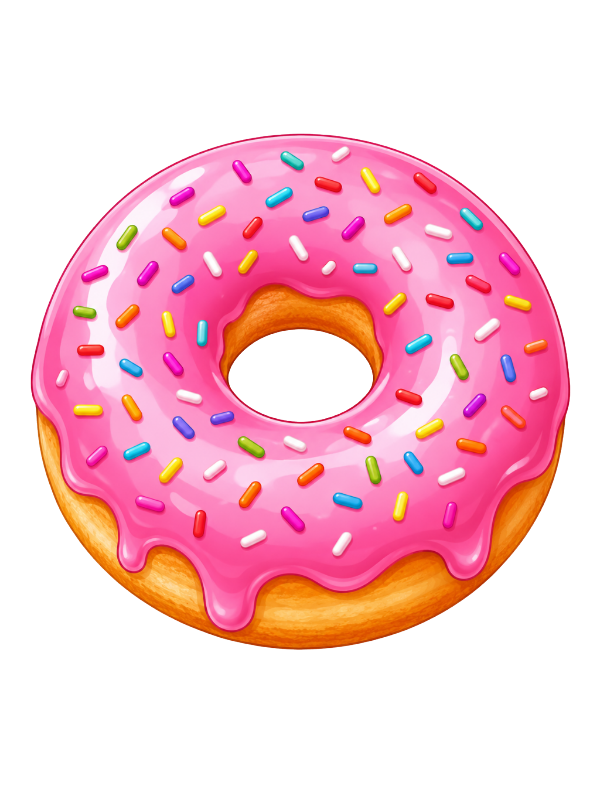
Now for the most satisfying part!
Once the color goes on, that glossy pink glaze dripping over a golden base, dotted with a rainbow of sprinkles, is exactly what makes this donut look good enough to reach right off the page. 🍩
The step most people find fiddly is Step 5 — placing all those sprinkles without the donut ending up looking cluttered or, on the flip side, too sparse. A good approach is to work in loose rings, adding a handful of sprinkles closer to the hole, a handful in the middle band, and a handful nearer the outer edge, checking the overall balance every so often rather than filling one section completely before moving to the next. Everything else in this drawing, from the drip lines to the shading, is pretty forgiving, since icing is naturally messy and uneven to begin with.
Once this version feels comfortable, try drawing a small stack of two or three donuts, each with a different icing color and sprinkle pattern — it's a natural next step that reuses everything you just practiced while giving you a chance to draw the same shapes from slightly different angles.
A lighthouse standing tall against the waves is one of the most peaceful and satisfying things you can draw. Learn how to draw a beautiful lighthouse step-by-step!

The lotus flower is one of the most beautiful and peaceful flowers in the world. Learn how to draw a full lotus sitting on a lily pad with water ripples — easy enough for complete beginners!

There's something instantly storybook about a mushroom drawing — that round, domed cap sitting proudly on a plump little stem, dotted with pale spots like something straight out of a fairy tale forest.
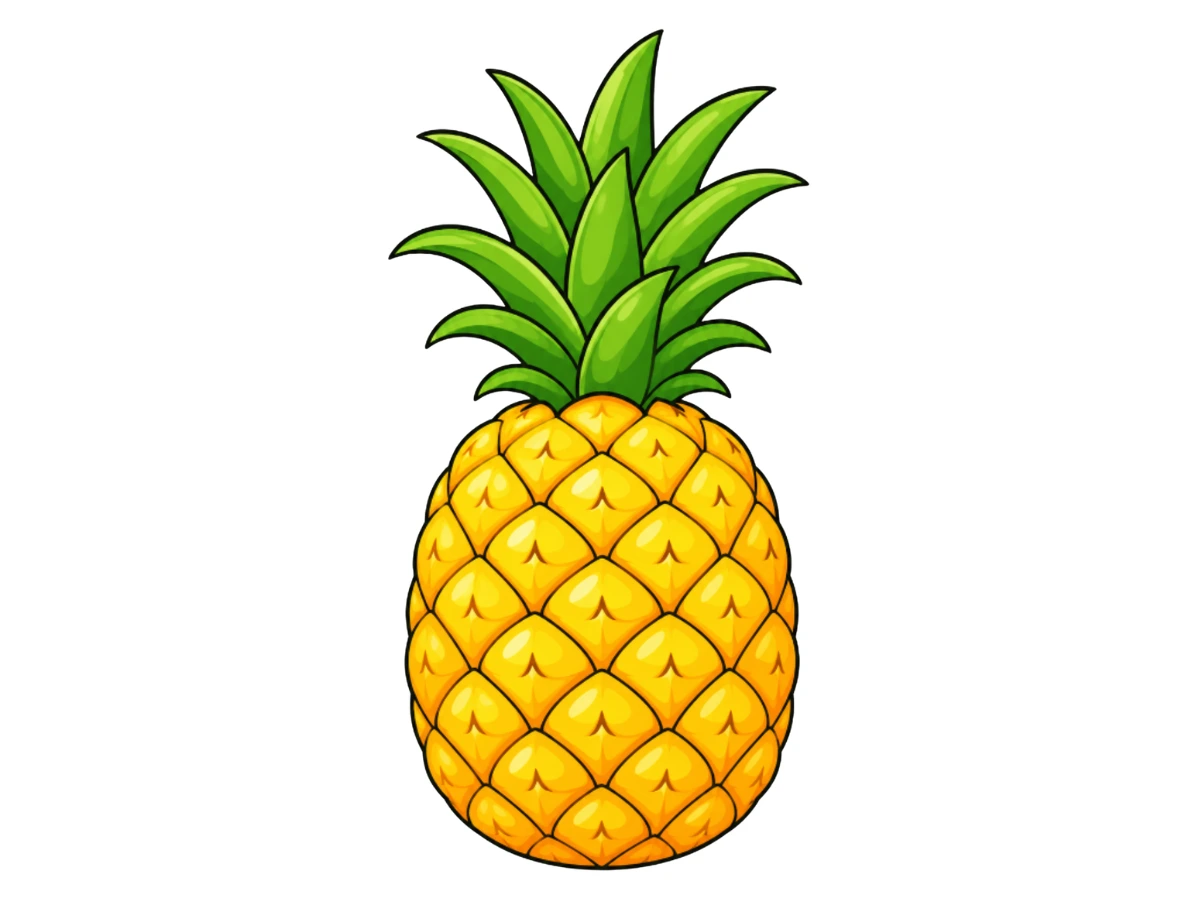
A pineapple looks complicated at first glance — all spiky leaves and crisscrossing texture — but it actually comes together from just a bumpy oval, a bunch of curved leaves, and a simple repeating diamond pattern. Follow this easy step-by-step tutorial and draw a tropical, summery pineapple!