
How to Draw a Honey Bee

July 20, 2026
9 Steps
AR Drawing Logo

AR Drawing

Drawing Tutorials

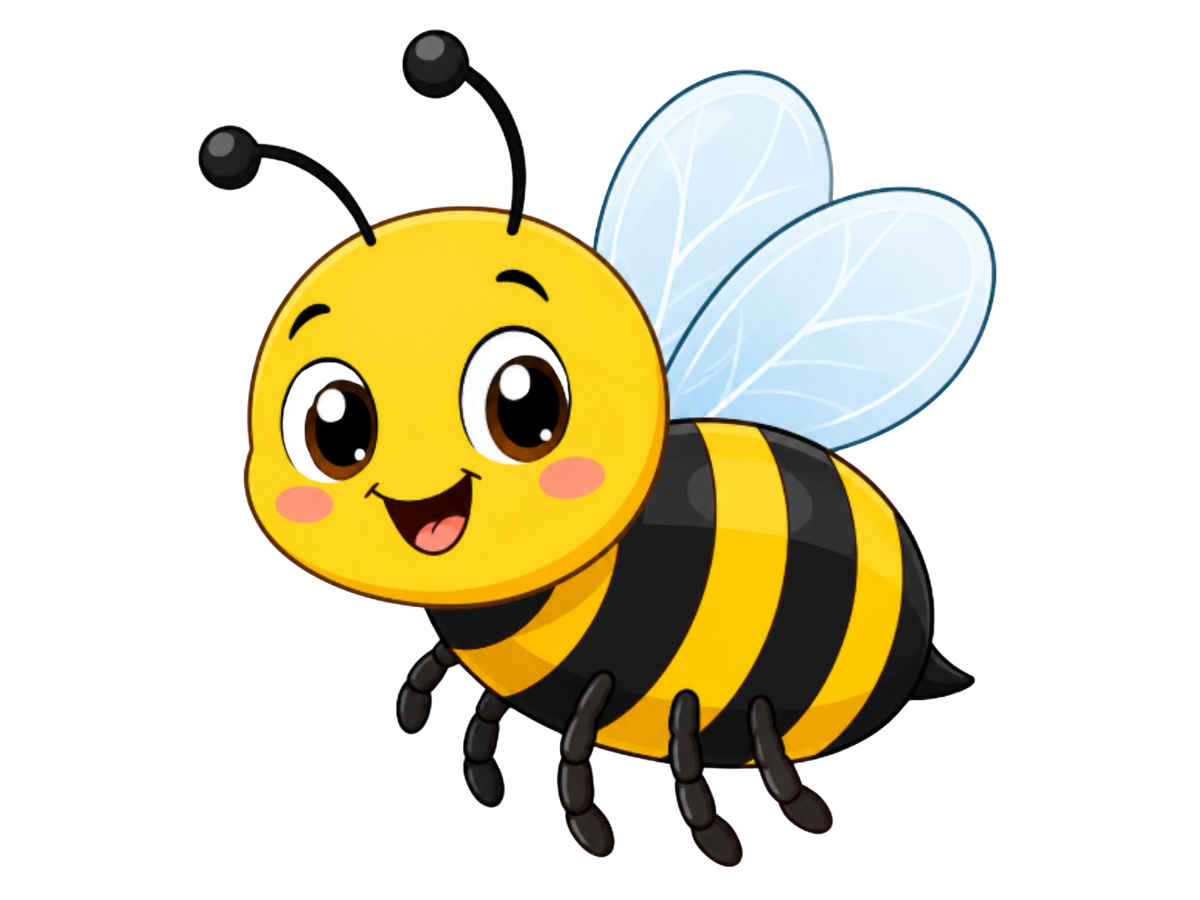
A honey bee has to be one of the most instantly likable little creatures to draw — round and fuzzy, striped like a tiny referee, with delicate see-through wings and a face that's almost always drawn grinning. It's the kind of drawing that looks busy and detailed from a distance, but breaks down into just two main shapes — a round head and an oval body — with everything else layering on top in small, satisfying pieces. By the time the last stripe and the last leg are in place, you've got a bee that looks ready to buzz off toward the nearest flower. Let's get drawing!

How to Draw a Honey Bee
What You Will Need
  • Pencil
  • Eraser
  • White paper
  • Black marker or fine-liner (optional)
  • Colored pencils, crayons, or markers
1

Draw the Head

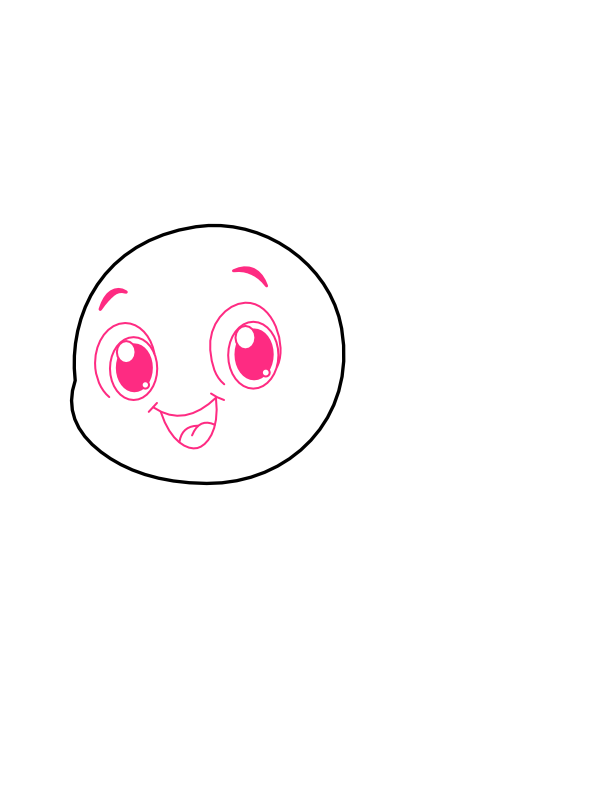
Step 1: Draw the Head

Near the upper-left portion of your page, draw a rounded circle for the bee's head, leaving plenty of room to the right and below it for the body that's coming in a later step. Let the outline wobble just slightly rather than aiming for a perfectly geometric circle, since a touch of irregularity here makes the head feel softer and more character-filled right from the start.

2

Add the Face

Step 2: Add the Face

Inside the head circle, draw two large round eyes side by side, each with a smaller circle inside for the pupil and a tiny highlight dot left uncolored for that bright, sparkling look. Add a short curved eyebrow above each eye, angled gently upward, and a small open smiling mouth beneath them with a tiny curved tongue peeking out. These few simple additions are what take the bee from a blank circle to a genuinely expressive little face.

3

Add the Antennae and Cheeks

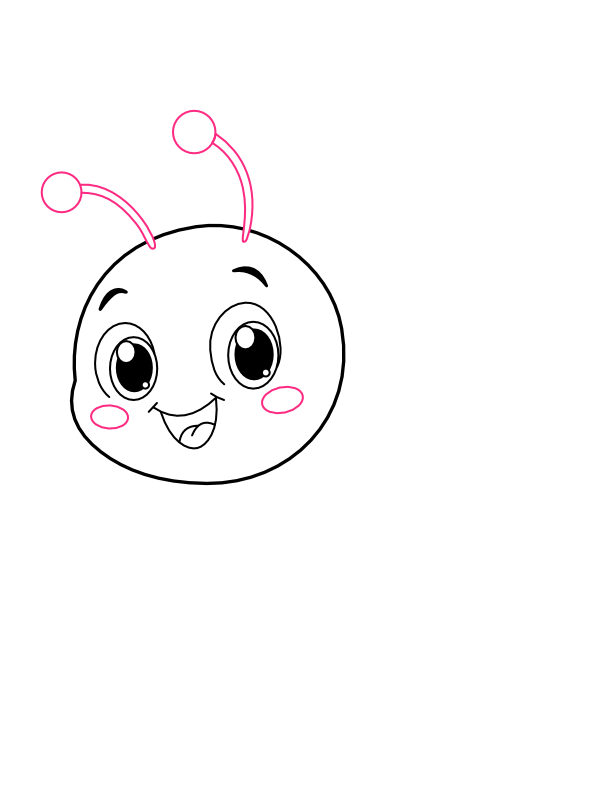
Step 3: Add the Antennae and Cheeks

From the top of the head, draw two thin, curving lines rising upward and outward, each ending in a small round ball — these are the antennae, and letting them curve rather than stand perfectly straight gives the bee a bouncy, animated feel. Add a small oval blush mark on each cheek, just below the eyes, for a rosy touch that makes the face feel even friendlier.

4

Draw the Body

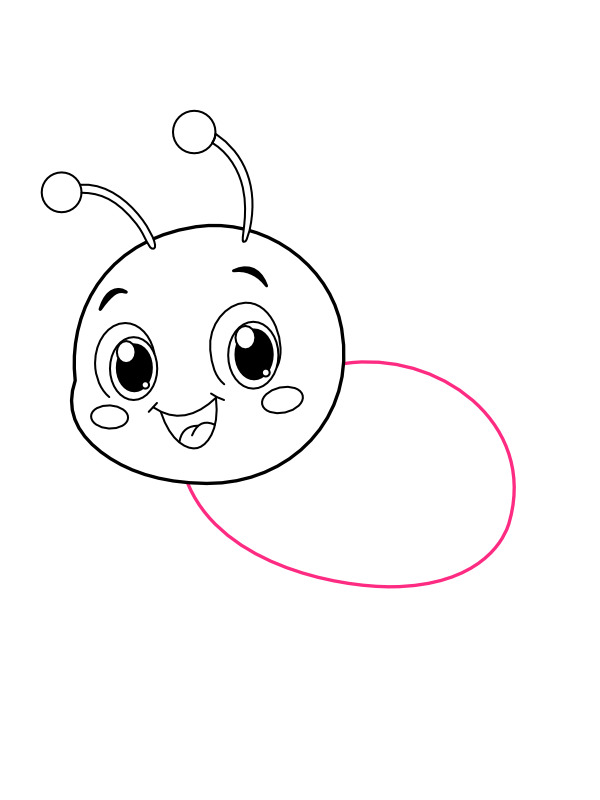
Step 4: Draw the Body

To the right of the head, slightly overlapping it, draw a large oval shape angled diagonally — this is the bee's body, and it should be noticeably bigger than the head to give the whole creature a plump, rounded silhouette. Let the oval tilt slightly upward as it extends away from the head, since that small angle is part of what gives the finished bee its sense of forward motion, as if it's already mid-flight.

5

Add the Body Stripes

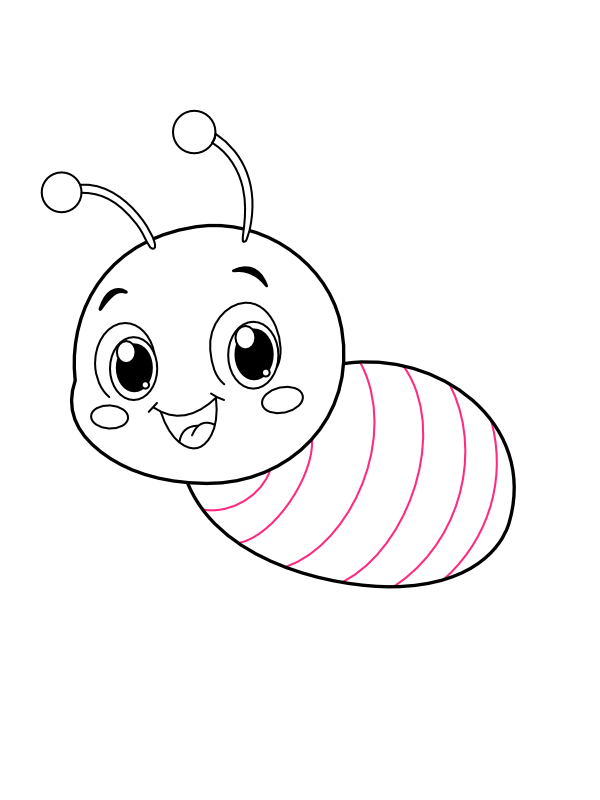
Step 5: Add the Body Stripes

Across the oval body, draw a series of curved lines running from the top edge to the bottom, following the natural curve of the oval rather than cutting straight across. These stripes are the single most recognizable feature of any bee, and spacing them a little unevenly rather than perfectly uniform actually makes the fuzzy, banded body look more convincing than a mechanically even pattern would.

6

Draw the Wings

Step 6: Draw the Wings

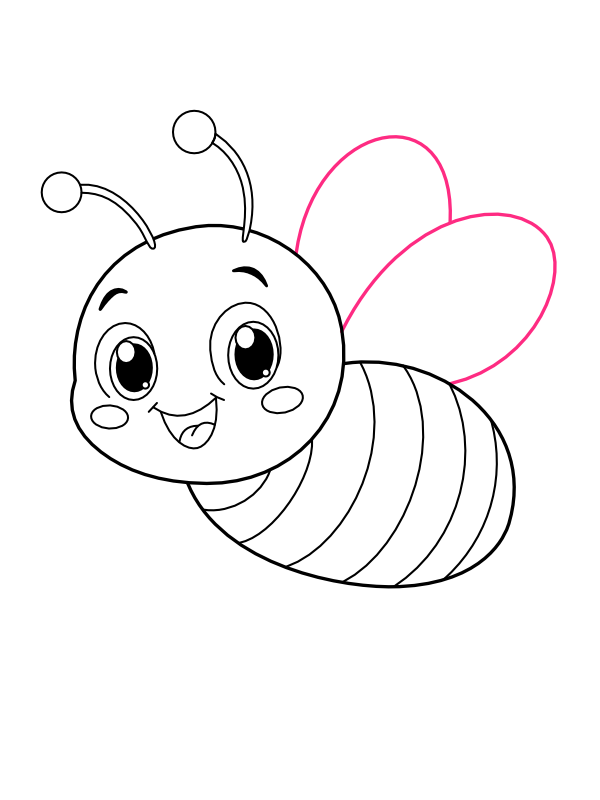
Above the body, near where it meets the head, draw two overlapping teardrop shapes rising upward and slightly outward — one a touch larger and positioned behind the other. These wings should look light and delicate compared to the plump, rounded body beneath them, since that contrast between a heavy little body and thin, papery wings is part of what makes bees so charming to look at.

7

Add Wing Detail

Step 7: Add Wing Detail

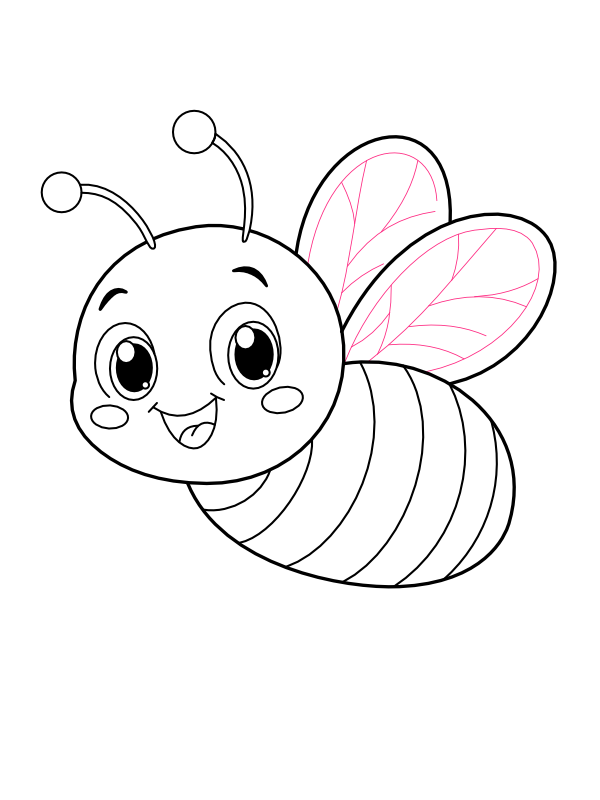
Inside each wing shape, draw a few thin branching lines radiating outward from the base, similar to the veins in a real leaf. This delicate lattice of lines is what gives the wings their translucent, glassy quality, hinting that you could almost see straight through them even though they're drawn in solid outline.

8

Add the Legs

Step 8: Add the Legs

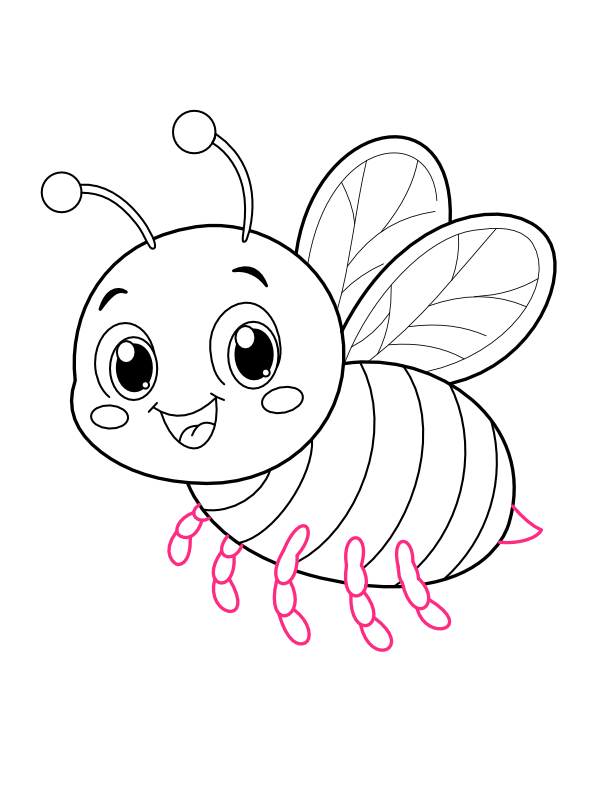
Along the underside of the body, draw several small jointed legs, each made up of two or three short segments bending at slight angles, ending in a tiny rounded foot. Space them evenly beneath the striped body, and don't worry about making every leg identical — a bit of natural variation in angle and length is exactly what real insect legs look like.

9

Color Your Honey Bee

Step 9: Color Your Honey Bee

Now for the most satisfying part!

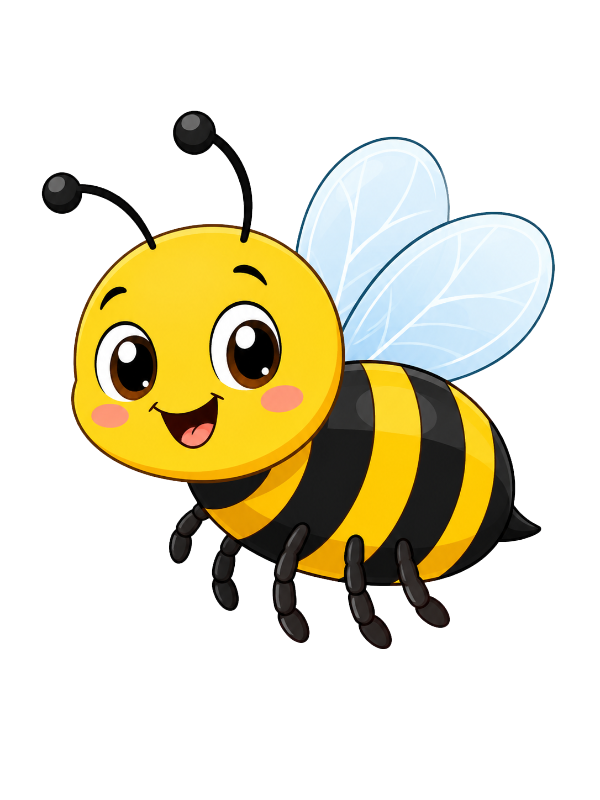
  • Head: Warm golden yellow, filling the whole face area
  • Body base: The same golden yellow as the head, as the background color beneath the stripes
  • Body stripes: Deep black, alternating with the yellow base to create that classic banded pattern
  • Eyes: Rich brown or black, with a bright white highlight dot in each
  • Cheeks: Soft rosy pink, kept light so it reads as a blush rather than a solid patch of color
  • Antennae and legs: Deep black or dark charcoal, matching the stripe color
  • Wings: Very pale, almost translucent blue or grey, with the vein lines showing through in a slightly deeper tone of the same color
  • Mouth interior: A small touch of soft pink for the tongue

Once the color goes on, that bold black-and-yellow striped body beneath a pair of pale, glassy wings gives the bee its unmistakable, cheerful buzz-around-the-garden look. 🐝

Final Thoughts

The step that tends to take the most care is Step 5, getting the body stripes to curve naturally around the oval shape rather than looking like straight lines pasted flat onto a curved surface. It helps to lightly sketch the top and bottom points where each stripe will land before committing to the full curve, so the line has somewhere specific to arch toward rather than being drawn freehand across the whole body in one go. Everything else in this drawing, from the wings to the legs, is much more forgiving, and small variations in spacing or angle genuinely add charm rather than detracting from it.

Once this bee feels comfortable, try drawing it from a slightly different angle, hovering with its wings spread wide and flat rather than folded back, which is a fun next step and a nice way to practice a busier, more dynamic pose.